When you've just bought a new camera or want to start taking photos, it's easy to feel discouraged. Most modern cameras seem to have an endless array of buttons and menu options, and the manual that comes with them is often less than inviting.
If you've spent some time testing the menu and ultimately set everything to automatic as a temporary solution, that's completely understandable. But don't let your lack of experience make you give up too quickly as a beginner. You can still take some amazing, professional-looking photos by following a few basic tips. Here's how.
1. Shoot in a priority mode
Automatic mode is designed for newcomers, but if you take enough photos in automatic mode, you'll eventually notice that they all look alike. You can take beautiful photos with it, but it doesn't allow you to make creative decisions. Switching to one of the camera's two priority modes can instantly transform your shot into a stunning image, and it requires very little technical knowledge.
Use aperture priority mode to control depth of field, or how much of the shot is in focus. When photographing a landscape, you generally need sharp focus from foreground to background, so select a small aperture, which corresponds to a large f-number, such as f/22 or f/32. For a sharp subject against a blurred background, use a shallow depth of field: select a large aperture, which corresponds to a small f-number, such as f/4 or f/5.6.

Use shutter priority mode for shots with a lot of movement or in low-light situations so you can freeze the action. To capture fast-moving people sharply, set the shutter speed to 1/500. For slow-moving people, set it from 1/125 to 1/250. To capture some motion blur, choose a slower shutter speed: 1/15 or slower, but remember to stabilize the camera on a tripod at around 1/60 of a second or slower.
2. Pay attention to the light
Keep these two basic rules about light in mind: soft light is good; hard light is bad. There are always exceptions to every rule, but while you're learning, you should remember and repeat these rules. To find soft light, shoot during the first hour of the morning or the last hour of the day. Or head out on an overcast day—some photographers call this “nature's softbox.”
Keep these two basic rules about light in mind: soft light is good; hard light is bad.
You can also find soft light indoors when it is filtered through a window, though artificial light does not create it automatically. Hard light appears in your photos around the middle of the day. It creates very dark shadows and harsh highlights. Avoid taking photos when the sun is directly overhead on a sunny day. Instead, move your subjects into the shade or wait until the light softens closer to sunset.
3. Look at the whole scene
One of the biggest mistakes new photographers make is failing to pay attention to the background. No matter how appealing the subject is, the background can make or break the photo. Imagine your daughter is about to perform in her first dance recital, and you really want to take a photo of her backstage.
Most beginner photographers will simply hold up the camera and take the photo at that moment, without thinking about the clutter from other children and equipment in the background. Instead, try these three things:
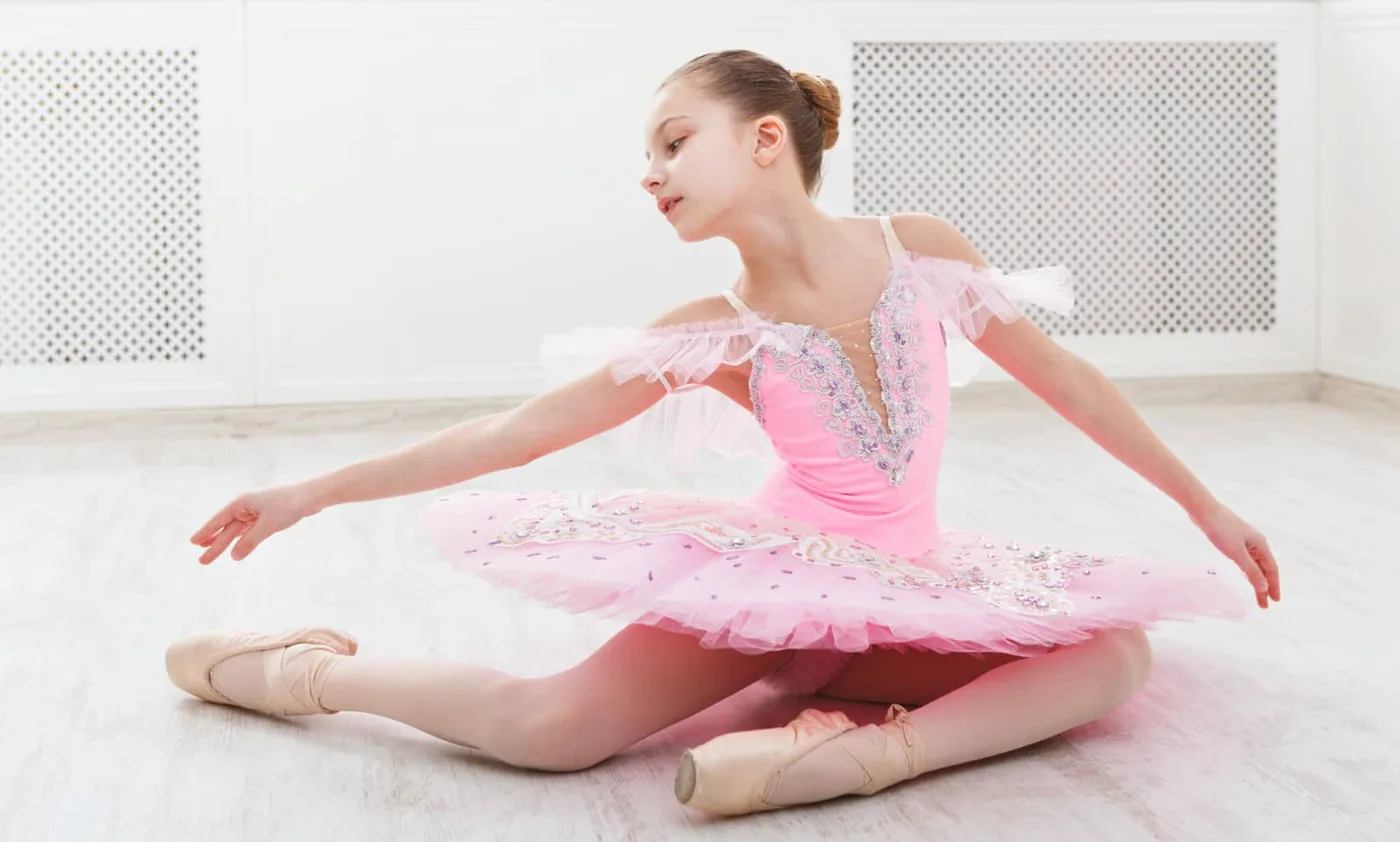
- Place the child in front of a plain background, such as a wall, eliminating all that background clutter.
- Or use a wide aperture to blur everything in the background. But if the clutter is very colorful, blurring it may not be enough. Color alone can be distracting, even when the objects are not identifiable.
- Finally, shooting from a different camera angle, such as slightly above or below the subject, may be enough to eliminate distractions. If the outfit isn't important, you can also zoom in and remove background distractions that way.
Tip 4. Get down low
We live in a world seen from a standing perspective. That's the height from which we view the world as we move through it. And because this everyday eye-level view is so familiar, it isn't very inspiring. If you plan to photograph things that aren't awe-inspiring on their own, you need to find a unique way to present them—a way that differs from how most people see that object every day. One simple way to do this is to bend your knees.

Suppose you're taking a photo of your dog. Almost everyone looks at dogs from above, so when you bend your knees, you come face to face with your dog. That isn't the usual way we view our furry friends, so the perspective is immediately engaging. The same applies to photos of children.
You can also apply the bent-knee approach to inanimate objects. For example, if you photograph a car across its hubcap, you'll get a much more distinctive perspective than if you photographed it through the passenger-side window.
Tip 5: Fill the frame
When you photograph an anthill from a wide perspective, your viewer has no idea which ant to look at and may not even realize that the ants are meant to be the subject. The same is true if you photograph your child's soccer game from the stands. Which of the children on the field is the focal point? Because you haven't filled the frame with your subject, your viewer can't answer that question.

The solution is almost always simply to get closer to the action. Leave the stands and move closer to the field if that's allowed. Or use a telephoto lens and zoom in on the action. And of course, this doesn't apply only to soccer games; with the possible exception of landscapes, filling the frame with a single subject will almost always result in a better photo.
Tip 6: Simplify
Simple is better, and that's true in photography as well. The beautiful rosebushes behind your subject may be colorful, the little gazebo on the left may be lovely, and the cat in the gazebo may be adorable. But all those different elements, no matter how visually appealing each may be on its own, will only distract from your main subject. The more charming, colorful, and picturesque those distractions are, the more attention they attract. Conversely, the uglier the background is, the more the viewer will stare at it and the less time they'll spend looking at your subject.

The answer to this problem is simple: simplify. Use a wide aperture to blur the background, and don't focus on the other details in it. Once you've removed every part of the shot that doesn't support the subject, you'll have created a photo in which the viewer knows exactly where to look. Simplifying the image makes it more appealing because the viewer is no longer confused about what they are supposed to see.
Feel free to take a photo of the cat, the gazebo, and the roses—just make sure those subjects are simplified as well. An easy way to ensure you're leaving out the right things is to ask yourself whether each individual element contributes to the composition or distracts from it.
Conclusion
For now, don't worry about reading your camera manual from beginning to end. You don't need to understand every little feature, at least not right away. Instead, focus on this short list of things you can do today to improve your photography—these are simple tips to put into practice, and they'll go a long way toward helping you feel like a professional, even if you're still a beginner.



