A question often asked by both beginner and more advanced photographers is: How can I make my photos look more professional? Everyone would naturally like to take photos that look as though they belong in a magazine, but not everyone knows exactly how. You might blame it on not having the right camera or needing an expensive lens. The truth is that you can even take professional-quality photos with your smartphone. Read on to find out how.
To understand what makes a photo look professional, it is best to study the work of skilled photographers. Spend some time examining images by photographers you admire. Decide which genre you want to create professional-looking photos in. What do those photos all have in common? Is it easy enough to apply those qualities to your own work? If not, what other ways can you achieve top-quality results? What is the photographer's style, and how can you develop your own? These are all questions that need to be answered before you start taking photos.
Tip 1: Fill the Frame
One of the most important steps professional photographers take to create truly appealing photos is filling the frame. Many beginners make the mistake of not doing this. We automatically tend to show as much of the background as possible when taking a photo. Take portraits, for example. How often have you photographed your children or other family members and been less than happy with the results? If you look at some of the photos you thought would be great but that did not turn out that way, the problem can often be traced to not filling the frame.

For example, that photo of your child playing in the park may be full of distractions. There are other children in the background, a trash can nearby, and some parked cars in the distance. None of these extra elements adds anything to the composition; in fact, they distract from your subject. That is one reason the photo is not particularly appealing: your subject has become lost amid all the visual clutter.
A simple solution to this problem is to zoom in. Remember that when using a smartphone or a camera with digital zoom, it is better to walk closer to your subject and fill the frame without using the zoom function. If you use a digital SLR camera or another camera with optical zoom, it is fine to use the zoom lens to get closer. Try to fill the entire frame with your subject's face or head and shoulders unless there is a very specific reason to photograph the person from head to toe.
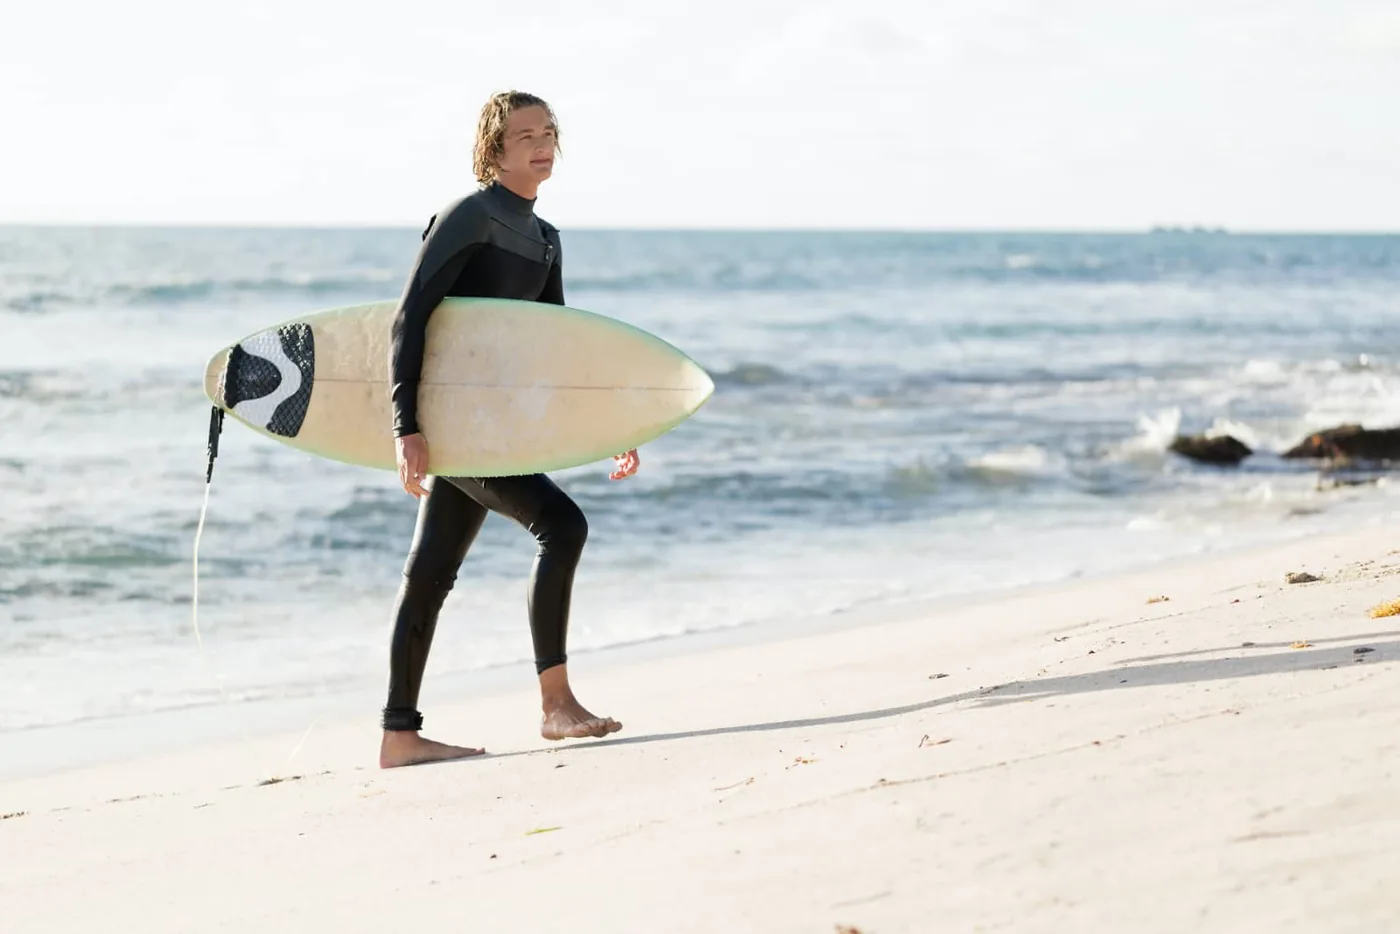
One exception to this rule is when an environmental portrait needs a sense of atmosphere. Perspective can be very important in environmental photos because the purpose of such a photo is to show viewers where your subject is. For this type of photo, it is therefore important to zoom out slightly and show the subject's surroundings. Even then, make sure there is no clutter in the background or any object that is not part of the story you are trying to tell.
Tip 2: Look for Beautiful Light
One of the most noticeable differences between professional photos and snapshots is the light. Many beginners do not realize that they are taking photos at the wrong time of day or under the wrong lighting conditions.
Beautiful light is all about the direction of the light. When the sun is directly overhead, its light passes through less atmosphere and is therefore harsher. Harsh sunlight creates washed-out areas and impenetrably black shadows. This can cause the dreaded “raccoon eye effect,” in which dark shadows appear beneath the eyes, but it can also have subtler drawbacks, such as a lack of visible detail.
To avoid this problem, take photos very early in the day (an hour after sunrise) or very late in the day (an hour before sunset). The well-known golden hour produces soft, even light with a literally golden quality. Taking photos at this time of day generally produces much better results.
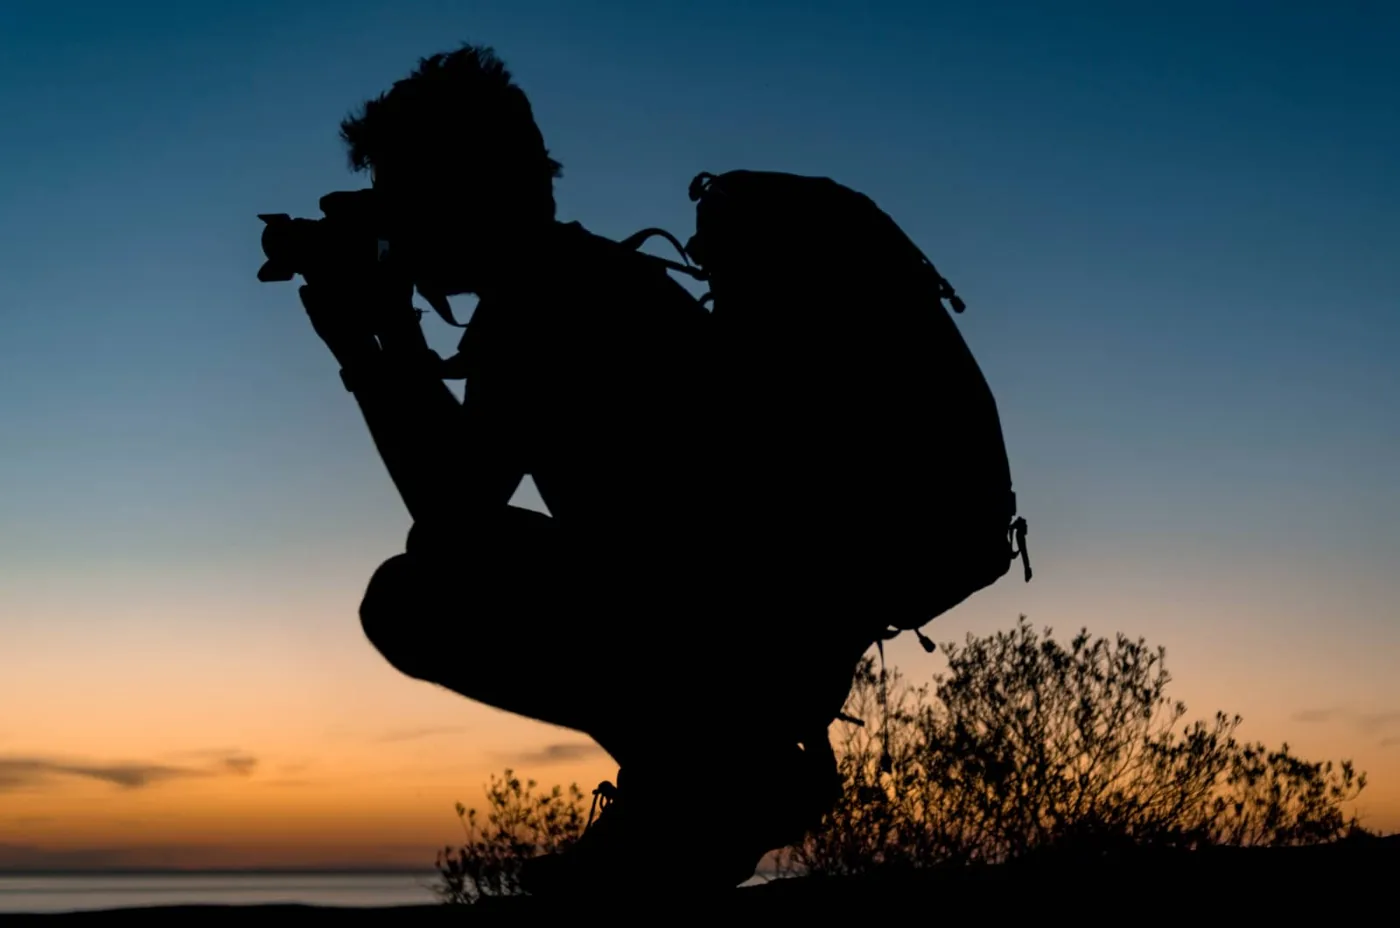
But if you have to take a photo in the middle of the day and there is no way to take it later, think about how you can improve the lighting conditions you are stuck with.
When shooting portraits, you can use fill flash to brighten some of those impenetrably black shadows. You can also move your subjects into better light, such as open shade or, even better, shade under cover. Avoid dappled shade like that found beneath a tree, as it can create uneven lighting.
You can also use a reflector or diffuser to direct light into the shadows or soften the sunlight before it reaches your subject. A simple, small collapsible reflector costs about 15 euros. These are all effective, reliable ways to make even those afternoon photos look more professional.
Tip 3: Develop a Sense of Style
This may be one of the most difficult things for beginning photographers. Professional photos look professional because they convey a sense of style. A photographer with a distinctive personal style is someone whose work you can identify whether or not their name appears alongside the image. Think of Ansel Adams, the famous landscape photographer from around 1900. Most people familiar with Ansel Adams's work can recognize his images among a selection of similar photos because his photographic style was so clearly defined.

Many modern photographers also have highly distinctive styles. When looking at a feed where new images appear, you can often tell which photographer created them before taking a closer look. When that happens, it is because the photographer has developed a strong sense of style.
How do you develop your own sense of style? The choices each photographer makes to create a sense of style can be very subtle. They may be as simple as always waiting for a particular kind of light, always shooting from a certain perspective, or applying certain stylistic adjustments to every photo during post-processing.
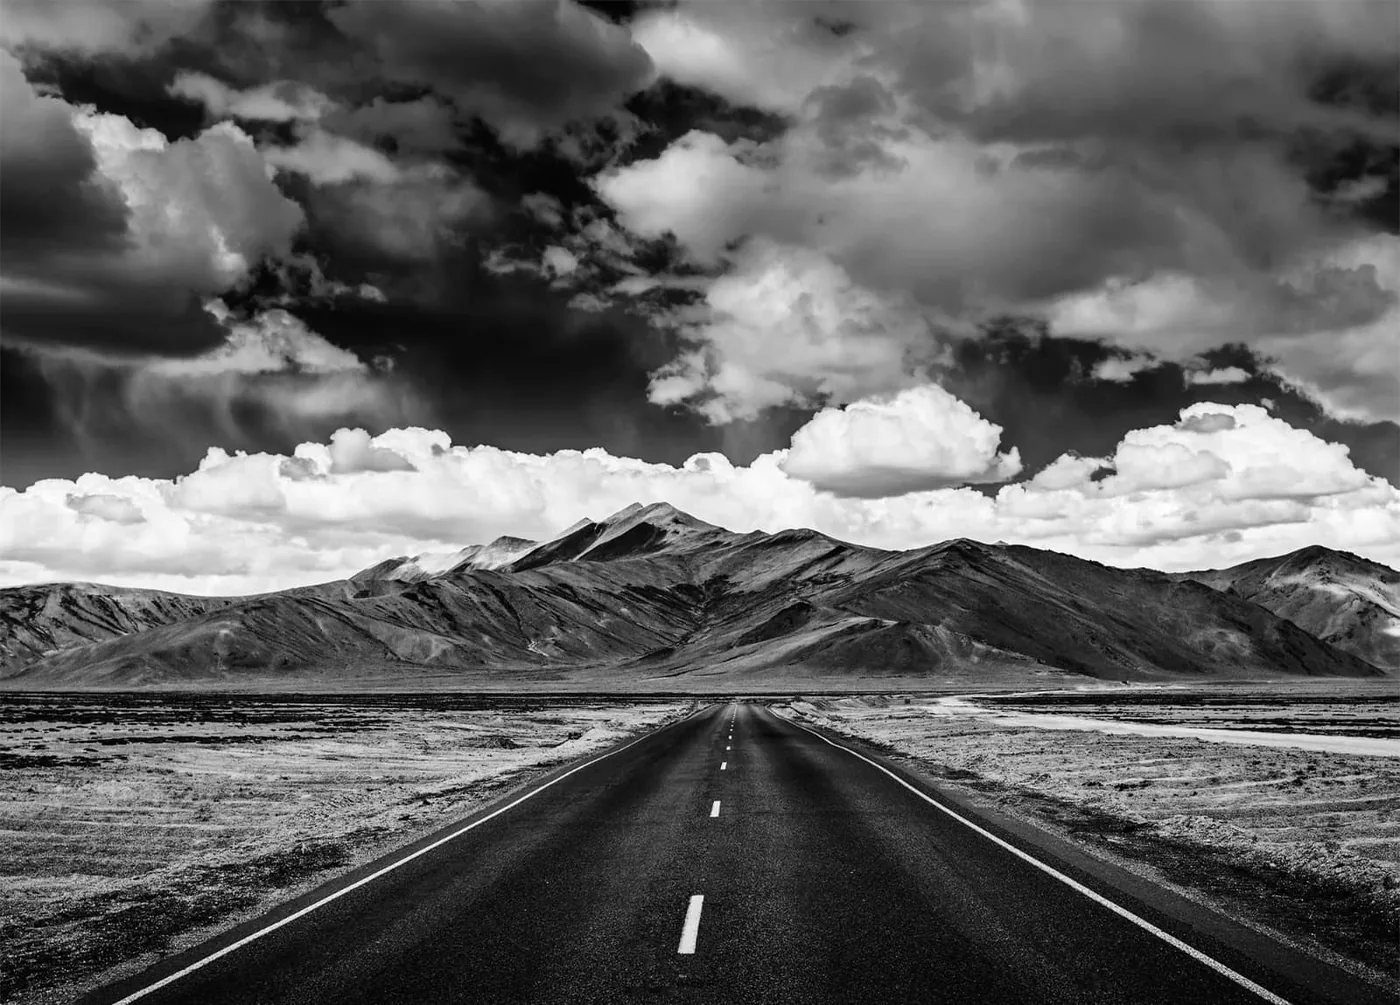
You can also take photos at a high ISO. This produces a noisy image with a grainy, photojournalistic look. If you then convert all your photos to black and white using the same desaturation process, they will all share the same basic style. You can also make a slight saturation adjustment to give your photos a consistent feel. Keep in mind, however, that the goal is not to create a series of photos that look exactly the same, but to assemble a series that appears to have been created by the same person.
Remember that, as a beginner, it will take considerable time to reach this point in your photography, as well as a great deal of skill and practice. Most of us will not create professional images right away. Spend as much time as possible taking photos. The more you practice, the more opportunities you will have to explore how you can improve your images. This will bring you ever closer to a portfolio filled with professional-quality work.



