Shooting RAW with your phone sounds more professional than it really is. It is not a magic mode that makes every photo better, but primarily a way to retain more flexibility when editing difficult lighting, bright skies, or colors that do not look quite right.
For many smartphone photos, HEIC or JPEG is actually the smarter choice. Your phone processes the image for you, the files stay small, and you can share them right away. RAW only becomes useful when you intend to edit a photo later or when your phone's automatic processing makes too many decisions for you.
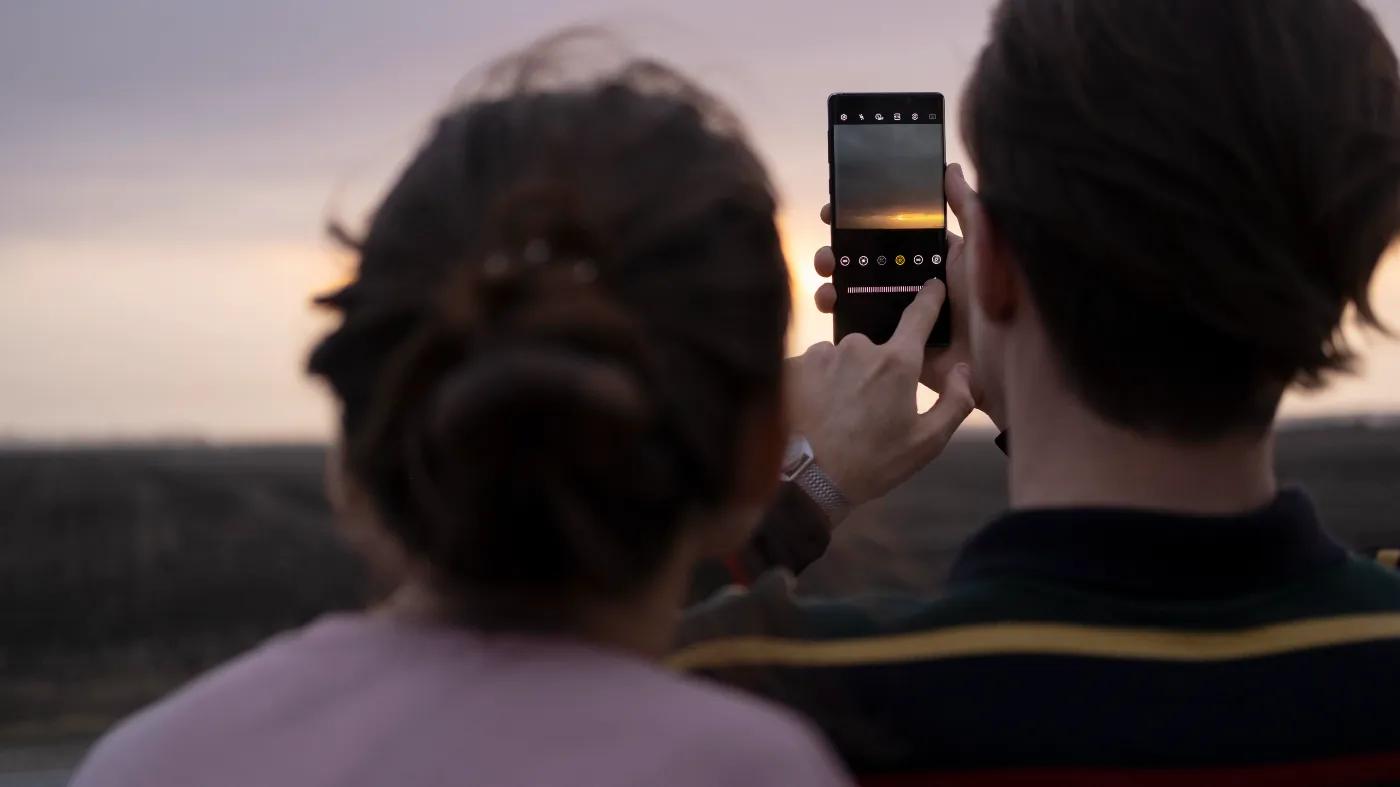
The benefits of shooting in RAW lie mainly in that extra latitude: skies that do not immediately blow out to white, shadows that do not become muddy, and colors that you can fine-tune more gently afterward.
What is RAW on a smartphone?
A standard JPEG or HEIC is a ready-to-use final image. The phone has already decided how bright the photo should be, how warm the colors should look, how much noise reduction is needed, and how strongly sharpening should be applied. The result is a small, convenient file that you can send or post immediately.
A RAW file retains more unprocessed image data. On smartphones, this is usually a DNG file, an open RAW format supported by many editing apps. The image often does not look more impressive right away. In fact, a RAW photo may look flatter and less vibrant than the JPEG beside it. That is normal. The idea is for you to shape the photo yourself afterward.
...a RAW photo may look flatter and less vibrant than the JPEG beside it. That is normal. The idea is for you to shape the photo yourself afterward.
There is one important nuance with smartphones. Phones rely heavily on computational photography: multiple exposures, HDR, noise reduction, local sharpening, and sometimes AI corrections. As a result, there is no single, pure smartphone RAW experience. An iPhone using ProRAW works differently from an Android device in Pro mode, and the differences can be substantial even between Android brands.
Using an iPhone? You may also want to review these five iPhone camera settings worth checking deliberately.
What if your phone does not have a RAW button?
Not every smartphone can capture RAW files. Sometimes RAW is not available at all. Sometimes it is hidden in a Pro, Expert, or Professional mode. And sometimes RAW works only with the main camera, while the ultrawide or telephoto camera simply saves a JPEG or HEIC file.
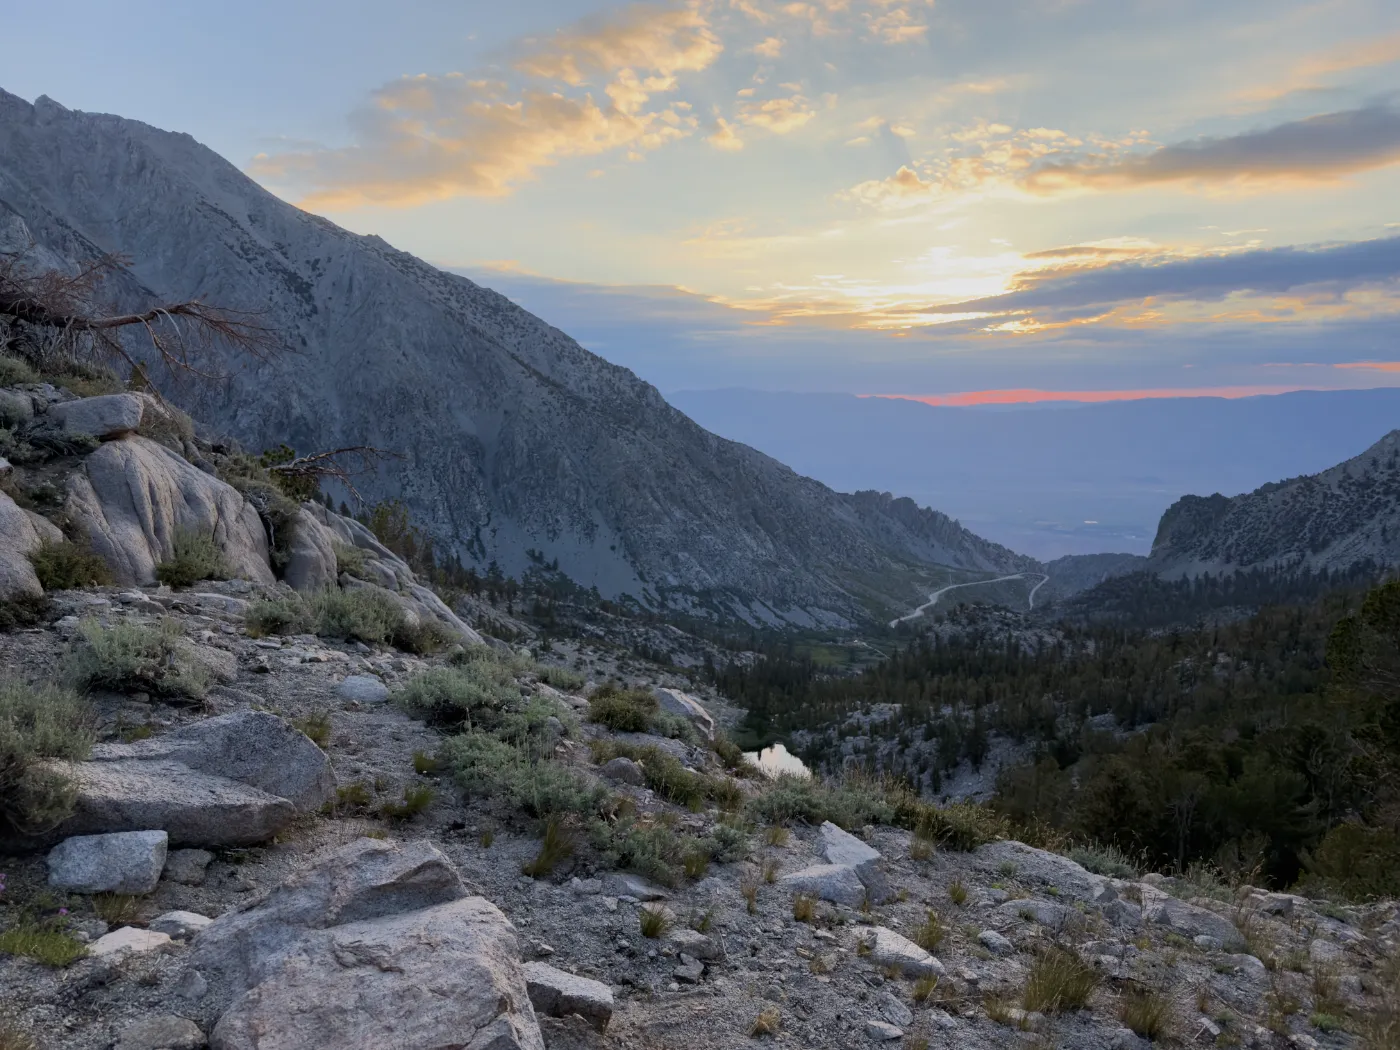
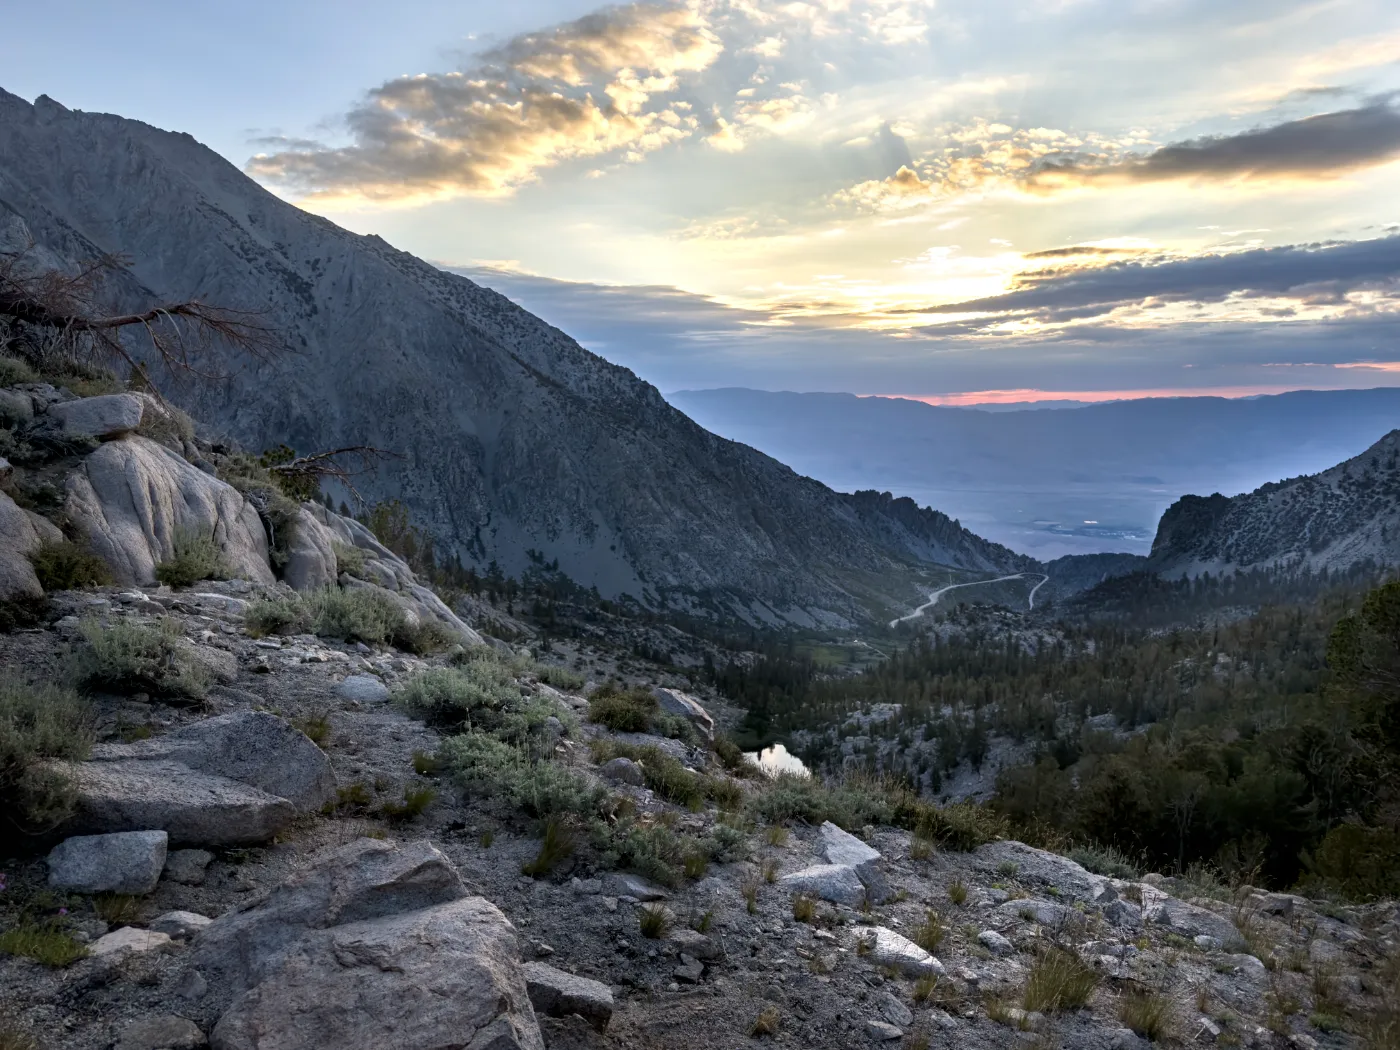
Start with the basics: first check the standard camera app for a mode labeled RAW, DNG, Pro, Expert, or RAW+JPEG. On iPhone, Apple ProRAW is primarily intended for Pro models. On some older or non-Pro iPhones, a good third-party camera app may still let you shoot in RAW or DNG, but this depends on the model and iOS support. On Android, availability varies even more by brand and device.
Apps can help. Options include Lightroom Mobile, Halide on iPhone, or Open Camera and the manufacturer's own Pro app on Android. One point is important, however: an app cannot produce a true RAW file if the phone's camera and software do not make that data available. If you cannot find a RAW or DNG option anywhere, HEIC or JPEG is your default format.
If you have RAW, use it when the photo calls for it.
That is not a problem. You can still improve your results without RAW. Tap the most important part of the scene to control exposure, lower the exposure slightly for bright skies, use Night mode with a steady hand or small tripod, avoid digital zoom, and edit with restraint afterward. Good light, timing, and composition will often improve your photos more than a file format will.
This article therefore focuses mainly on phones that can capture RAW or ProRAW, but the choice is broader than that. If you have RAW, use it when the photo calls for it. If you do not have RAW, treat HEIC or JPEG as a finished image and handle it with care.
When is RAW better than JPEG or HEIC?
RAW is especially useful when the phone has to make difficult choices. Consider a landscape with a bright sky and a dark foreground. In a JPEG, the sky can quickly become too white or the foreground too dark. With RAW, you have a better chance of recovering highlights and gently opening up shadows.
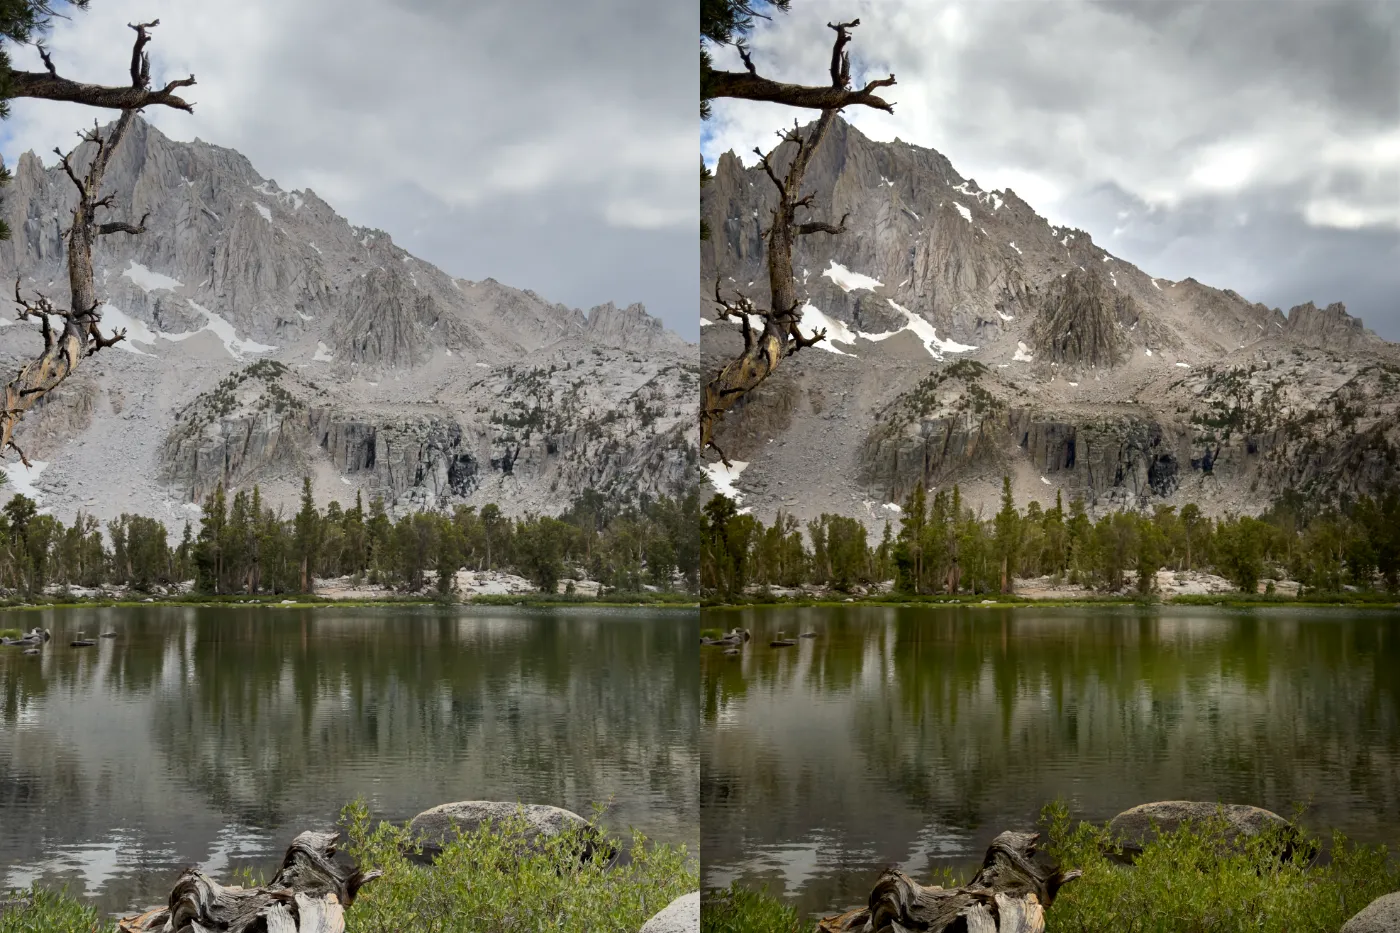
RAW can also be beneficial in evening light. City lights, neon signs, candlelight, and storefronts are challenging for automatic processing. A phone tends to make such an image brighter and cleaner, but that can also remove the atmosphere. With RAW, you can let the night stay dark where it should be dark without the lights immediately blowing out.
In short, do not shoot in RAW because it sounds more professional. Shoot in RAW because you know you are going to do something with the file later.
A third situation is mixed lighting. Indoor lighting, daylight through a window, and colored LED lights can quickly produce an odd white balance. In a JPEG, that color choice is already fairly fixed. In RAW, you can adjust temperature and tint much more smoothly.
RAW is also worthwhile for photos you want to use at a larger size: a travel photo for a print, a portrait that needs careful retouching, or an image you want to preserve because it is more than a quick snapshot. So do not use RAW out of habit; use it for photos where post-processing is genuinely part of making the image.
When is JPEG or HEIC the smarter choice?
For everyday photos, the standard format is often the best choice. HEIC and JPEG files are small, fast, and ready to use. Your phone already handles most of the processing very well, especially in daylight and ordinary family situations. A photo of lunch, a walk, a pet, or a quick street observation does not always need a RAW workflow.
RAW is only useful if you intend to edit before sharing.
For moving subjects, standard processing is often even more reliable. Phones sometimes combine multiple images to reduce noise and increase dynamic range. With children, animals, or action, you do not want too much delay or enormous files that you will never open later.
For social media, RAW is usually an intermediate step rather than the final goal. Instagram, WhatsApp, and websites will ultimately receive a compressed image anyway. RAW is only useful if you intend to edit before sharing. If you want to post immediately, HEIC or JPEG is more practical.
Editing on your phone without overdoing it
A RAW file invites you to move every slider. That is also the danger. Smartphone photos can quickly become too “crispy”: too much clarity, too much structure, colors that are too vivid, and shadows opened up to an unnatural degree. A restrained approach often works better, especially with phone photos.
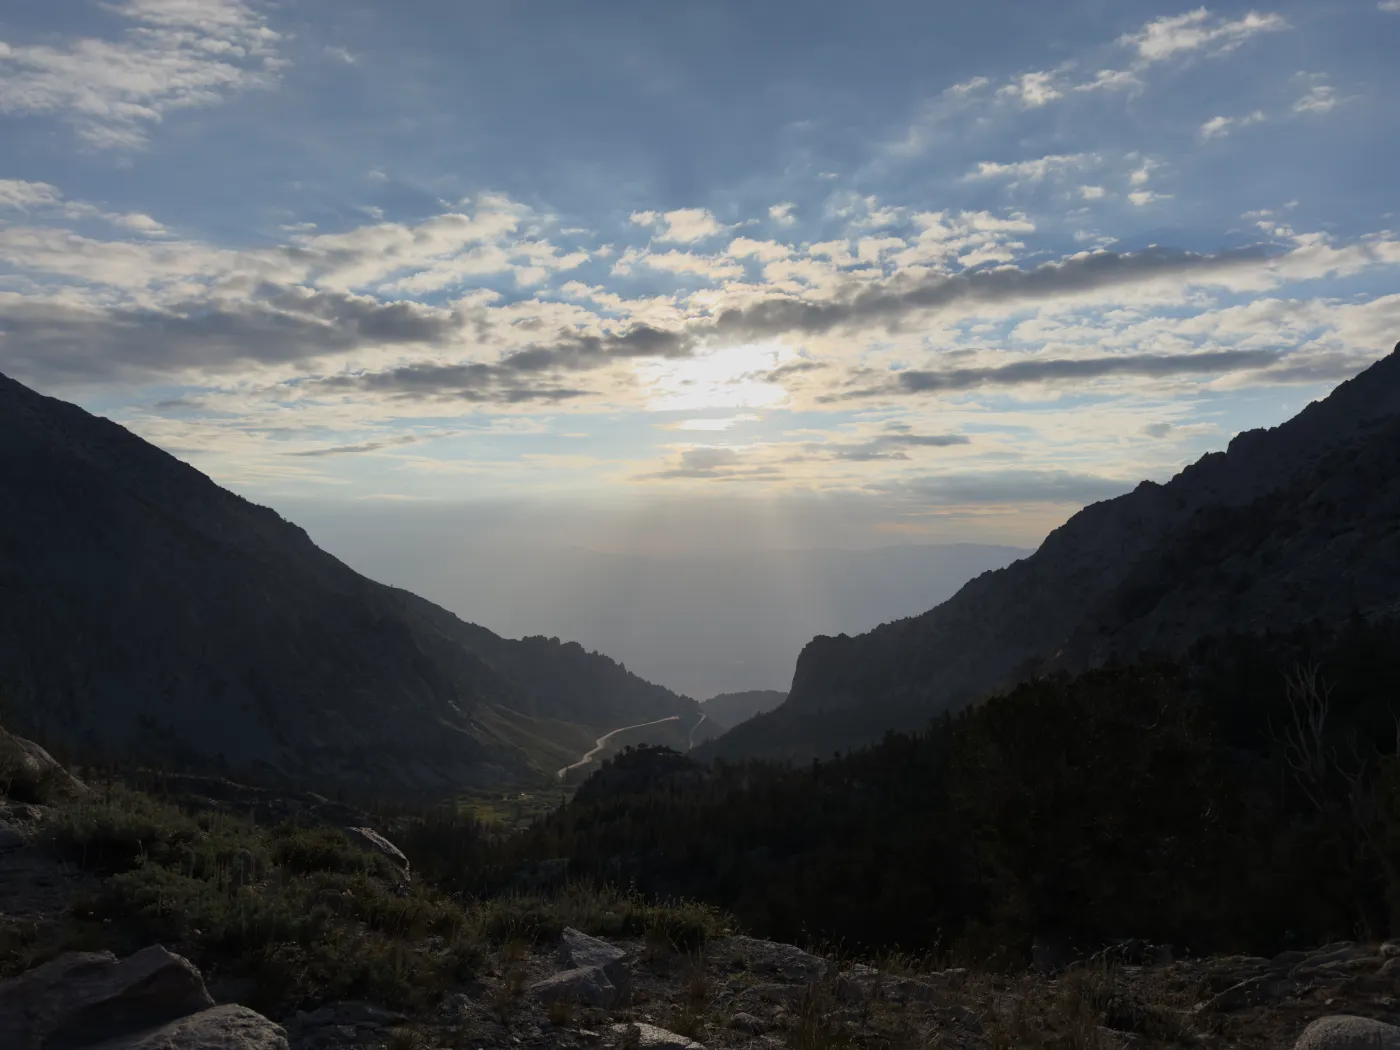
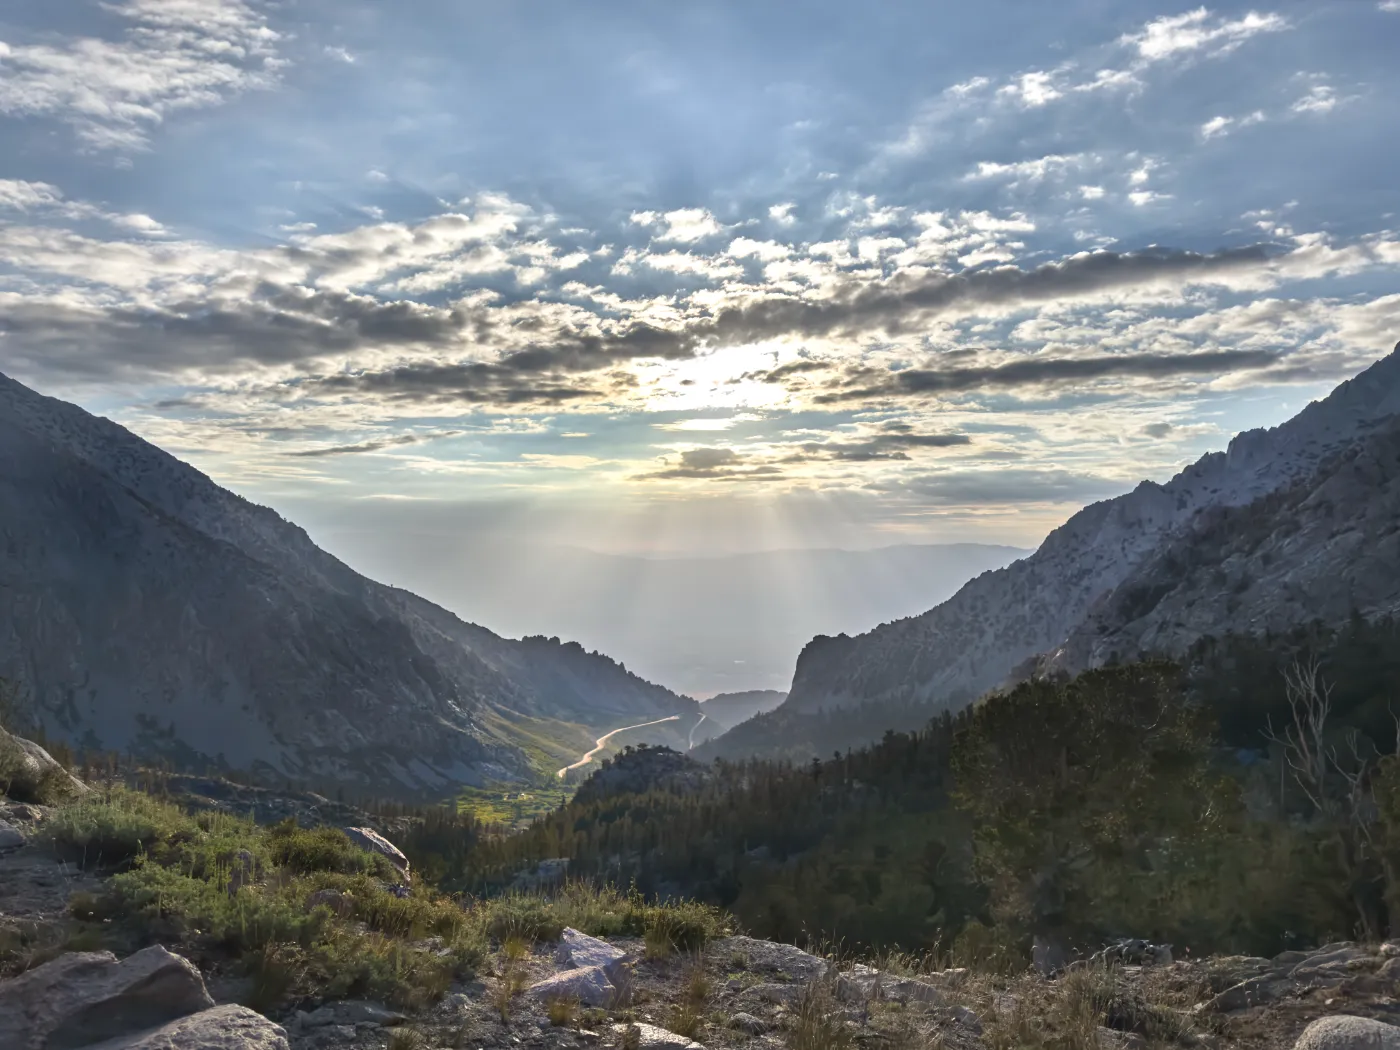
Start with the basics. Set the white balance first. Then correct the exposure, recover highlights carefully, and open up shadows only when the image calls for it. Let blacks remain black. A night photo does not have to look like an afternoon photo.
Next, look at contrast and color. Avoid an automatic HDR look in which everything becomes equally important. A photo needs direction: where should your eye go? A slightly darker edge, a calmer background, or less saturation can be more effective than even more detail.
Apps such as Lightroom Mobile, Apple Photos, Google Photos, and Snapseed are excellent for editing photos on your smartphone. For a broader comparison of useful apps for shooting, working with RAW, and editing, see our guide to the best photography apps for your smartphone.
A simple workflow
A useful habit is to shoot in HEIC or JPEG by default and switch on RAW only for important images. Think of it as a deliberate choice, not a permanent setting.
When in doubt, capture a RAW+JPEG or RAW+HEIC combination if your phone supports it. That gives you an immediately usable image and a file with extra latitude. Do not keep everything afterward. RAW files consume a great deal of storage space. Choose the best photos, edit them carefully, and export the final result as JPEG or HEIC for use on a website, in email, or on social media.
Think of it as a deliberate choice, not a permanent setting.
If you want to approach smartphone photography more seriously, you can also pay closer attention to focal length and camera position. A more open, calmer image often comes not from RAW, but from stepping back, looking for the light, and framing with less haste. You can also see this when deliberately working with a fixed angle of view, for example with smartphone photos at 35mm, or when you explore what a telephoto lens on your phone does to your framing.
How do you turn on RAW?
The exact location varies by phone and software version, but on recent devices you will usually find RAW in the camera settings or in a Pro mode.
On a recent iPhone with ProRAW support, go to Settings > Camera > Formats and turn on Apple ProRAW. Then open the Camera app. You can use the RAW button in the upper-right corner to decide whether to use RAW for each photo.
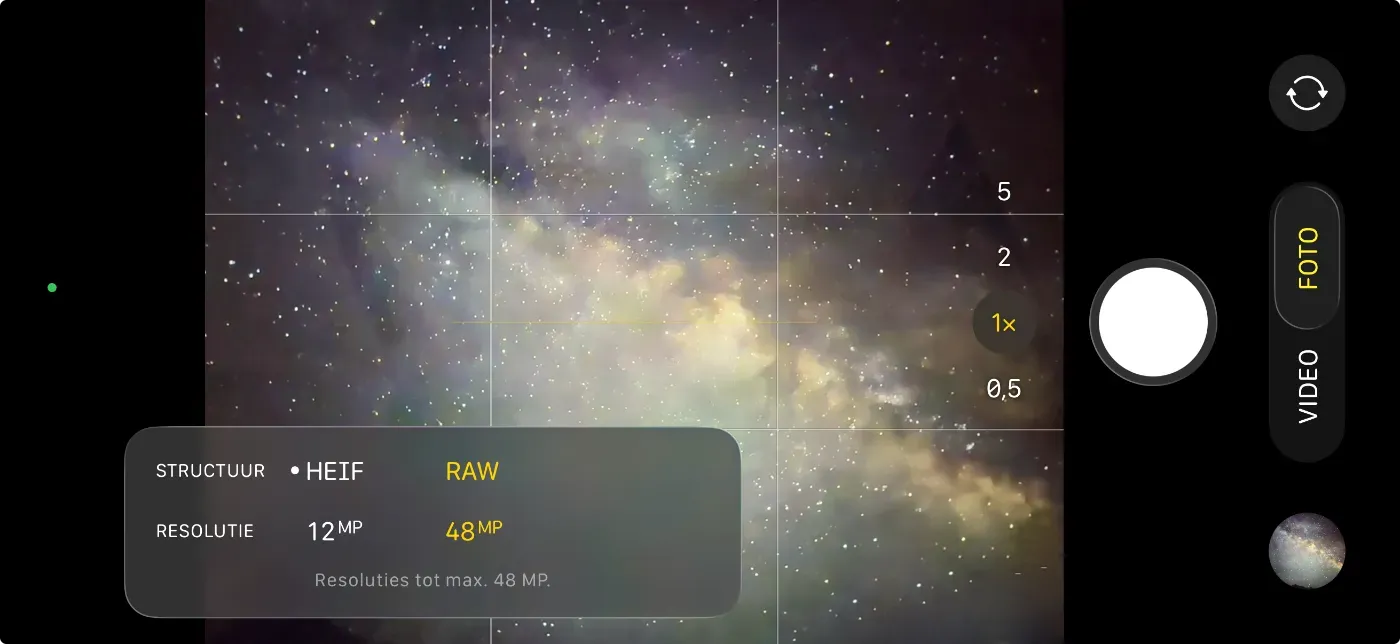
On Android, the location varies more by brand. On Samsung, you will often find the option under Camera settings > Advanced picture options, where you can enable RAW copies. On newer flagship models, you can also use the Expert RAW app.
On Google Pixel, you will usually find the option under Camera > Settings > More settings > Advanced, where you enable RAW/JPEG control. On the Pixel 8 Pro and later Pro models, you can select RAW directly in Pro mode.
If you do not see these options, your phone probably does not support RAW, or supports it only through a compatible camera app. In that case, JPEG or HEIC is your starting point, and careful exposure becomes even more important.
RAW or JPEG: choose for each photo
The best choice depends less on the logo on your phone than on what you want to do with the photo. If you want to share it quickly without editing, HEIC or JPEG is usually sensible. If you want to carefully finish, correct, or preserve an image for later, RAW may be worthwhile.
RAW does not automatically rescue a mediocre photo. It mainly helps a good photo that needs just a little more technical latitude. The advantage lies in recoverable skies, believable colors, softer highlights, and an edit that does not immediately fall apart.
RAW on your phone is therefore not an everyday trick, but a useful tool for moments when light, color, and memory deserve a little more attention.



