The iPhone camera is rarely the problem. More often, the biggest gains come from small settings that determine whether your camera behaves predictably, keeps things level, and does not suddenly do something other than what you intended.
Anyone who takes a lot of photos with a phone knows the feeling: the camera forgets your previous choice, suddenly switches to another lens for a close-up, or produces a photo that looks just slightly crooked or soft. That is not always due to your subject or the quality of the sensor. Often, you simply need to go through Settings > Camera.
There you will find various options for composition, image processing, and camera behavior. There is also a separate Preserve Settings section, where you decide which choices the Camera app should remember.
Not every option is available on every iPhone model, and Apple sometimes changes minor names or details between iOS versions. Still, these five settings are worth checking deliberately. Not because everything needs to change, but because it helps to know what your iPhone is deciding for you.
1. Preserve Settings
Under Settings > Camera > Preserve Settings, you decide which camera choices your iPhone should remember after you close the Camera app.
That may sound minor, but it prevents a surprising amount of frustration. If you regularly use Portrait mode, prefer to turn off Live Photo, often lower the exposure slightly, or shoot in ProRAW, it is helpful when the camera does not automatically return to its defaults every time.
The exact choices you can preserve depend on your iPhone. You may see options including Camera Mode, Creative Controls, Exposure Adjustment, Night Mode, Portrait Zoom, Macro Control, and Apple ProRAW.
If you photograph more deliberately, this makes the iPhone camera much more predictable.
If you want to know when RAW or ProRAW offers a real advantage, also read Shooting RAW with your phone.
2. Macro Control
Back on the main Settings > Camera screen, supported iPhones include a Macro Control option.
For close-ups, the iPhone can automatically switch to the Ultra Wide camera so it can focus at very close range. That is a clever solution, but it is not always welcome. The image can visibly jump, the framing changes, and sometimes your subject suddenly looks different than it did a second earlier.
Macro Control gives you more control over this behavior. When you get close enough to your subject, a flower icon appears in the Camera app and lets you influence the automatic macro feature.
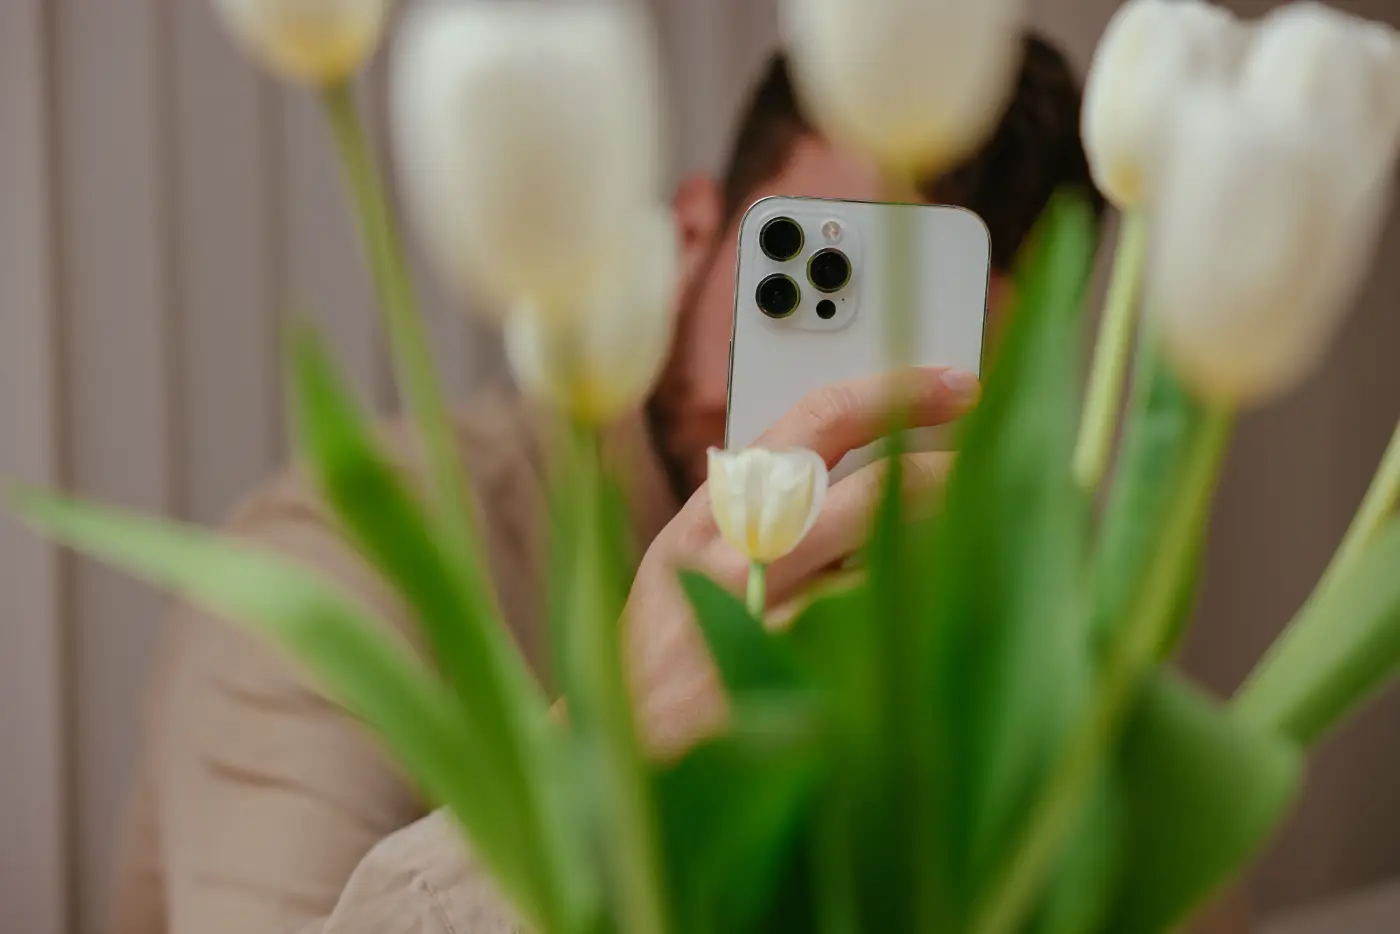
This is especially useful for flowers, food, small objects, and detail shots, as well as when you photograph a print, document, or small product and want to keep your framing steady.
There is a small but important distinction: under Settings > Camera > Macro Control, you enable the ability to control macro mode yourself. Under Preserve Settings > Macro Control, you can then tell the Camera app to remember your last choice.
You certainly do not need to turn macro mode off by default. The important thing is to recognize what is happening when your iPhone suddenly switches cameras at close range.
Being more deliberate about which camera your phone uses also helps at other focal lengths. For example, read Smartphone photos at 35mm: a calmer composition.
3. Depth Control
If you enjoy taking portraits with background blur, Depth Control under Settings > Camera > Preserve Settings is worth exploring.
Depth Control determines how strongly the background is blurred. A lower or higher value therefore creates a subtler or more pronounced portrait effect. You can make that choice while shooting and, with compatible photos, adjust it later as well.
When you enable Depth Control under Preserve Settings, the Camera app remembers the last depth setting used for Photo, Portrait, and Cinematic modes. You do not have to set the same amount of background blur every time; your last choice is remembered. This is especially useful if you deliberately prefer a more natural-looking portrait and do not always want the maximum simulated blur.
The iPhone 18 Pro adds a physically adjustable lens opening to the mix. Find out what the iPhone 18 Pro's variable aperture does and how it differs from software-based background blur.
4. Grid and Level
In the Composition section under Settings > Camera, you will find Grid and Level, among other options.
They may not be the most exciting settings, but they are two of the most useful. The grid gives you more guidance for composition, while the level helps you make horizons and lines genuinely straight.
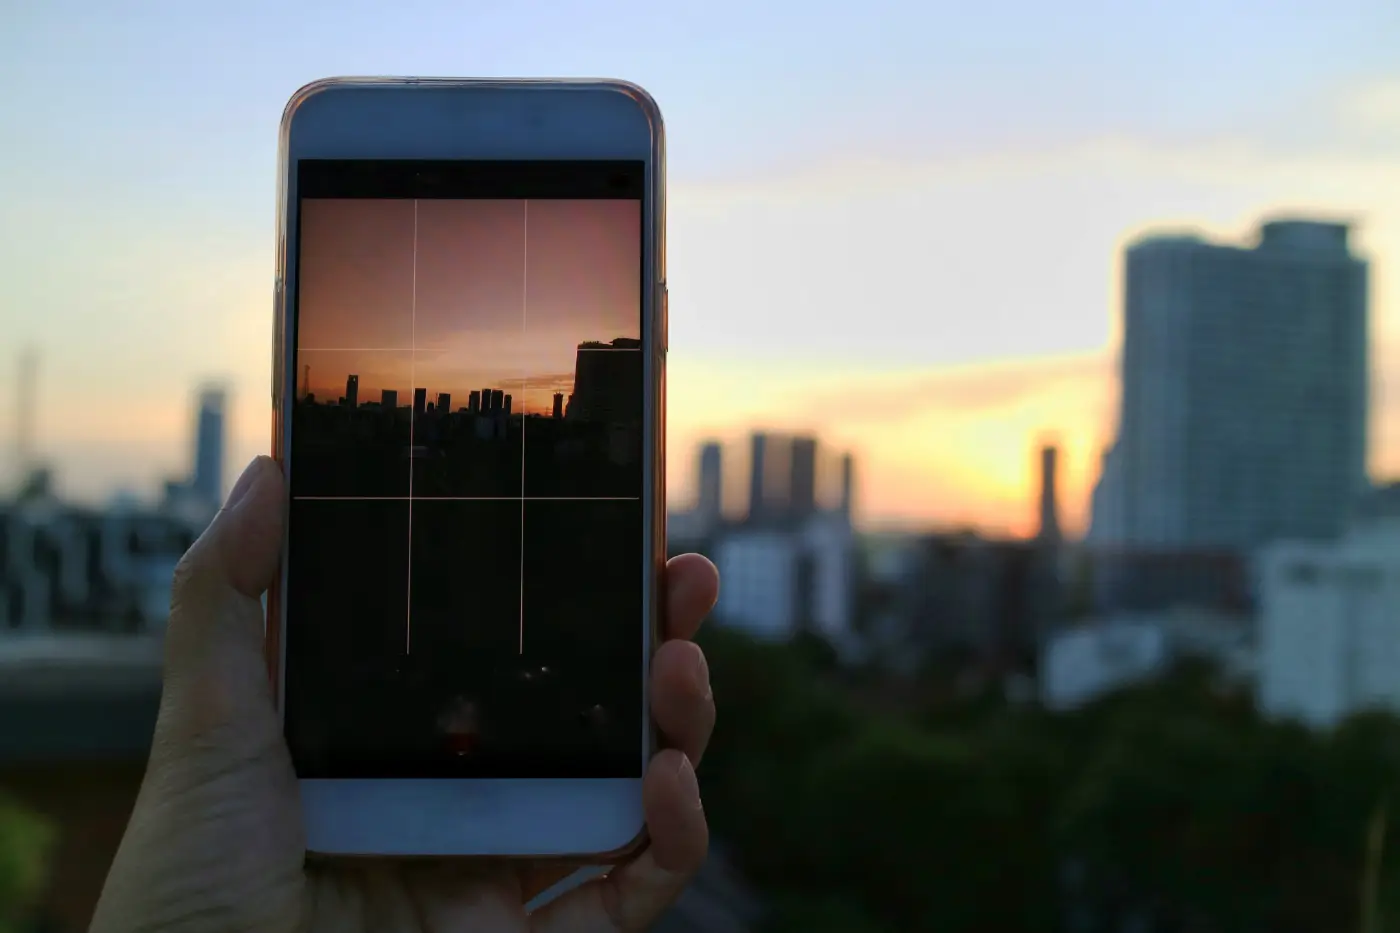
For vacation photos, street scenes, landscapes, interiors, and architecture, that makes more difference than you might think. Many phone photos fail not because they are out of focus, but because they tilt slightly or are framed awkwardly.
A grid helps you compose more calmly and apply techniques such as the rule of thirds. The level shows when you are holding the camera straight as you shoot. Anyone who mostly shoots quickly and handheld will often notice an immediate improvement. These are exactly the kinds of settings that sound unremarkable but can instantly make your photos look more polished.
If you want to go beyond the grid and level, also see our tips for getting the most from your smartphone camera.
5. Prioritize Faster Shooting
Farther down under Settings > Camera is Prioritize Faster Shooting. If you often photograph children, pets, sports, street scenes, or other fast moments, this setting can be useful. The iPhone adjusts its image processing when you press the shutter button several times in quick succession.
That may sound like a detail, but with movement, that fraction of a second can make the difference between being just too late and capturing the moment perfectly. The camera can take consecutive photos more quickly instead of spending the maximum amount of time processing each shot.
The setting is on by default, and that is a good choice for many users. If you mostly photograph still subjects such as landscapes, architecture, or products, the extra speed is less important.
It is not necessarily a setting you need to change. The main thing is to know that it exists and why the iPhone may behave differently when you take several photos in quick succession.
Bonus: Lens Cleaning Hints
A little farther down, supported iPhones have Lens Cleaning Hints. This setting alerts you when the iPhone thinks a camera lens is dirty or greasy and cleaning it may improve image quality.
That almost seems too simple to mention, but that is exactly why it is useful. When photos look hazy, soft, or slightly milky, many people immediately blame autofocus, software, or a camera that is starting to deteriorate.
In reality, a fingerprint, pocket lint, or a greasy film on the lens can be enough to noticeably reduce detail and contrast. This becomes especially obvious when shooting into the light. Wiping the lenses with a clean, soft cloth can sometimes help more than an entire round of post-processing.
Which two should you check first?
If you want quick results, start with “Preserve Settings” and “Macro Control.” They often have the greatest impact on how predictable your iPhone camera feels.
If you mainly come home with crooked images or messy framing, turn on “Grid” and “Level” right away. And if you photograph many fast moments, such as children, pets, or street scenes, “Prioritize Faster Shooting” is another logical option to review.
The biggest improvement ultimately does not come from one magic button. It comes from a camera that behaves a little less stubbornly, so you can photograph the way you intended more quickly.
If you want even more control over shooting and editing beyond the standard Camera app, also check out our ten favorite photography apps for your smartphone.