For many photographers, the M mode still feels like a hurdle. As long as the camera itself measures the light, everything feels comfortable and safe. But as soon as you have to set the shutter speed, aperture and ISO yourself, it suddenly seems like a lot can go wrong. Sound familiar? The good news: manual exposure is a lot less complicated than it seems.
The classic Sunny 16 rule is a good example of this. A simple guideline that has helped photographers for decades, and is still surprisingly useful in the digital age.
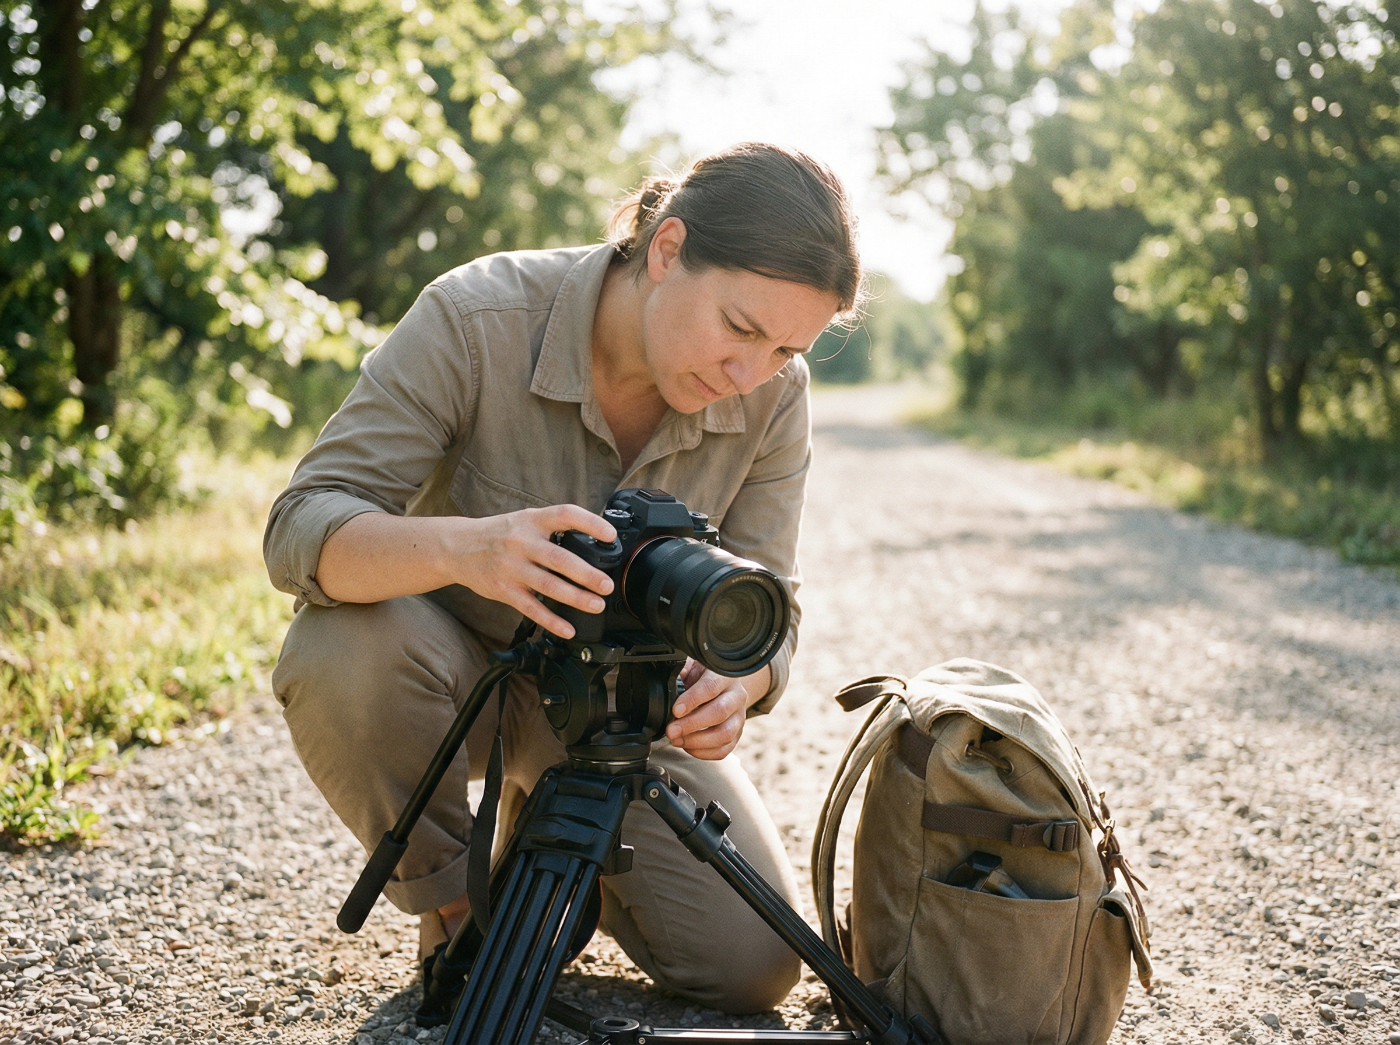
The big difference with the past is that you now receive direct feedback. You can immediately see what's happening via live view, histogram and highlight alerts. RAW files and Auto-ISO also make exposure a lot more relaxed. As a result, you don't need the Sunny 16 rule to survive technically, but it is a nice way to better understand how light works.
And that is precisely what is valuable. Because anyone who understands light also understands better what the camera does and automatically gains more creative freedom.
What is the Sunny 16 rule?
The Sunny 16 rule basically says this: on one sunny day photograph with f/16 and choose a shutter speed that is approximately equal to 1 divided by your ISO value.
So for example:
ISO 100 → 1/100 sec
ISO 200 → 1/200 sec
In many cases you are surprisingly close to good exposure. The rule comes from the analog era, but it still works because sunlight is quite predictable. Digital cameras may have smart light metering and live view, but the basics of exposure have remained the same.

How do you use the Sunny 16 rule on a digital camera?
See the Sunny 16 rule mainly as a starting point. Put your camera in the M position, choose an ISO value, set f/16 and set the shutter speed around 1/ISO. Take a photo, look at your histogram or highlights, and make any adjustments if necessary.
This way you work consciously, without having to calculate or guess.
Sunny 16 variants in different weather
Light is constantly changing, and so are your settings. The Sunny 16 rule does not stand alone. Traditionally, separate names were given to variants for different light. For example, snow or beach in full sun was nicknamed “Snowy / Sandy f/22 Rule”, because it reflects more brightly than normal daylight.
In slightly cloudy weather this was called the “Overcast f/11 Rule”, in uniform gray light the “Heavily Overcast f/5.6 Rule”, and around sunset the “Sunset f/4 Rule” was often mentioned.
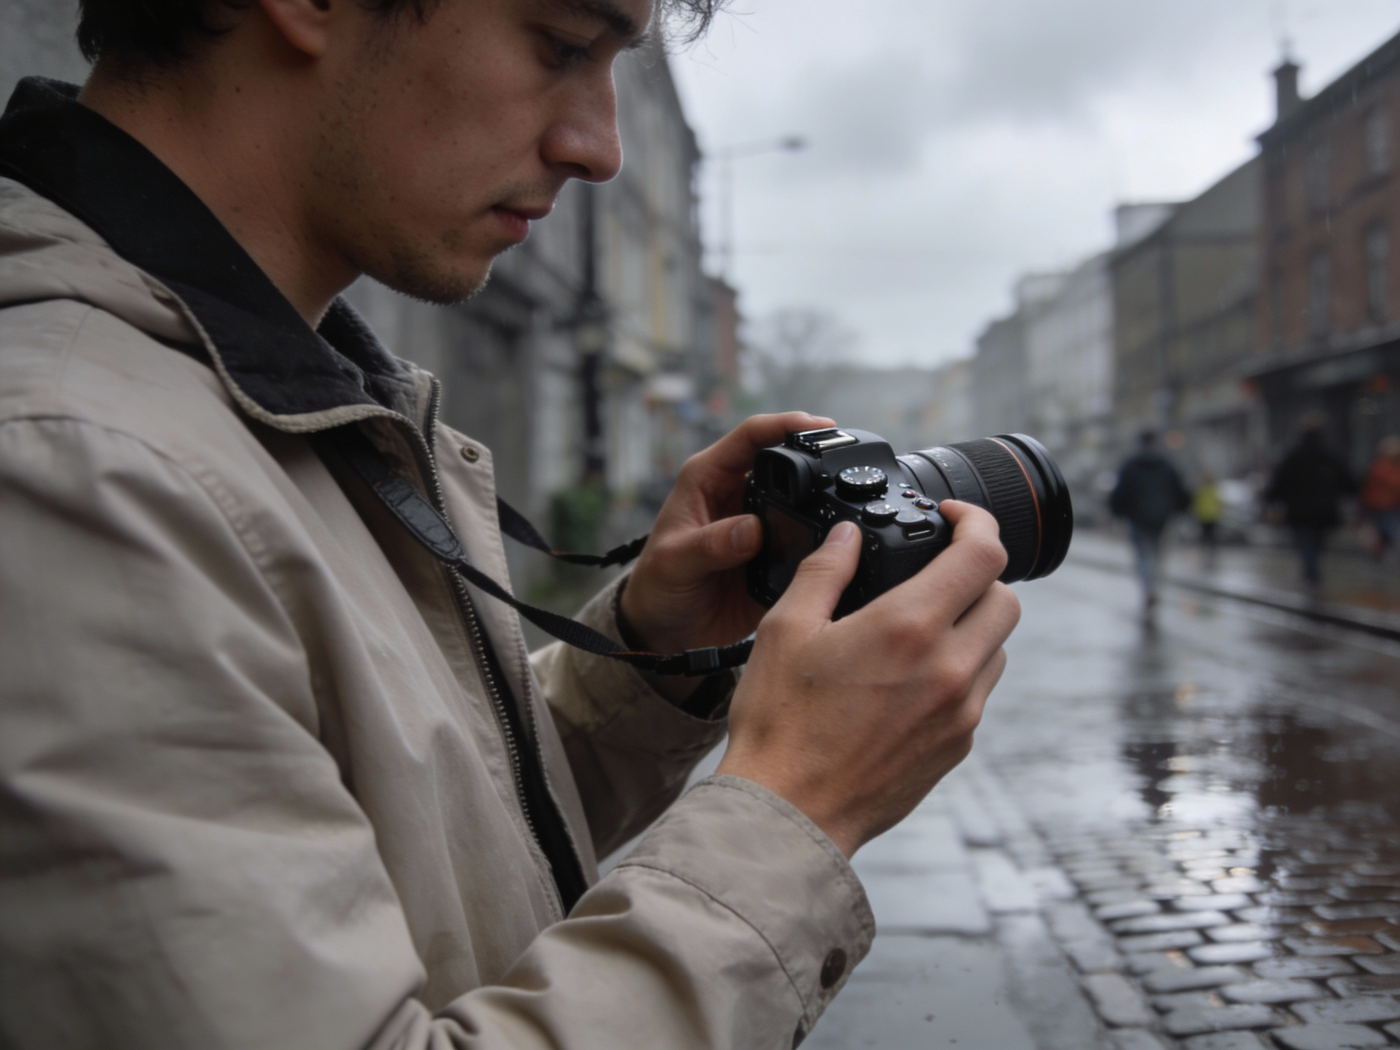
In fact, all these rules together form one logical system: the less light, the larger the aperture. Sunny 16 is only the starting point in full sun, the rest will follow automatically.
So:
• in slightly cloudy weather you can often do well around f/11
• if the sky is uniformly gray, then f/8 is usually more realistic
• in heavy clouds or deep shadows, shift towards f/5.6
• if you are on a beach or in the snow in full sun, even f/22 may be suitable
However, such a small aperture as f/22 can cause a slight loss of sharpness in modern high-resolution cameras due to diffraction, an optical phenomenon in which your photo becomes slightly less sharp when you narrow the aperture. Many photographers therefore prefer to choose f/8 or f/11 and compensate with shutter speed or ISO. The idea remains the same, the implementation has just become a bit more modern.
When do these exposure rules work (do and don't)?
These simple lighting rules work especially well in situations with constant daylight. Think of street photography, reports, travel, landscapes and of course analogue photography. They provide consistency and confidence: you have to rely less on the automatic mode and you will automatically look at the light more consciously.
These simple lighting rules work especially well in situations with constant daylight.
In situations with little light or fast action, it works less naturally. For example at sport, concerts, evening photography or inside. There it is often mainly about shutter speed and ISO. The rules are not wrong, just less practical as a starting point.
This way you can easily start in M mode
Use rules such as Sunny 16 mainly as a guideline for the amount of light. From that starting point you can then make your creative choices. Sometimes that means that you deviate from f/16. Choose the aperture that suits your image, for example f/4 for a portrait with a soft background or f/11 for a landscape, and then easily correct the exposure with shutter speed or ISO.
After a while you notice that you are no longer guessing settings, but that you really start to see how much light there is. And that is perhaps the biggest benefit of manual photography.

Conclusion
The technology around us is changing faster than ever, but light remains light. That's why rules for lighting situations, like the Sunny 16, are still very useful: they really help you see. They give you a starting point, a little push, so that the M mode becomes less exciting and you can photograph more intuitively instead of letting the automatic decide everything.
And then manual exposure turns out not to be something to be afraid of, but rather something that gives you a lot of freedom.



