When photography was still shot on film, formal training often began with black and white. It was ideal for beginners because the film was easy to process and the darkroom techniques were straightforward. Today, digital photography lets us bypass the entire film-to-darkroom process, so many photographers miss the opportunity to learn how to see and shoot in black and white.
Why, after all, would we want to photograph in subdued shades of gray when we live in a world of color? Yet black and white photos offer something color images do not: simplicity. Remove the color from a photograph and the result immediately becomes simpler and often more direct than the original.
Removing color also removes the emotions that color can convey—an effect that matters especially in advertising. Without warm reds and oranges, we lose some of the excitement and optimism they evoke. Without blues and greens, we lose some of the peace and calm associated with cooler colors.
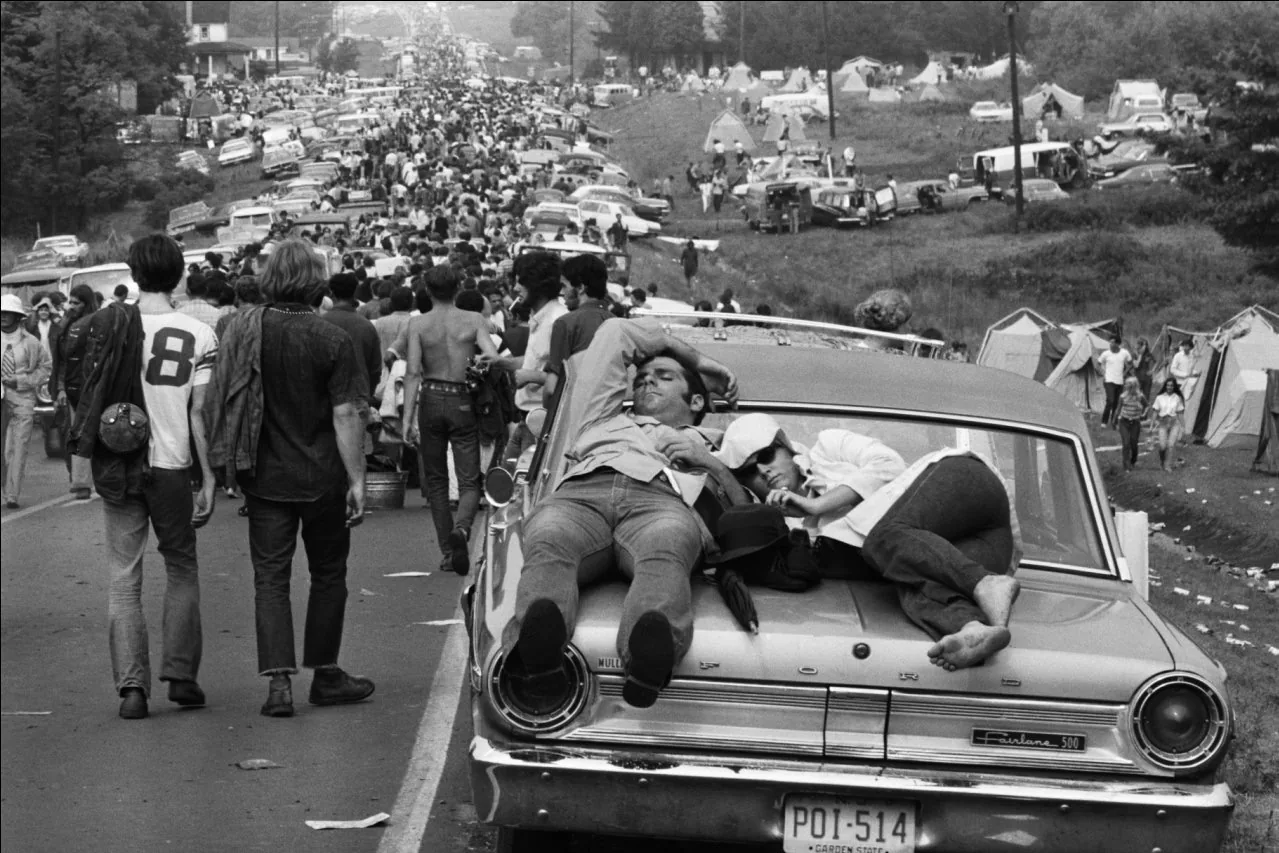
Instead, black and white photographers must rely on the content of the image to convey emotion. And that's not a bad thing - it's an excellent challenge for anyone interested in improving their photographic skills in general and their composition skills in particular.
Black-and-White Images in the Digital Age
Your camera’s black-and-white mode is not the best way to produce a compelling monochrome photograph. The processor in the camera is rarely good at converting a color image into a pleasing range of gray tones. Rely on that mode and the result may look flat and lifeless: muddy grays where the color once provided separation.
But photographing color JPGs and converting them in post-processing is not the solution either. That's because the JPG is a compressed format by nature, which means that when you save a JPG image, your camera throws away information it deems unnecessary in the interest of creating a smaller file. As photographers, we know better, of course.
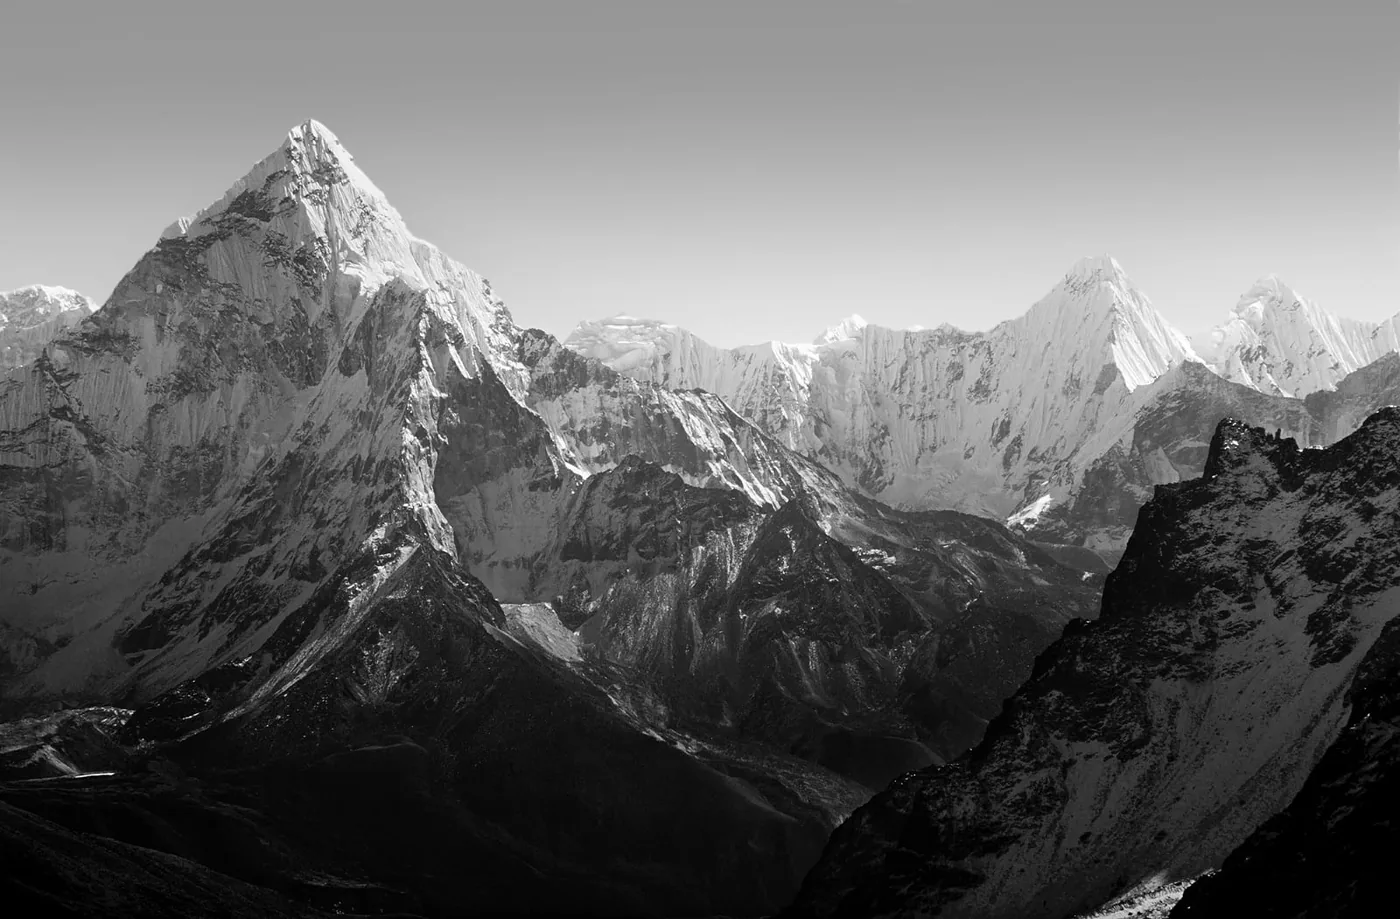
We know that when it comes to a photographic image, there is no such thing as 'unnecessary information'. You need that higher dynamic range to get an image with a good palette of tones, from black to white and everything in between. So if you're shooting with the intention of converting that to black and white, shoot in RAW. This way, the post-processing software has all the information it needs to produce a great black and white image.
Conversion: Getting the Image Right
If you're familiar with Photoshop or other post-processing programs, you might be tempted to simply open your photo and select "convert to grayscale." Unfortunately, while this is certainly the easiest method, it's really no better than using the black and white mode in the camera. The good news is that the conversion process really isn't that difficult once you know what to do.
This is how it is done in Photoshop:
- Once your file is open and staring back at you in all its colored glory, open the "Adjustments" window. Now click on the 'black and white adjustment' button (which is a square divided into two diagonal parts, one black and one white).
- Now use the color slider (that's right; for the color) to adjust the tones. The image is now in black and white, but that underlying color data is still there, and that's what is used to adjust the image. Instead of clicking that 'black and white adjustment' button, you can instead click the 'channel mixer' button (that's the multi-colored button that looks a bit like the universal recycling symbol).
- After this, you can click on 'monochrome' and adjust the sliders until the image looks as desired.
This is almost the same in other photo editing programs.
Refinement
If you are one of those old-school photographers who learned their trade in the darkroom of photo school, then you know what qualities a good black and white print should have. If you've only shot digital photos in color, you may need some extra advice.
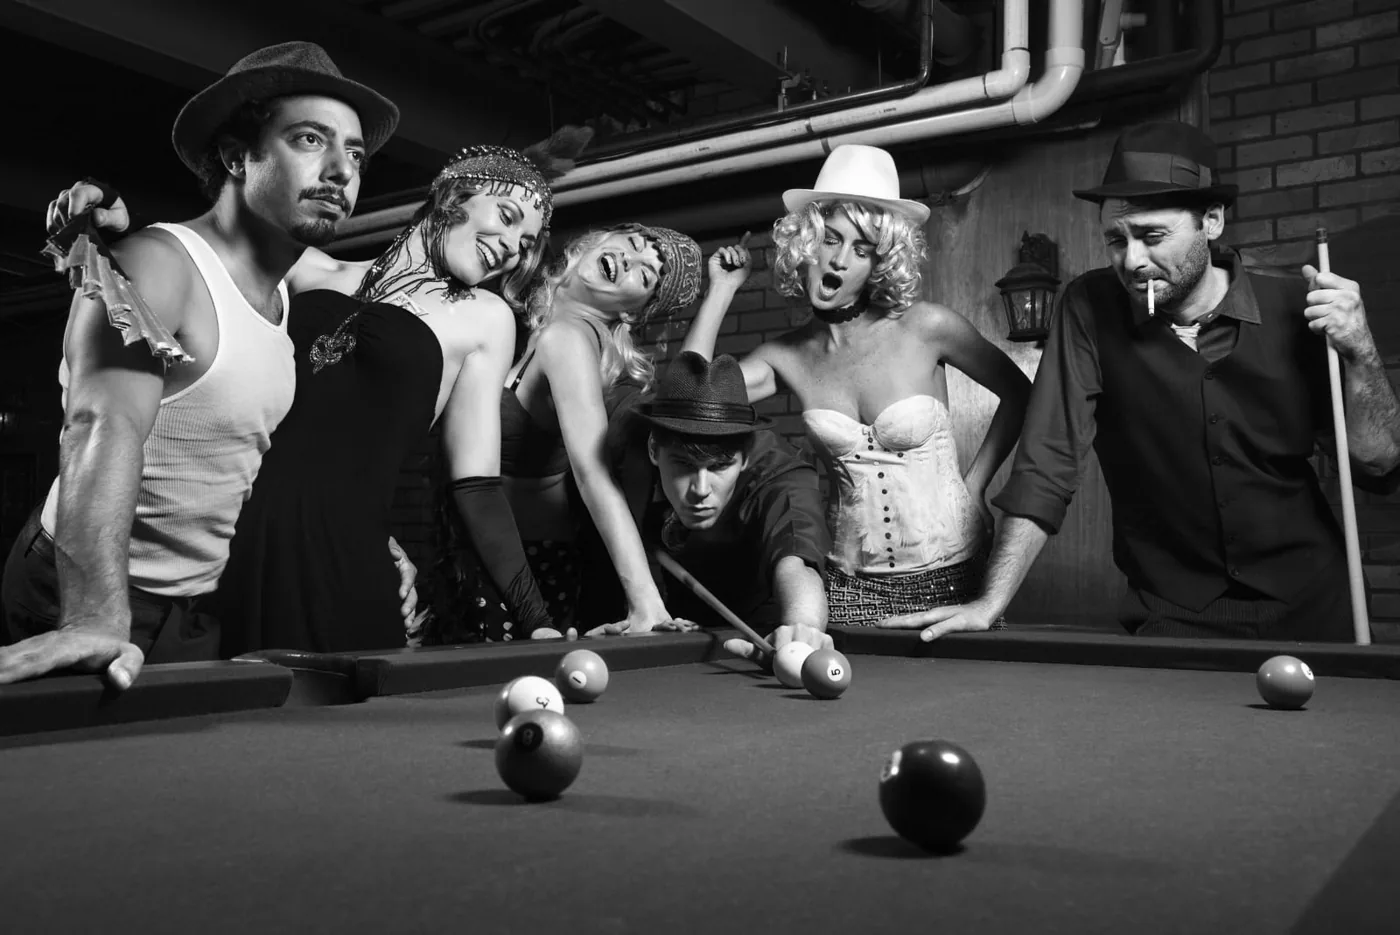
First, take the term "black and white" literally. A black and white photo should always have black and white. This means a deep, rich black and a bright white (a bleached out sky doesn't count as white). For example, when photographing people, white and black clothing can also be used.
Nowadays you can also do this in post-production and that's what those sliders are for. By adjusting them you can get closer to that black and closer to that white. Contrast can be added or removed, details brought out or toned down, depending on the purpose. And the only way to truly master what those sliders can accomplish is to practice.

In your search for those perfect blacks and those whites, don't forget the grays either. Your goal is to have a range from almost white to almost black. Too few shades of gray quickly makes an image too harsh.
In addition to getting black and white areas, the sliders can also be used to control the shades of gray in an image.
Printing Considerations
Many computer users don't think about their monitor. Have you ever wondered why that red T-shirt you ordered online turned out to be more maroon when you took it out of the box? That's because your monitor isn't calibrated to display colors as they actually look (although the photography on that website might have something to do with that too).
A monitor needs to be calibrated, not only to show true colors, but also to provide an accurate picture of black and white images. This is important so that when you get your photos printed, you don't want to be surprised (and disappointed) by the results. So don't use a monitor that is set to high contrast and 100% brightness when editing those black and white photos, because if you want to have your photo printed on canvas, for example, it will not look exactly as it does on your screen. Use a monitor calibration tool to find the monitor's black point before proceeding to file conversion.
Conclusion
Remember that converting to black and white will not rescue a poor image, so continue to apply all the composition and lighting rules that matter in color photography. Think of black-and-white photography as a different way of seeing the world. Before deciding to make a monochrome image, look for line and shape. If those qualities stand out more strongly than the color, the scene may have real black-and-white potential.
© In collaboration with / thanks to David Peterson - Fotografie.nl
If you want to see how powerful black and white photography is used in international photo competitions today, you can also look at the winners of the MonoVisions Awards 2026.



