Een polarisatiefilter is een van de weinige camerafilters waarvan het belangrijkste effect niet overtuigend achteraf is na te maken. Het filter vermindert bepaalde reflecties al vóórdat het licht de sensor bereikt. Daardoor worden kleuren voller, bladeren rustiger, wateroppervlakken transparanter en landschappen vaak helderder. Vooral voor landschapsfotografen is een polarisatiefilter daarom nog altijd een waardevol hulpmiddel.
Wat doet een polarisatiefilter?
Licht beweegt in verschillende richtingen. Wanneer het wordt weerkaatst door water, glas, bladeren, natte stenen of andere niet-metalen oppervlakken, raakt een deel van dat licht in een bepaalde richting gepolariseerd. Een polarisatiefilter houdt een deel van dit weerkaatste licht tegen.
Je ziet het effect direct in de zoeker of op het camerascherm. Draai aan de voorste ring van het filter en reflecties nemen toe of af. Tegelijk kunnen kleuren verzadigder worden en kan er meer contrast ontstaan tussen een blauwe lucht en witte wolken.
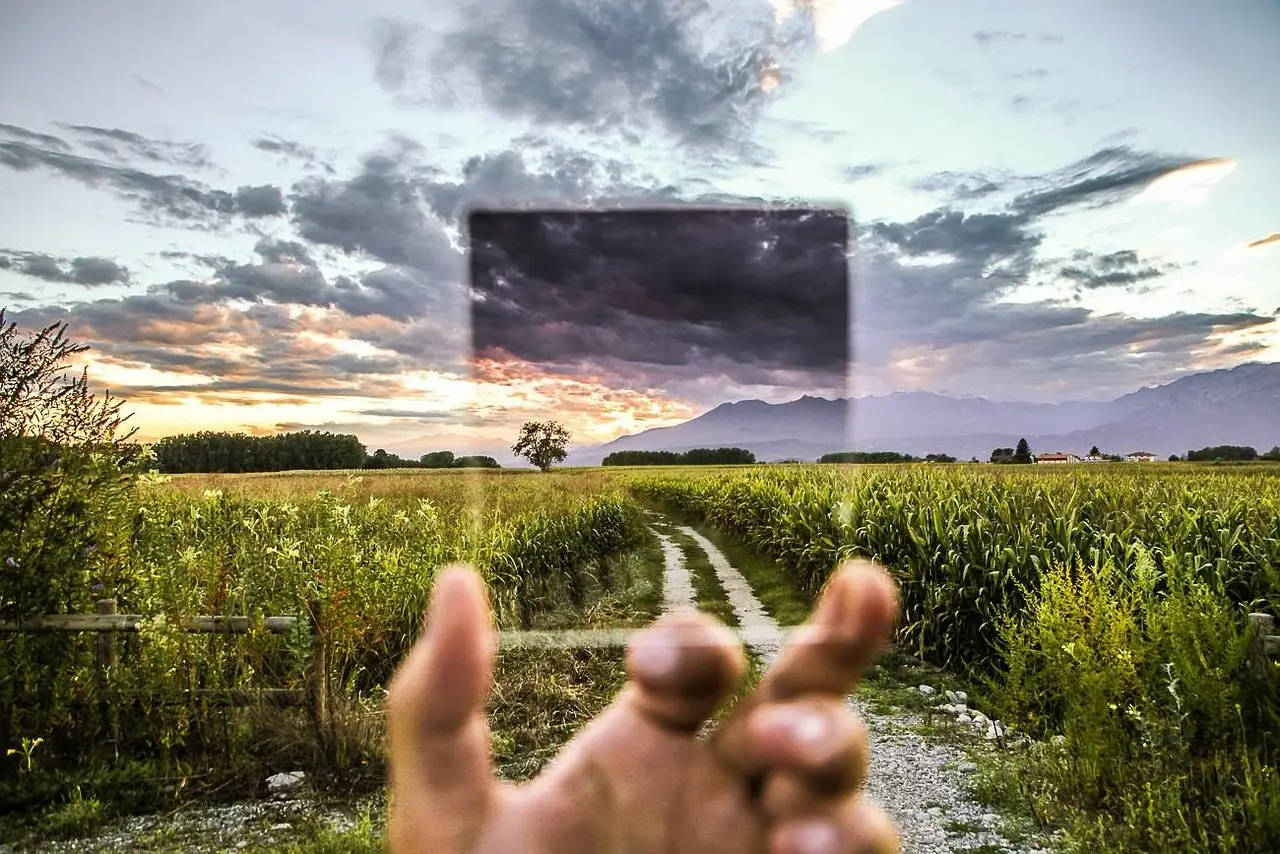
Het filter voegt dus niet simpelweg extra kleur toe. Het verwijdert licht dat details en kleuren afdekt. Dat verschil is belangrijk: wat tijdens de opname achter een sterke reflectie verborgen blijft, kan een beeldbewerkingsprogramma later meestal niet reconstrueren.
Waarom Photoshop dit niet volledig kan nabootsen
In Lightroom of Photoshop kun je contrast, verzadiging en de helderheid van een lucht aanpassen. Je kunt ook een digitaal verloopmasker gebruiken. Maar als een reflectie voorkomt dat de camera door een wateroppervlak of een ruit heen kijkt, is de informatie daarachter niet vastgelegd.
Een polarisatiefilter kan die reflectie tijdens de opname verminderen. Zo worden bijvoorbeeld stenen onder water, details achter glas of de echte kleur van nat gebladerte zichtbaar. Geen schuifregelaar kan later details terughalen die de sensor nooit heeft gezien.
Nabewerking blijft natuurlijk nuttig. Je kunt het resultaat verfijnen, zeker wanneer je in RAW fotografeert, maar de opname met filter bevat andere beeldinformatie dan dezelfde opname zonder filter.
Meer dan alleen reflecties verwijderen
Bij landschapsfotografie draait het effect niet alleen om water of glas. Gras, bladeren, rotsen en natte grond weerkaatsen allemaal licht. Vooral na een regenbui kan een landschap vol kleine glansplekken zitten. Die maken kleuren bleker en het beeld onrustiger.
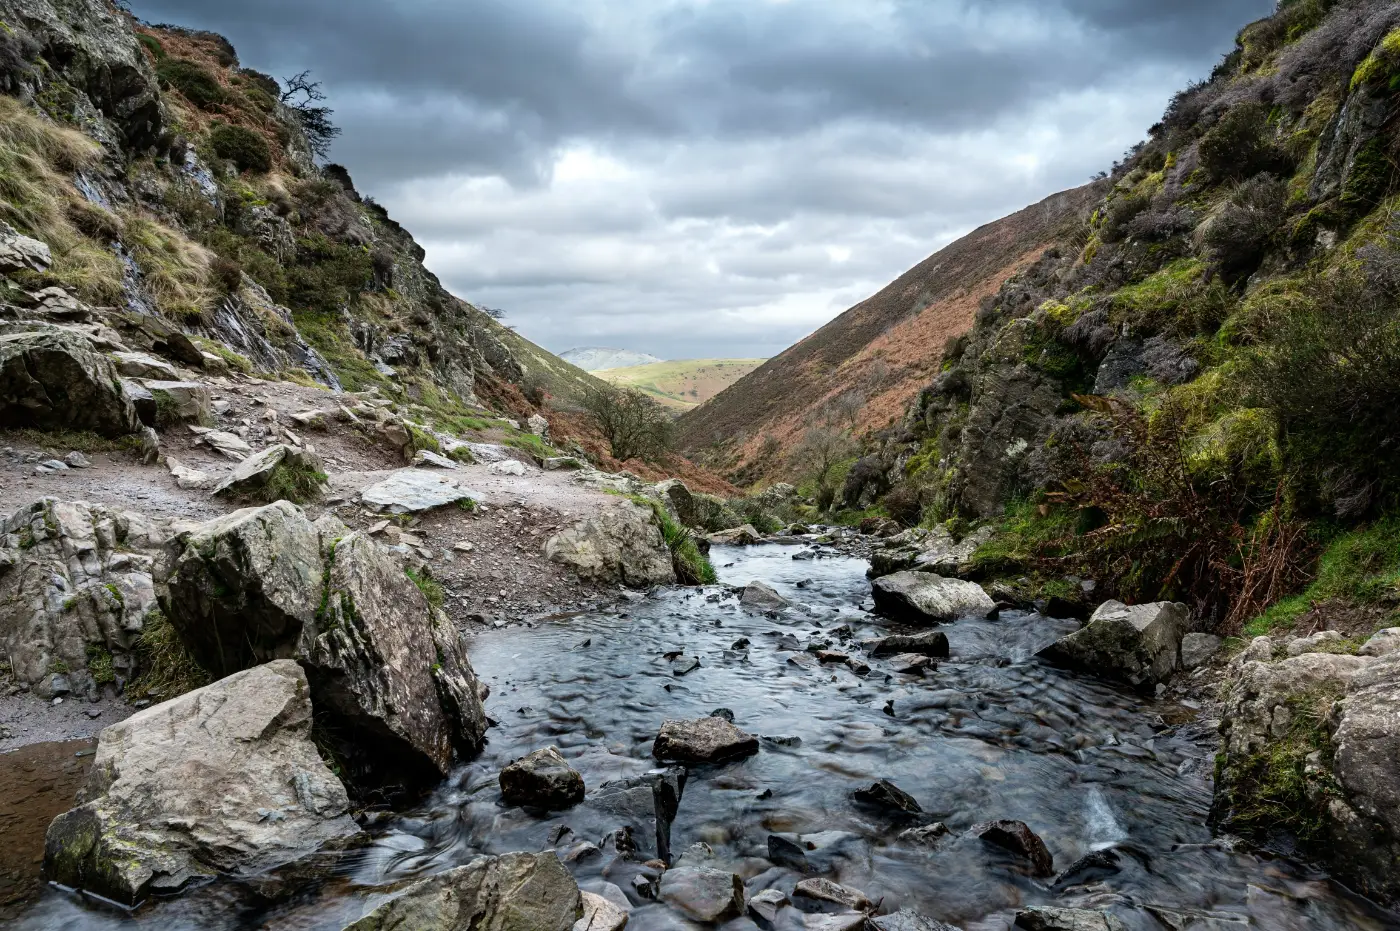
Door het filter voorzichtig te draaien, verminder je een deel van die glans. Groen wordt voller, herfstkleuren worden rijker en structuren komen duidelijker naar voren. Ook atmosferische waas kan in sommige omstandigheden afnemen, waardoor verre heuvels of bergen meer contrast krijgen.
Het resultaat hoeft niet maximaal te zijn. Vaak ziet een gedeeltelijke polarisatie natuurlijker uit dan het volledig wegdraaien van iedere reflectie.
Praktijksituatie 1: Water
Richt de camera op een vijver, beek of nat strand en draai langzaam aan het filter. Je ziet de spiegeling veranderen. In de ene stand weerspiegelt het water vooral de lucht; in een andere stand worden stenen, planten of zand onder het oppervlak zichtbaar.
De maximale stand is niet altijd de mooiste. Zonder enige spiegeling kan water zijn glans en ruimtelijkheid verliezen. Draai het filter daarom terug totdat er een prettige balans ontstaat tussen doorkijken en weerspiegeling.
Praktijksituatie 2: Bos en natte bladeren
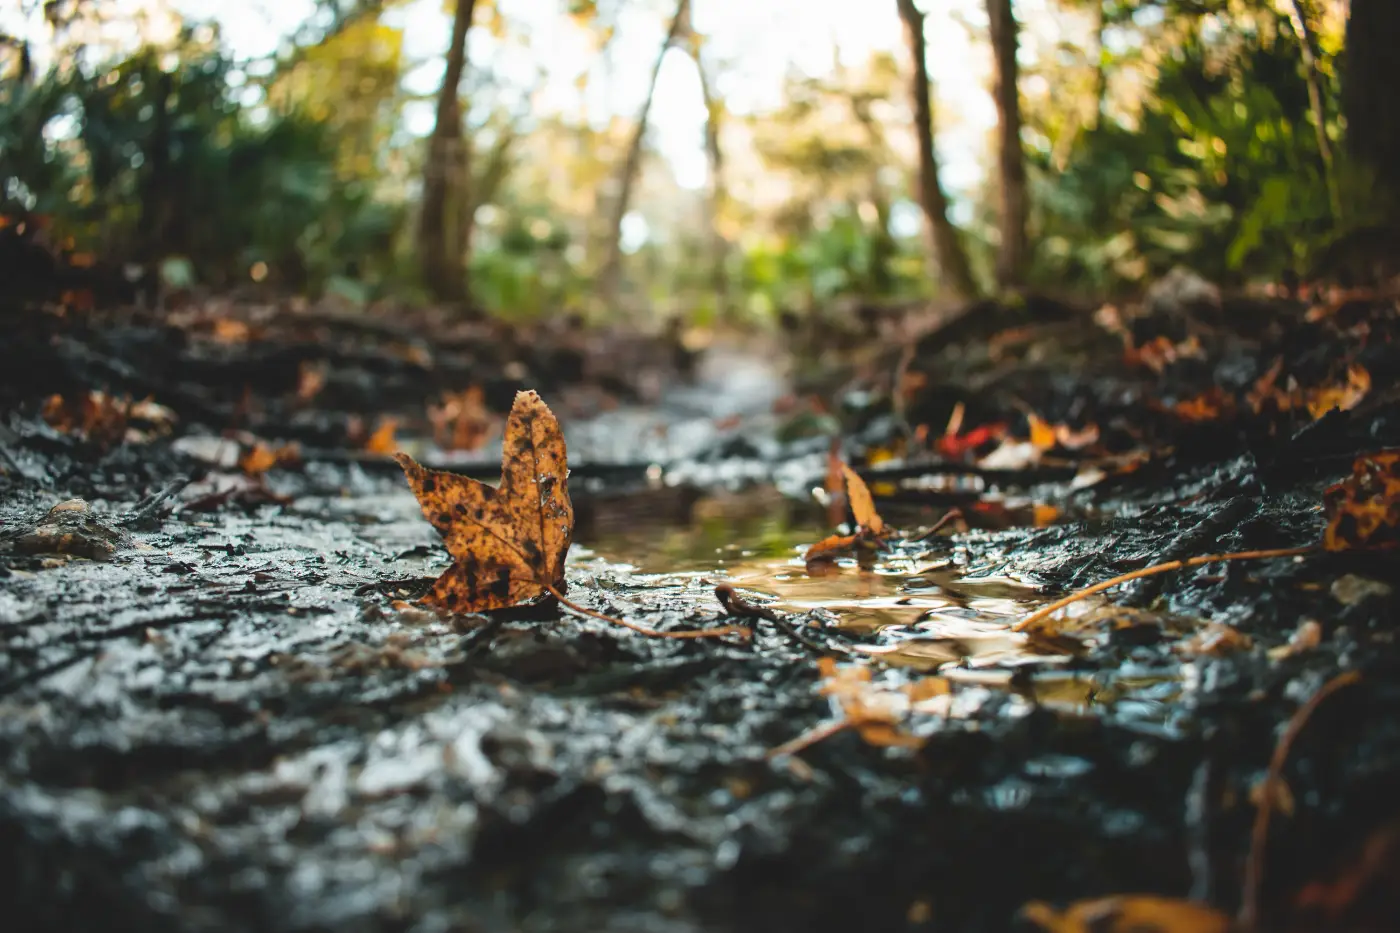
In een bos zijn de verschillen vaak verrassend groot. Bladeren en boomstammen reflecteren licht, zeker wanneer ze nat zijn. Een polarisatiefilter vermindert die glans en maakt de kleuren dieper. Mos oogt groener, boomschors krijgt meer structuur en herfstbladeren worden intenser.
Ook bij watervallen is het filter nuttig. Het vermindert reflecties op rotsen en water én houdt meestal één tot twee stops licht tegen. Dat lichtverlies helpt soms om zonder extra ND-filter een iets langere sluitertijd te gebruiken. Wil je het water veel sterker laten vervagen, dan heb je meestal alsnog een ND-filter voor langere sluitertijden nodig.
Praktijksituatie 3: Lucht en wolken
Een polarisatiefilter kan een blauwe lucht donkerder maken en witte wolken sterker laten afsteken. Het effect is het grootst wanneer je ongeveer in een hoek van negentig graden ten opzichte van de zon fotografeert.
Een eenvoudige manier om de sterkste richting te vinden: wijs met je wijsvinger naar de zon en steek je duim zijwaarts uit. Draai je hand rond je wijsvinger; de richting waarin je duim wijst geeft ongeveer het gebied met het sterkste polarisatie-effect aan.
Met de zon recht voor of achter je is het effect op de lucht veel kleiner. Bij bewolking kan het filter nog steeds reflecties op het landschap verminderen, maar de lucht wordt dan niet ineens diepblauw.
Pas op met ultragroothoek
Bij een ultragroothoekobjectief beslaat de foto een groot deel van de hemel. Omdat de hoek ten opzichte van de zon binnen het beeld sterk varieert, kan de polarisatie ongelijk worden. Je krijgt dan een donkere vlek of band in de lucht, terwijl andere delen veel lichter blijven.
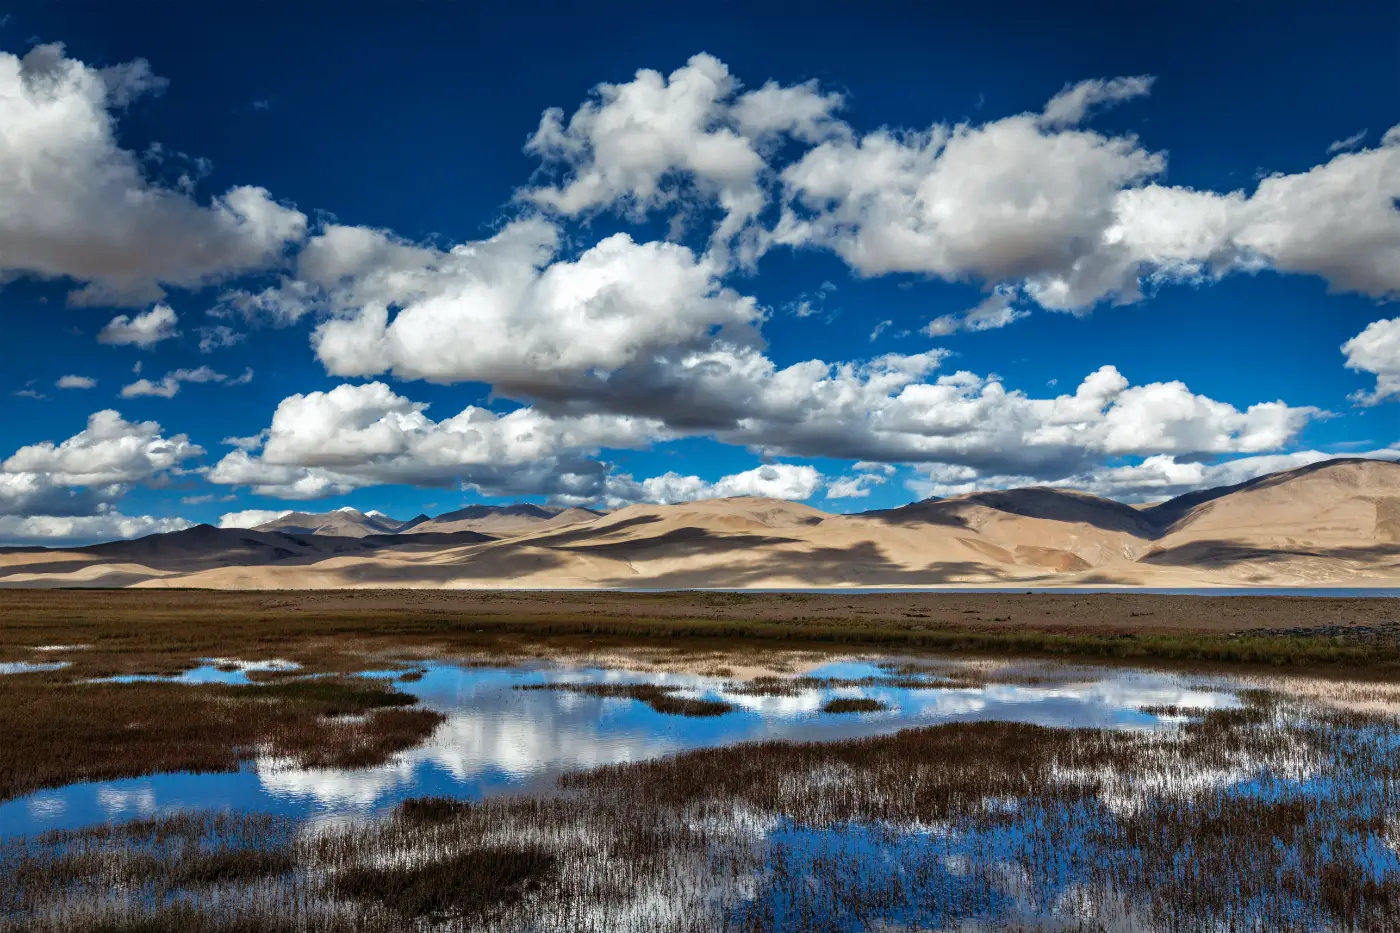
Dit effect kan onnatuurlijk ogen en is achteraf lastig volledig te corrigeren. Controleer daarom niet alleen het midden van het beeld, maar de hele lucht. Draai het filter iets terug wanneer het verschil te groot wordt. Soms is fotograferen zonder polarisatie van de lucht de beste keuze.
Glas, etalages en autoruiten
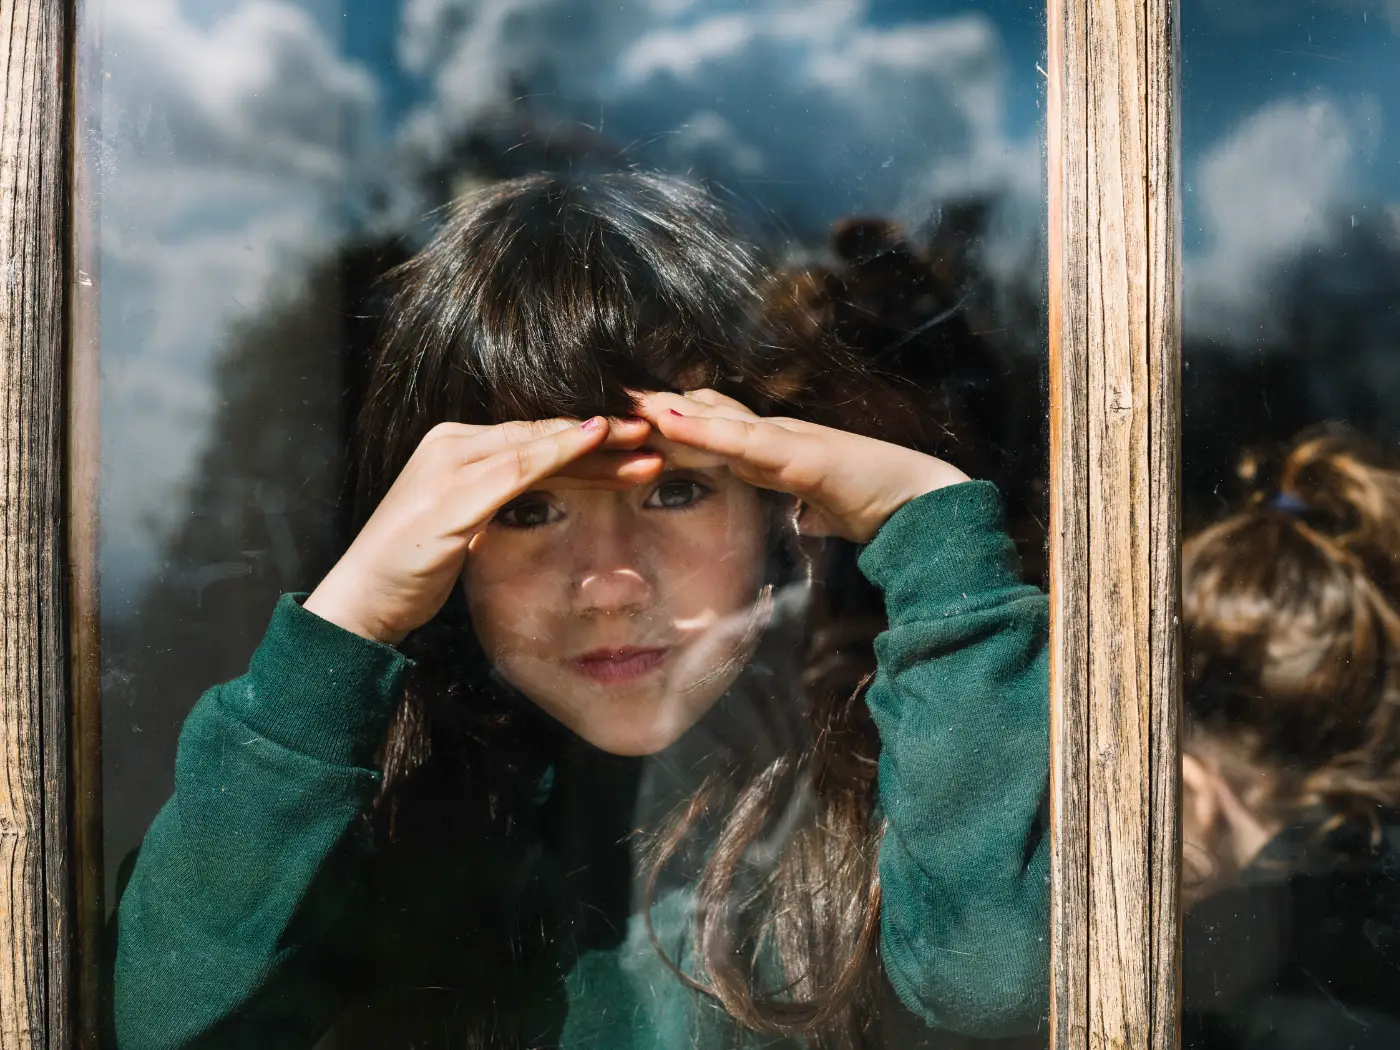
Een polarisatiefilter is handig wanneer je door een etalageruit, autoruit of museumvitrine fotografeert. Door het filter te draaien kun je storende spiegelingen vaak verminderen en het onderwerp achter het glas duidelijker tonen.
Het werkt het best wanneer je onder een schuine hoek fotografeert. Recht voor een ruit kan het effect beperkt zijn. Houd ook rekening met gelaagd of gehard glas: spanningen in het glas kunnen bij polarisatie gekleurde patronen zichtbaar maken.
Op metaal werkt het filter anders. Reflecties op een ongelakt metalen oppervlak laten zich doorgaans niet op dezelfde manier wegfilteren als reflecties op water, glas of bladeren.
Circulair of lineair polarisatiefilter?
Voor moderne digitale camera’s kies je vrijwel altijd een circulair polarisatiefilter, vaak aangeduid als CPL. Het woord circulair verwijst naar de manier waarop het licht na het filter wordt behandeld, niet naar de ronde vorm van het filter.
Een lineair polarisatiefilter kan de lichtmeting en autofocus van bepaalde camera’s verstoren. Een CPL is ontworpen om met moderne autofocus- en meetsystemen samen te werken. Voor praktisch gebruik op een systeemcamera of spiegelreflex is CPL daarom de veilige keuze.
Zo gebruik je het filter
Schroef het filter voorzichtig op het objectief en voorkom dat je het te strak vastzet. Kijk door de zoeker of op het scherm en draai langzaam aan de buitenste ring. Let niet alleen op de lucht, maar ook op water, bladeren, ramen en donkere delen.
Maak bij twijfel meerdere opnamen met verschillende standen. Een maximaal effect is niet automatisch een beter effect. Controleer daarnaast je sluitertijd en ISO, want het filter houdt doorgaans ongeveer één tot twee stops licht tegen.
Gebruik je een zonnekap, dan kan het lastiger zijn om de filterring te draaien. Stel het effect eerst in en plaats daarna de zonnekap, of kies een kap waarbij je de ring goed kunt bereiken.
Filtermaat en verloopringen
De benodigde maat staat meestal op de voorkant van het objectief en wordt aangegeven met het diametersymbool, bijvoorbeeld 67, 72 of 77 millimeter. Deze maat is niet hetzelfde als de brandpuntsafstand.
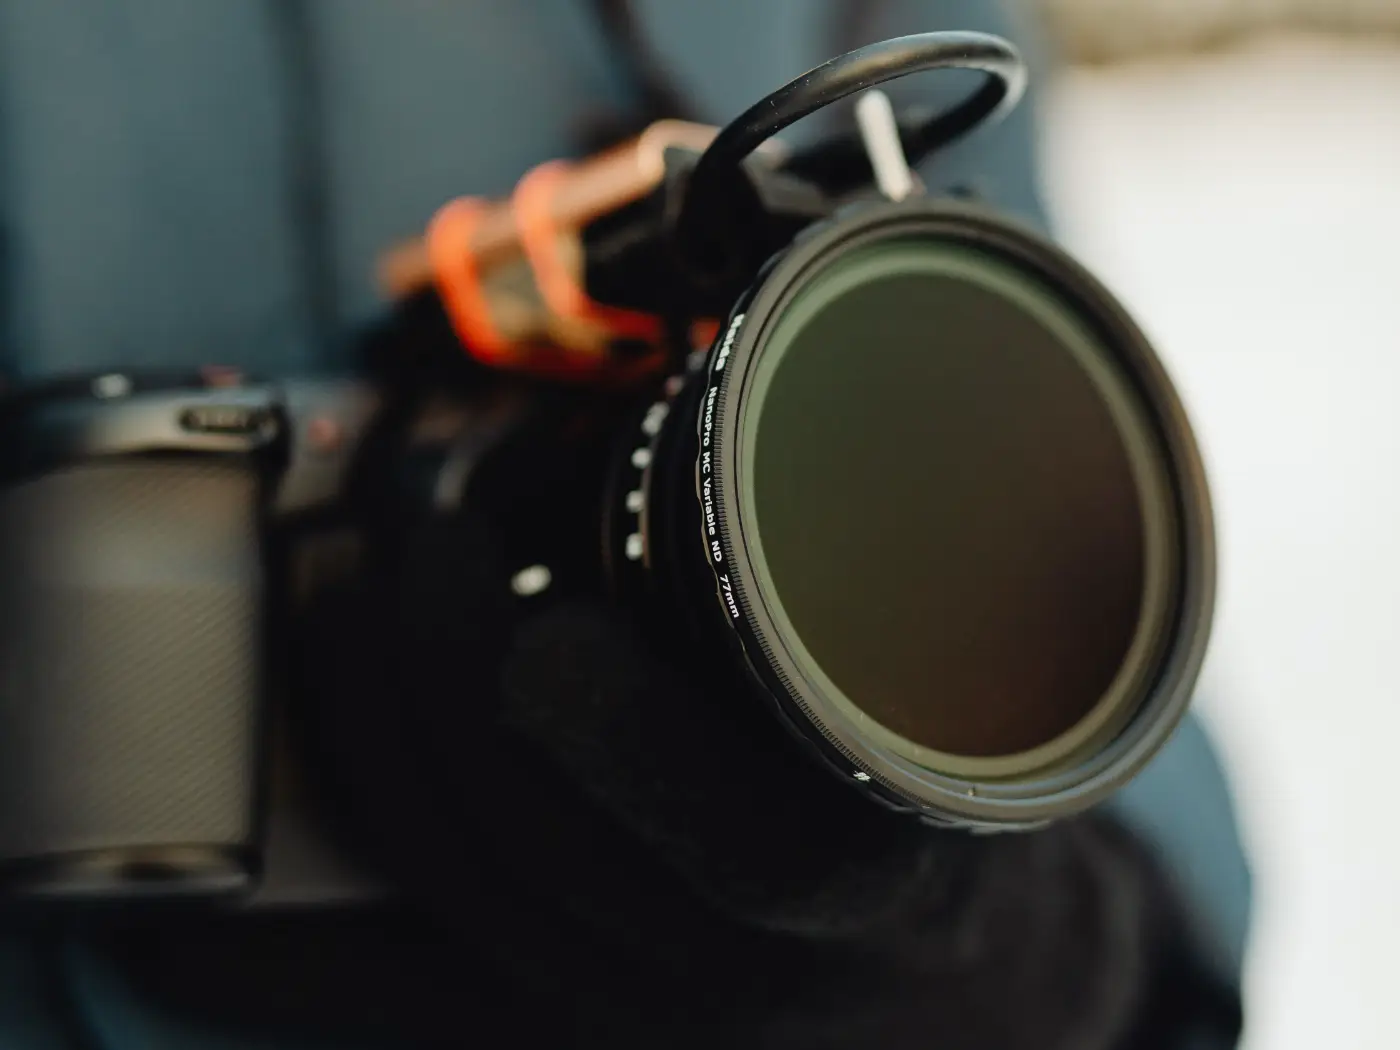
Heb je objectieven met verschillende filtermaten, dan hoef je niet altijd meerdere filters te kopen. Kies een filter dat past op je objectief met de grootste diameter en gebruik step-up-ringen voor kleinere objectieven. Dat is vaak goedkoper en je behoudt dezelfde filterkwaliteit.
Een step-down-ring is minder aantrekkelijk, omdat een kleiner filter op een groter objectief donkere hoeken kan veroorzaken.
Waar let je op bij aankoop?
Een goed polarisatiefilter gebruikt degelijk optisch glas en een coating die reflecties, kleurzweem en vuil beperkt. Goedkope filters kunnen scherpte verminderen, een kleurzweem geven of lastig schoon te maken zijn.
Voor een groothoekobjectief kan een dunne filtervatting helpen om vignettering te voorkomen. Let wel op dat zeer dunne filters soms geen schroefdraad aan de voorkant hebben voor een lensdop of extra filter.
Controleer vóór aankoop de juiste filtermaat, het type CPL en de dikte van de vatting. Wie meerdere objectieven gebruikt, kan vaak beter één kwalitatief groter filter met verloopringen kopen dan voor ieder objectief een goedkoop exemplaar.
Veelgemaakte fouten
De eerste fout is het filter altijd maximaal draaien. Daardoor kan water onnatuurlijk mat worden of een lucht te donker ogen. De tweede fout is alleen naar het midden van het beeld kijken en een ongelijkmatige lucht bij groothoek missen.
Een andere fout is vergeten dat het filter licht kost. Bij weinig licht kan de sluitertijd te lang worden voor fotografie uit de hand. Let ook op vieze filters: stof, vet en opgedroogde regendruppels verminderen het contrast juist weer.
Een compacte reinigingsset voor filters en objectieven is daarom handig om in je fototas te hebben.
Tot slot kunnen twee filters op elkaar vignettering veroorzaken. Combineer een polarisatiefilter daarom alleen bewust met een ND- of beschermfilter en controleer de hoeken van het beeld.
Wanneer laat je het filter thuis?
Voor nachtfotografie en veel binnensituaties is het extra lichtverlies meestal ongunstig. Ook bij panorama’s kan een sterke polarisatie problemen geven, omdat opeenvolgende beelden een verschillende luchtintensiteit kunnen krijgen.
Bij regenbogen kan een verkeerde stand van het filter de regenboog verzwakken of zelfs grotendeels laten verdwijnen.
Bij regenbogen kan een verkeerde stand van het filter de regenboog verzwakken of zelfs grotendeels laten verdwijnen. En wanneer spiegelingen juist bijdragen aan de sfeer of compositie, is minder polarisatie vaak mooier.
Een klein filter met een groot effect
Een polarisatiefilter is geen universele oplossing en ook geen effect dat je gedachteloos op maximale sterkte gebruikt. Het is een gereedschap waarmee je tijdens de opname bepaalt welk weerkaatst licht de camera bereikt.
Juist daarin zit de meerwaarde. Contrast en verzadiging kun je achteraf veranderen, maar verborgen details achter reflecties kun je niet terughalen. Voor landschappen, bossen, water, glas en natte oppervlakken blijft een goed CPL-filter daarom een van de nuttigste accessoires in de fototas.