Dreamy photos aren't made only in Photoshop or Lightroom. You can also create that soft, almost otherworldly atmosphere while shooting by deliberately controlling movement, light, and focus.
Think of water turning into mist, clouds streaking across the sky, grass softly blurring in the wind, or flowers photographed through an out-of-focus foreground. The image remains recognizable, but becomes less literal. That is precisely what makes it more evocative.
The main technique is a long exposure, often combined with an ND filter. But there are also simpler ways to create a dreamy atmosphere without expensive equipment or extensive post-processing.
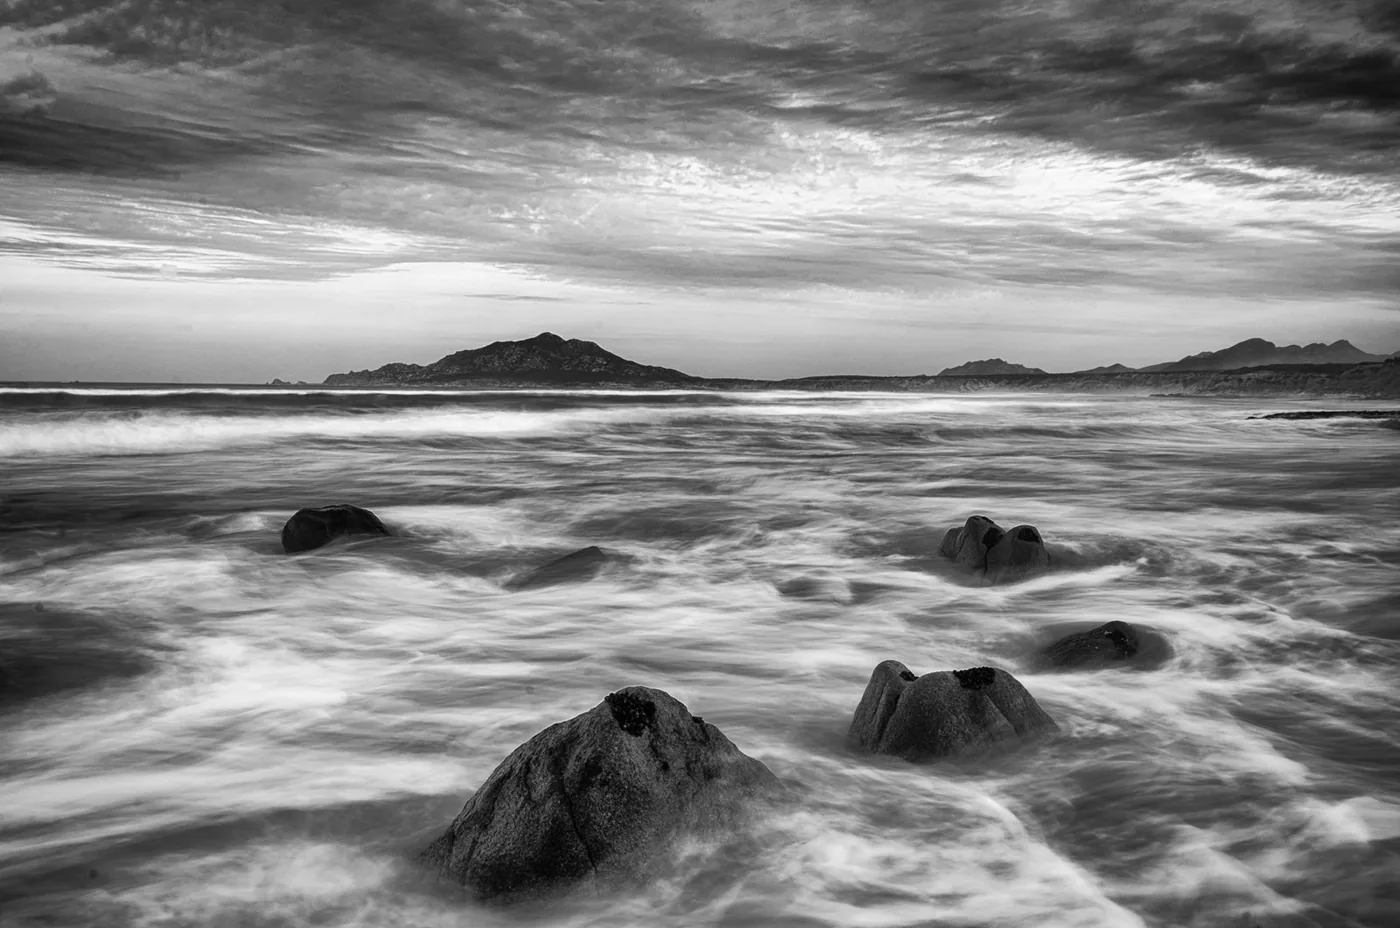
What Makes a Photo Dreamy?
A dreamy photo is usually not entirely sharp, harsh, or literal. It has a soft quality: movement, blur, mist, backlight, or a gentle transition between light and dark. That does not mean the image has to be vague. In fact, the contrast between a recognizable subject and a softer atmosphere is what makes it interesting.
Movement often plays the leading role. Water becomes silky, clouds leave trails across the sky, and tall grass turns into soft shapes. If nothing moves, a long exposure can quickly look like an ordinary photo. Look for subjects where light and movement can work together.
Long Exposures: Using Movement to Create Atmosphere
One of the best-known ways to create dreamy photos is to use a long exposure. In the evening or at night, all you often need is a tripod and a camera that allows manual exposure settings. During the day, you will usually need some extra help: an ND filter.
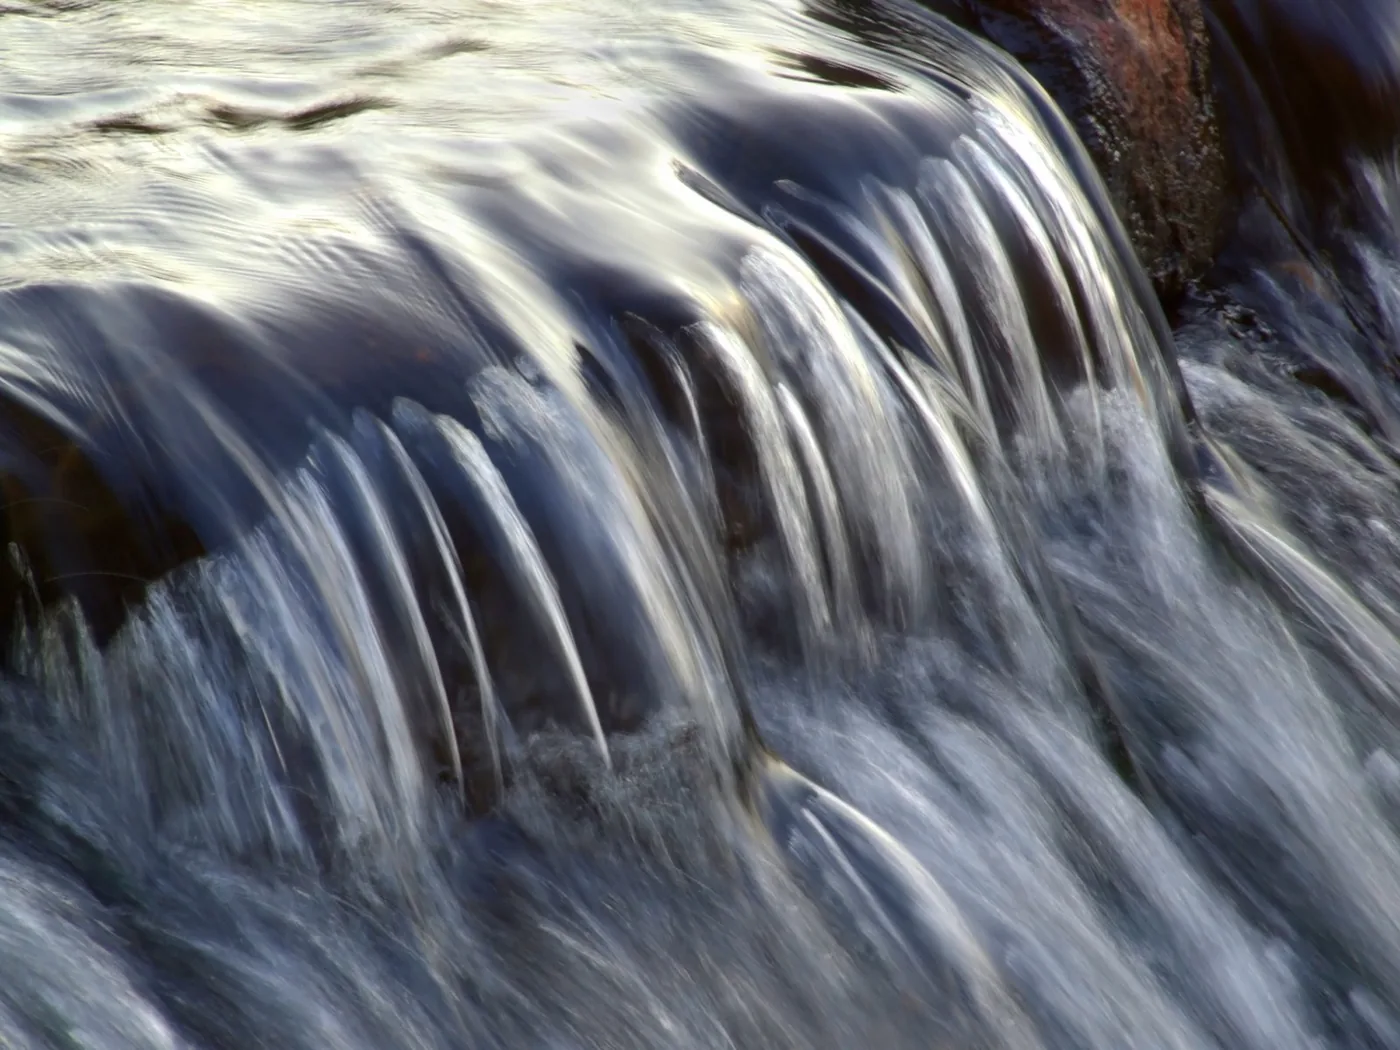
An ND filter works like sunglasses for your lens. It blocks light, allowing you to use longer shutter speeds during the day. This lets you soften flowing water, blur waves, or give clouds a sense of movement without overexposing the photo.
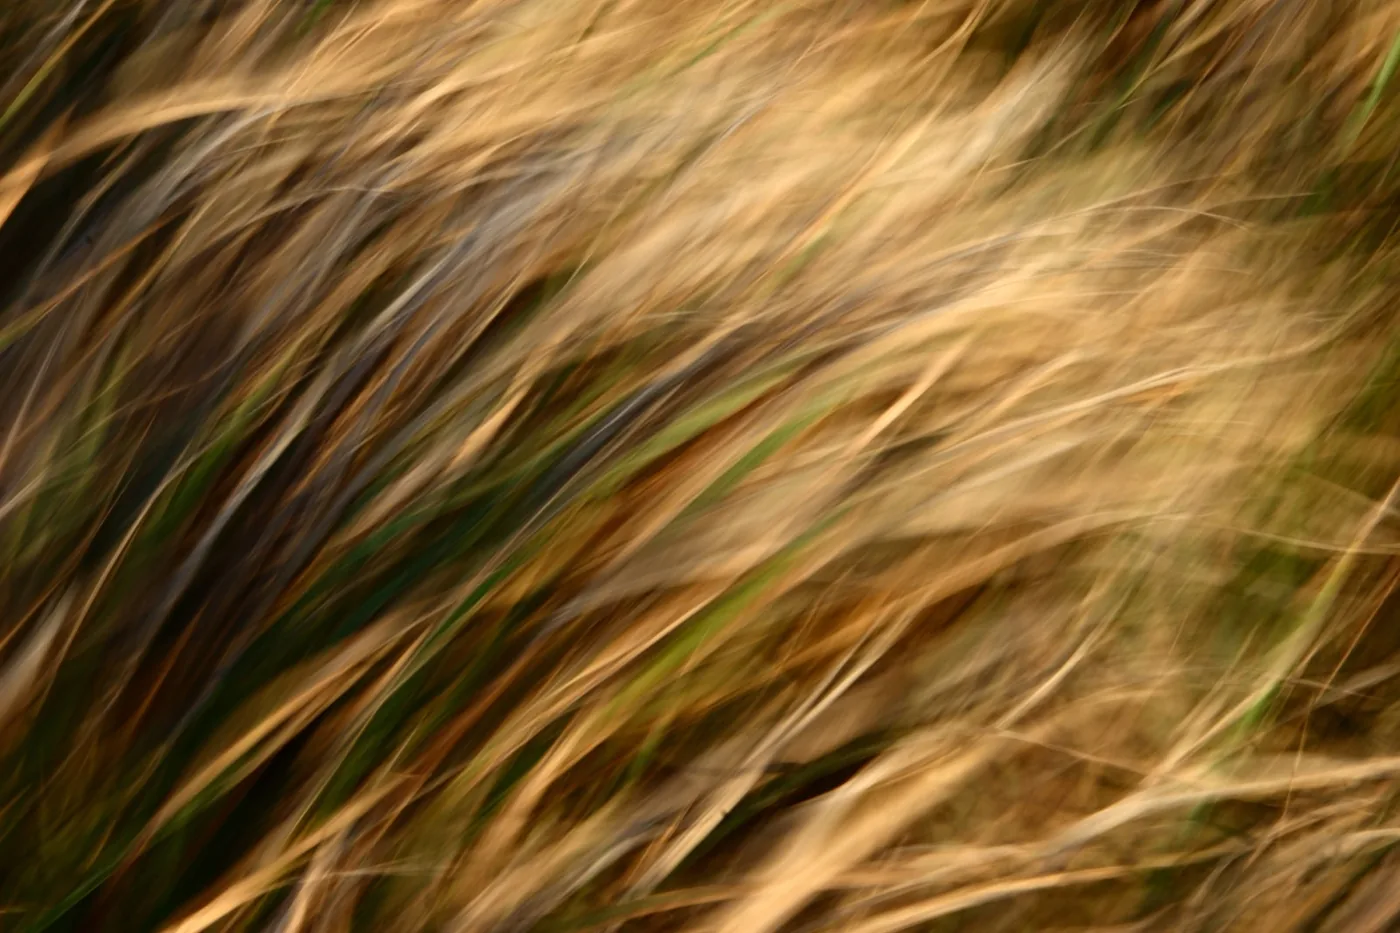
Conditions matter. A long daytime exposure only really adds something when there is movement in the frame. Think of water, clouds, reeds, grass, leaves, or branches in the wind. Without movement, you mainly get an ordinary shot made with a longer exposure time.
What Do You Need?
The basics are simple: a camera with manual settings, a sturdy tripod, and—in daylight—an ND filter. A cable release or remote control is useful, especially for longer exposures, but not always essential. At the very least, use the self-timer if pressing the shutter button causes camera shake.
How strong your ND filter needs to be depends on the subject and the light. For a fast-flowing waterfall, 1/15 second may already be enough to soften the water. For the sea, clouds, or a truly misty effect, you will often need exposure times ranging from several seconds to several minutes. A 10-stop ND filter offers plenty of flexibility, but it is not necessary in every situation.
How to Choose the Right Shutter Speed
Start with a test shot. Do not just check whether the exposure is correct; pay particular attention to how the movement is rendered. If the water still looks too restless, choose a longer shutter speed. If everything becomes too flat or milky, shorten it slightly.
For exposures longer than 30 seconds, you will often need bulb mode. This lets you keep the shutter open manually for as long as necessary. If you want to brush up on the basics first, make sure you understand the relationship between shutter speed, aperture, and ISO ; with long exposures, that exposure triangle determines how much flexibility you have.
A practical method is to start with a test shot at a high ISO. Set the camera to ISO 6400, meter the shot, and then check the histogram. If the exposure looks good, you can lower the ISO to 100. As a rough rule, seconds at ISO 6400 correspond to minutes at ISO 100. A 3-second test exposure therefore becomes an exposure of approximately 3 minutes.
Seconds at ISO 6400 roughly correspond to minutes at ISO 100.
Do not treat this as an exact science, but as a useful starting point. Long exposures always require small adjustments. Light changes, clouds move differently from water, and not every subject needs the same amount of blur.
Shooting at Twilight and During Blue Hour
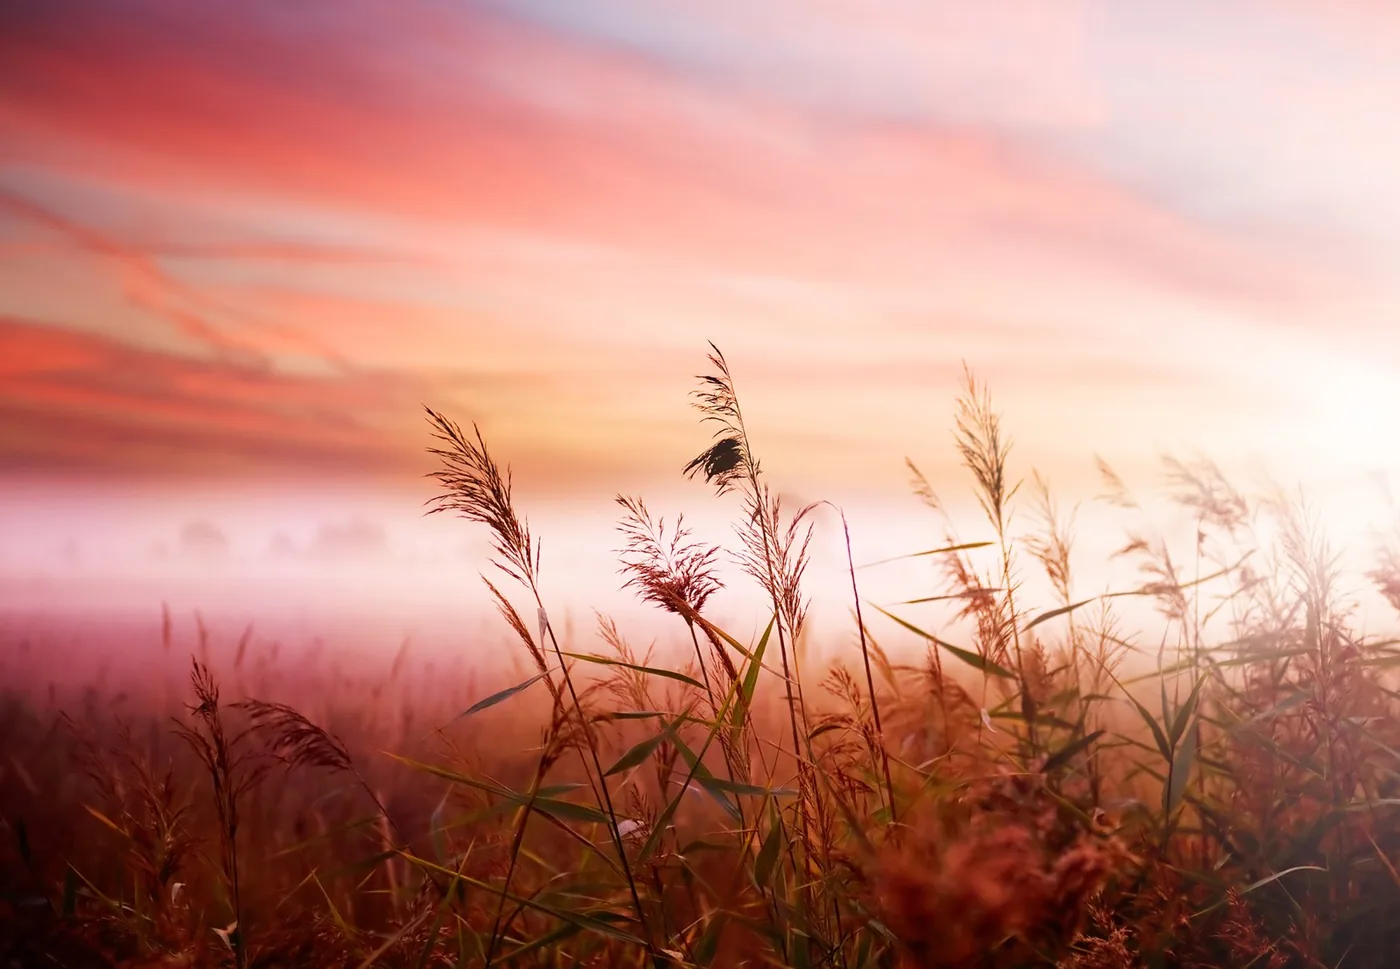
Even if you do not yet have an ND filter, you can still get started. Shoot in low light, at twilight, or during blue hour, and look for subjects with movement. The light is softer, the contrast is lower, and longer shutter speeds become possible without overexposing the photo.
The atmosphere is different from the middle of the day. During blue hour, images often take on a cool, tranquil color. After sunset, you can continue making beautiful long exposures while ambient light remains in the sky. Be mindful of stars, however: with exposures longer than about 30 seconds, they may appear as trails.
For landscapes, it helps to decide in advance what may move and what should remain steady in the frame. A rock, tree, or horizon can serve as an anchor, while water, clouds, or grass provide softness. If you often work in this light, you can also read more about photographing landscapes at twilight.
Dreamy Results Without a Long Exposure
A dreamy atmosphere does not always have to come from a long exposure. You can also work with soft foregrounds, reflections, or translucent materials. One simple trick is to shoot through a thin plastic bag with an opening in the center. The subject then remains relatively sharp while the edges become softer.
A thin nylon stocking, a sheer curtain, uneven glass, or condensation can also transform the image. Every transparent surface with small imperfections bends light differently, creating softness without extensive post-processing.
A dreamy image is not necessarily out of focus; the balance between sharp and soft areas is often what matters.
Soft Effects with Simple Materials
The familiar petroleum-jelly trick can work too, but use it carefully. Never apply anything directly to your lens. If you want to try it, use an inexpensive UV filter that you no longer need. Petroleum jelly is difficult to remove and can cause damage if it reaches places where it does not belong.
A safer approach is to work with distance and layers: shoot through leaves, flowers, glass, sheer curtains, or an out-of-focus foreground. By deliberately softening part of the frame, you add atmosphere without making the subject disappear completely.
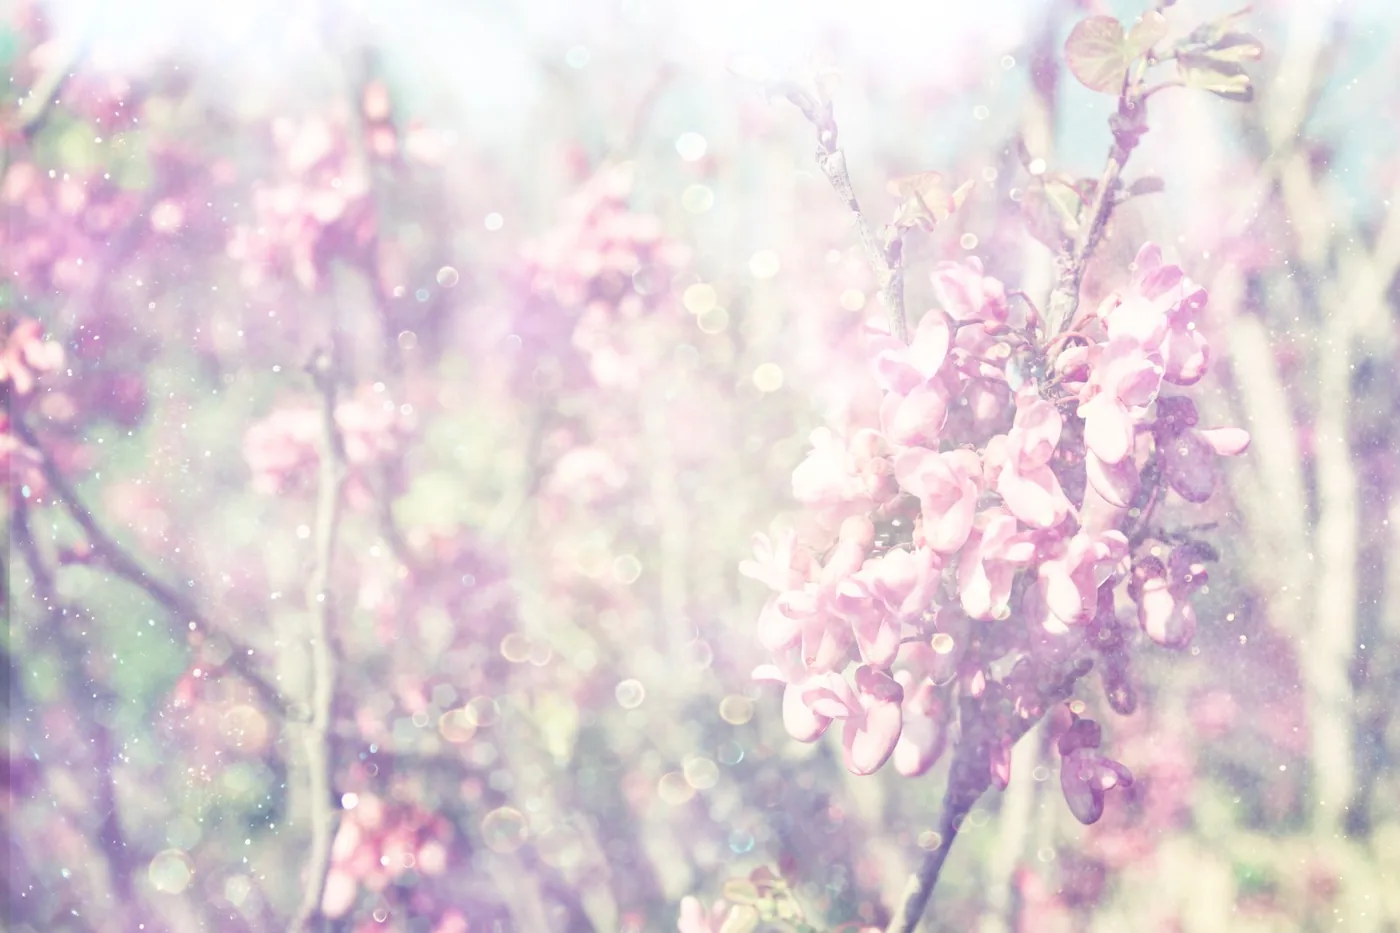
You can, of course, shoot through other translucent surfaces to create different dreamy effects . Consider textured bathroom glass, fogged windows, or a thin curtain. Such materials make the image less literal and can evoke memories, atmosphere, or distance.
Do Not Expect Perfection
Dreamy photos mainly require you to slow down. You look not only at the subject itself, but also at what moves, what can be softened, and where the image should remain sharp.
Sometimes it helps not to search for one perfect photo, but instead to deliberately create a small series around the same light, movement, or location.
Not every attempt will work right away. Sometimes the image becomes too vague; at other times it remains too literal. But when light, movement, and composition come together, something emerges that a fast shutter speed rarely produces: a photo that records less and evokes more.



