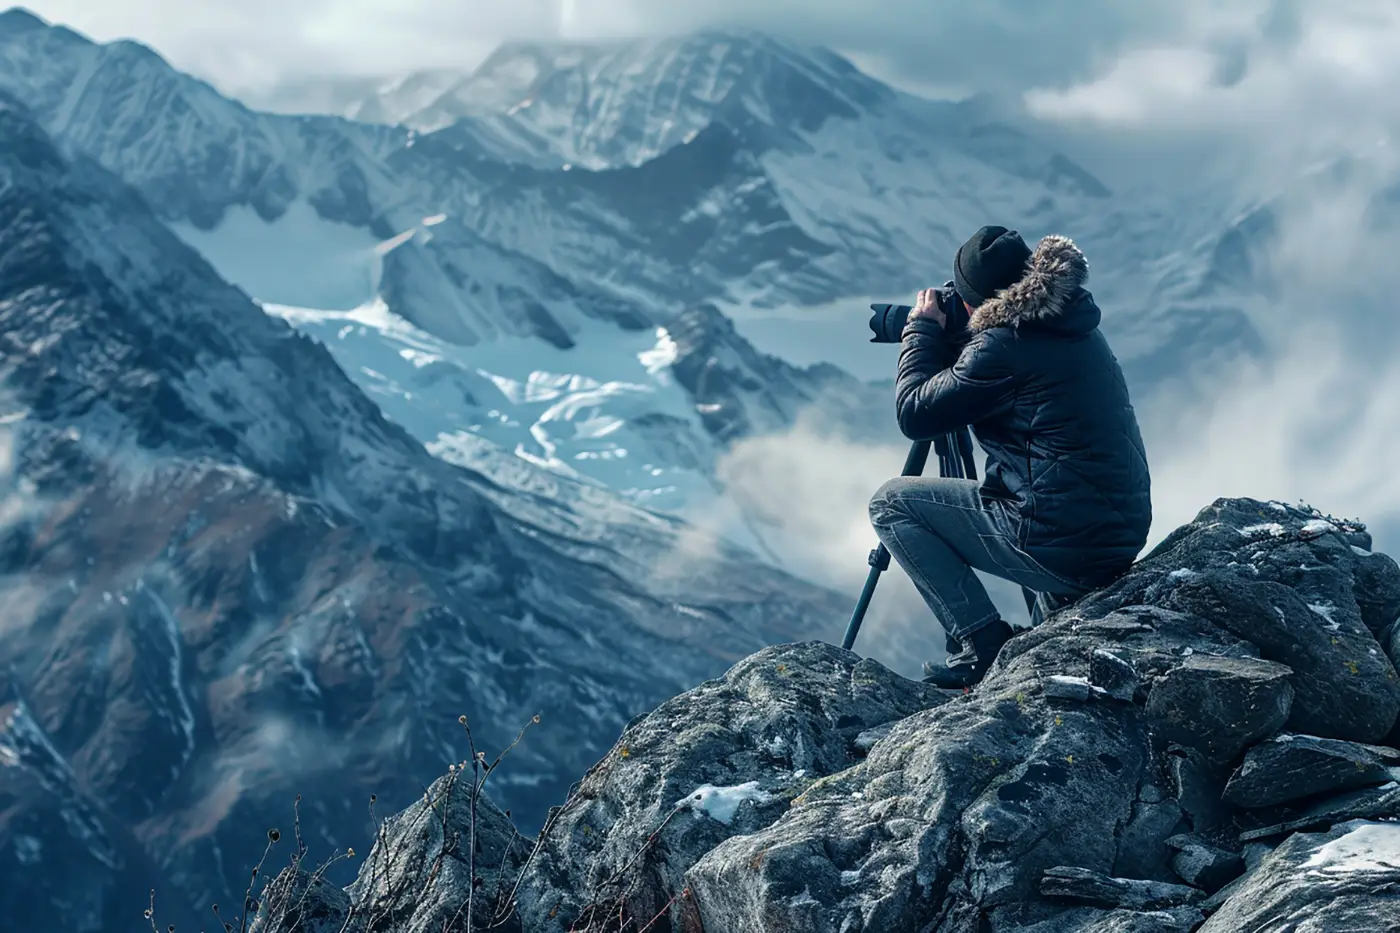
Regardless of the season, mountains, with their imposing beauty, are always a feast for the eyes and a challenge for the lens. Add to that a lush forest and a reflective lake, and you have a recipe for landscape photos that will enchant you. But, like all forms of art, photographing mountains comes with its own set of challenges, depending on the season and the desired effect.
It all starts with good preparation. Study the area, look at maps and determine the best time of day for the light you want to use in each season. Mountain photography requires patience, an understanding of the natural elements, and anticipation of weather conditions.
Be inspired by the power and beauty of the mountains, and use the tips below to capture their grandeur in your photos.
Choose the right moment
As with all other types of landscape photography, the magic of the mountains often comes to life during the golden hour (the first and last hours of sunlight) and the blue hour (the twilight just before sunrise and after sunset).

The soft light creates long shadows and beautiful colors, accentuating the contours of the mountains and gives a dramatic effect to your photos.
Determine your composition
The vastness and majesty of the mountains can always serve as a starting point, but sometimes there are times when you want to get closer to the mountain to capture the more intimate details, such as the wildlife that roams, the trees that grow and the streams that flow. These elements give your photos an extra dimension.
Include foreground elements in your compositions. If possible, get closer and capture the rich details of flowers, rocks or water features. Keeping the mountain peak in the background creates a profound perspective that emphasizes the majestic scale of the landscape.
Also try different perspectives by lying low to the ground and shooting upwards, which gives the mountain extra height and presence.
Leading lines, such as trails or ridges, can draw the viewer's eye to the upper peaks. Experiment with different angles and perspectives to capture the majesty of the mountain landscape.

Also experiment with depth of field. While a wide depth of field is often desirable for sharp landscapes, using a shallow depth of field (small f-numbers) can be effective for emphasizing specific parts of your shot, such as the foreground or part of the mountain.
Use a polarizing filter
A polarizing filter, an indispensable tool for every landscape photographer, has its own unique function in every season. Many photographers first look through the polarizing filter by holding it in front of their eyes. This way they can immediately see which position makes the polarizing filter most effective.
Spring
Spring is ideal for photographing mountains thanks to the pleasant light and vibrant colors. In many places the mountains still have snow on their peaks, which provides an interesting contrast to the growth in the valley below.
Nature awakens in spring. Blossoms bloom and mountains are enveloped in a carpet of colors. Here the polarizing filter helps to enhance the saturation of these colors and/or reduce reflections in water, making your images clear and vibrant.
Summer
Summers in the mountains offer long and bright days sunshine. The polarizing filter comes in handy again here by making the evening sky deep red and clouds dramatic. It ensures that your photos are not overexposed by the strong rays of the sun.
It can also add a rich blue color to the sky during the day, creating more definition between the sky and the clouds, as well as brightening a green landscape along the mountainside. With a circular polarizing filter you can rotate the filter to the exact point that captures the image the way you want.

Autumn
Fall is probably the best season for photography. You'll still have some warm days of summer, but the mountains can show snow early and the foliage can be remarkable in many parts of the world. Autumn turns mountains into a canvas of warm tones. Add the mirror effect of a lake and the reflection of color is breathtaking.
It polarizing filter accentuates the rich colors of autumn and provides contrasts that enhance the depth and dimension of the landscape. This captures the gold tones and reddish-brown leaves even more impressively.
Winter
In winter, mountains turn into serene, white-clad giants. Photographing snow-capped mountains can be the most rewarding, but also the most difficult, because you have to deal with glare when the sun is shining and you are at high altitude.
Here the polarizing filter helps reduce this glare and improve contrasts in the landscape.
If there isn't as much glare on the mountain top due to cloud cover, consider turning the polarizing filter lower on the mountains. You then get more detail in the snow hills and shadows because you don't have to deal with reflection. In cloudy weather, the effect is more limited and it is better to use a good gray gradient filter.

Consider a gray gradient filter
Gray gradient filters help to optimize the balance between the bright sky and the dark foreground. These filters reduce the brightness of specific parts of your photo without changing the colors, allowing you to capture the details in the sky as well as in the mountains themselves.
By using a gray gradient filter you can prevent the sky from becoming overexposed while the mountains remain well exposed, resulting in a natural-looking photo with balanced exposure. This is especially useful during sunrise and sunset, when the contrast between sky and landscape is greatest.
When photographing mountains with a gray gradient filter, start by defining the horizon line in your composition. Then place the filter in the holder on your lens, positioning the dark part of the filter over the sky and the bright part over the mountains. Adjust the position of the filter until you are satisfied with the effect.
HDR
But High Dynamic Range Imaging is of course the technique for placing both very dark and very light areas in the same photo. It requires you to take a number of photos of the same location - each with different lighting. First shoot with the camera's recommended settings. Then, in manual mode and with the aperture set to the same value as the first shot, take a series of photos, each with a different shutter speed. You'll need at least three shots of the same composition, all with different exposures.

Now import these images into your photo-editing program and follow the HDR instructions. These images are combined into one perfectly exposed image using a special technique.
Popular HDR programs commonly used by both hobbyists and professional photographers include:
Photomatix Pro
This is one of the oldest and most respected HDR software packages. It offers extensive options for tone mapping, exposure adjustment and color correction. The program is available as standalone software and as a plugin for other photo editing programs such as Photoshop and Lightroom
Adobe Lightroom
Lightroom has a built-in HDR feature that is quite easy to use. It doesn't offer as much control as specialist HDR software, but it's well suited to most users who want to get good results quickly. It is part of Adobe's Creative Cloud and works well with Photoshop.
Adobe Photoshop
Photoshop offers advanced HDR features through the HDR Pro module. It is well suited for users who want extensive control over the HDR process, including advanced options for tone mapping and detail adjustment.

Nik HDR Efex Pro (part of the Nik Collection)
This software is loved for its user-friendly interface and powerful editing capabilities. It works as a standalone program and as a plugin for Photoshop, Lightroom and DxO PhotoLab. HDR Efex Pro offers extensive tools for local adjustments and special effects.
Aurora HDR
Developed by Skylum, Aurora HDR is known for its use of artificial intelligence to create realistic and impressive HDR photos. It offers a wide range of tools for professional editing and is available for both Mac and Windows.
Prints for the wall
Photographing mountains is an art that doesn't end with capturing the perfect shot. The true reward comes when you bring your breathtaking images to life by printing them and displaying them on your wall. The beauty of the mountains, captured in all their glory, deserves a presentation that honors the depth and detail of the landscape.
Xpozer offers an innovative and high-quality solution for printing large photos. The technique combines razor-sharp prints with a lightweight but sturdy tensioning system. You can also order a creative photo collage wall from EPIX and hang it without drilling or screwing.
This way your mountain photos become not just an eye-catcher, but a true art experience. The vibrant colors and fine details you have carefully captured are perfectly reproduced, allowing you to experience the majestic beauty of the mountains in your own home.

Before you select your best photos to print, you can save them in the post-processing give it a finishing touch and try out some adjustments to bring out the true splendor of the mountain landscapes.
• Start adjusting exposure and contrast to enhance the depth and dimension of your images. Increase the brightness of the highlights and bring out the shadows to emphasize the textures and details of the mountains.
• Also adjust the white balance to make the colors more natural and vibrant. This can help capture the mood of the moment, whether it's the warm glow of the morning sun or the cool tones of dusk.
• In addition to basic adjustments, you can use local adjustments to improve specific parts of your photo. Enhance the color saturation of flowers in the foreground, or bring out the subtle colors of rock formations without saturating the overall image. Use brightness masks to make the sky more dramatic and give the clouds more definition.



