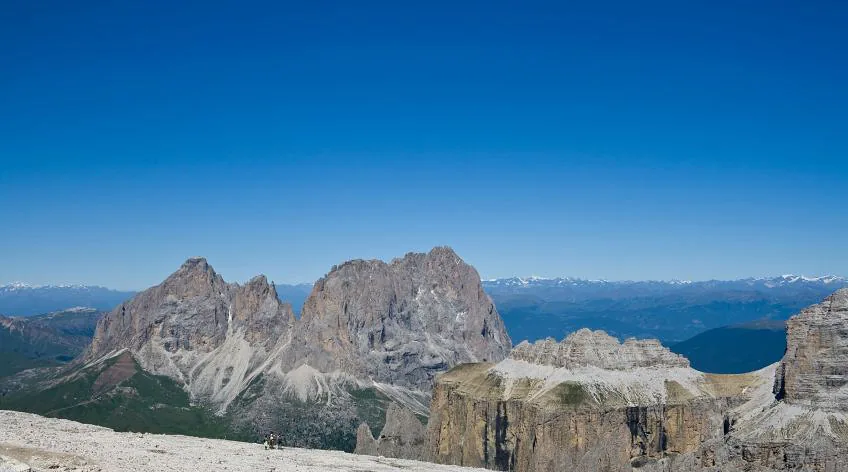
To deepen the colour of the sky, a polarizing filter is generally recommended. But many landscape photographers swear by a graduated neutral-density filter (graduated filter), and for good reason. The two filters serve different purposes and can even complement each other.
A polarizing filter can make the blue of the sky more intense and deeper. The filter rotates in its mount. Look through the viewfinder or at the LCD screen and turn the filter until you achieve the desired effect.
A polarizing filter reduces reflections, for example on grass and foliage. Reducing those reflections reveals the true colour more clearly. In this way, a polarizer—the shortened name—enhances colours, including the blue of the sky.

Modern digital cameras almost always use a circular polarizing filter, also known as a CPL filter. Such a filter generally reduces the amount of light by one to two stops, so a slightly longer shutter speed may be necessary. Our overview of different camera filters also explains what ND filters, UV filters and other filters do.
At an angle
You can also use a polarizing filter to reduce reflections, for example on the surface of water. You will often still want it to be recognisable as water, so do not turn the filter to its maximum setting.
If you want to intensify the colours in a landscape, the effect is strongest when the sun is to one side.
If you eliminate the reflection in a woodland stream completely, it may become almost impossible to see that water is flowing there; it can look more like a sandy path. Turn the filter back slightly so that some reflection remains, and the water will still be recognisable while you can also see through it.
A polarizing filter is most effective when you photograph at an angle of approximately 90 degrees to the sun. With the sun directly in front of or behind you, a polarizing filter will barely darken the sky.
Take particular care when using a wide-angle lens. Because of the wide field of view, the polarization effect in the sky may be uneven, making one part much darker than another. If this happens, turn the filter back slightly. It is also worth checking the filter thread size when buying a lens. Read our guide to choosing a lens for landscape photography.
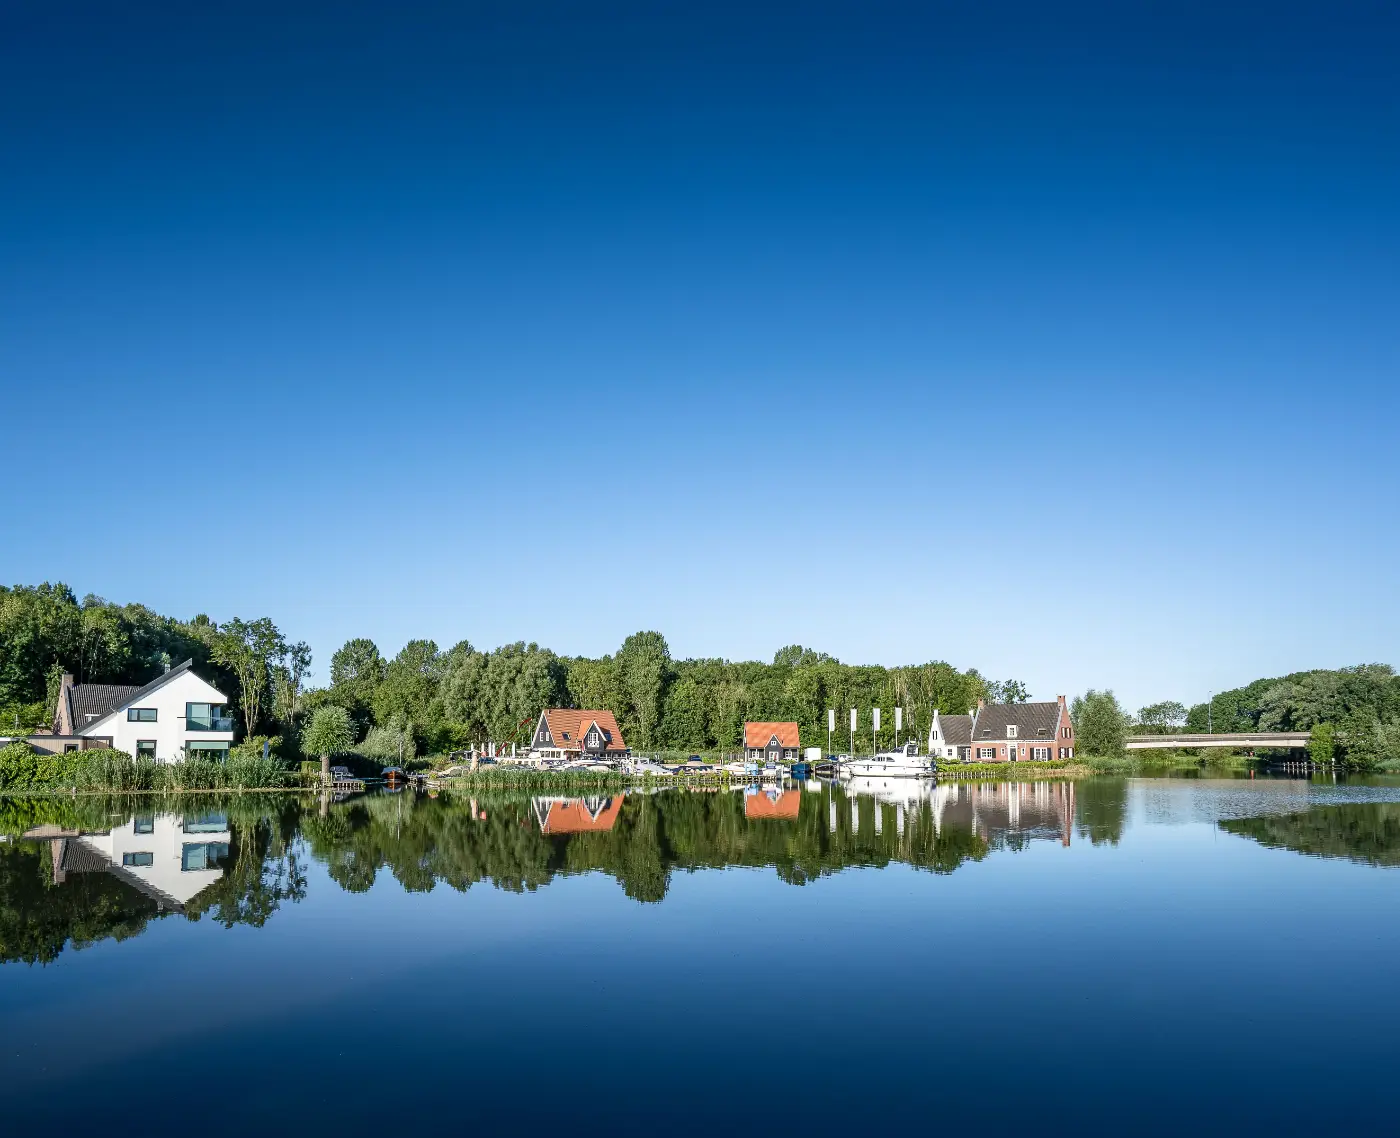
A polarizing filter is particularly effective on reflections from water, glass, leaves and other non-metallic surfaces. It cannot reduce reflections from metal in the same way.
Contrast
There are many situations in which a polarizing filter can do little or nothing to darken the sky—for example, with the sun behind you or directly in front of you, as at sunset. Its effect on the sky is also limited in cloudy weather.
The problem is often not a lack of detail in the sky; think of a cloud-filled sky. Instead, it is the high contrast between land and sky. The difference in brightness may be too great to capture full detail throughout a single image.
Either the sky is recorded with good detail and the foreground becomes too dark, or the foreground is correctly exposed and the sky looks too pale. Modern cameras can capture a wider brightness range than older models, especially when shooting in RAW. Even so, the contrast between a bright sky and a dark landscape can still be too great.
A graduated neutral-density filter is, quite simply, a tool for controlling contrast.
One practical solution is to use a graduated neutral-density filter. Its upper half is grey and darkens the sky, while its lower half is clear and leaves the image unaffected. The transition from grey to clear is gradual, hence the English term graduated filter.
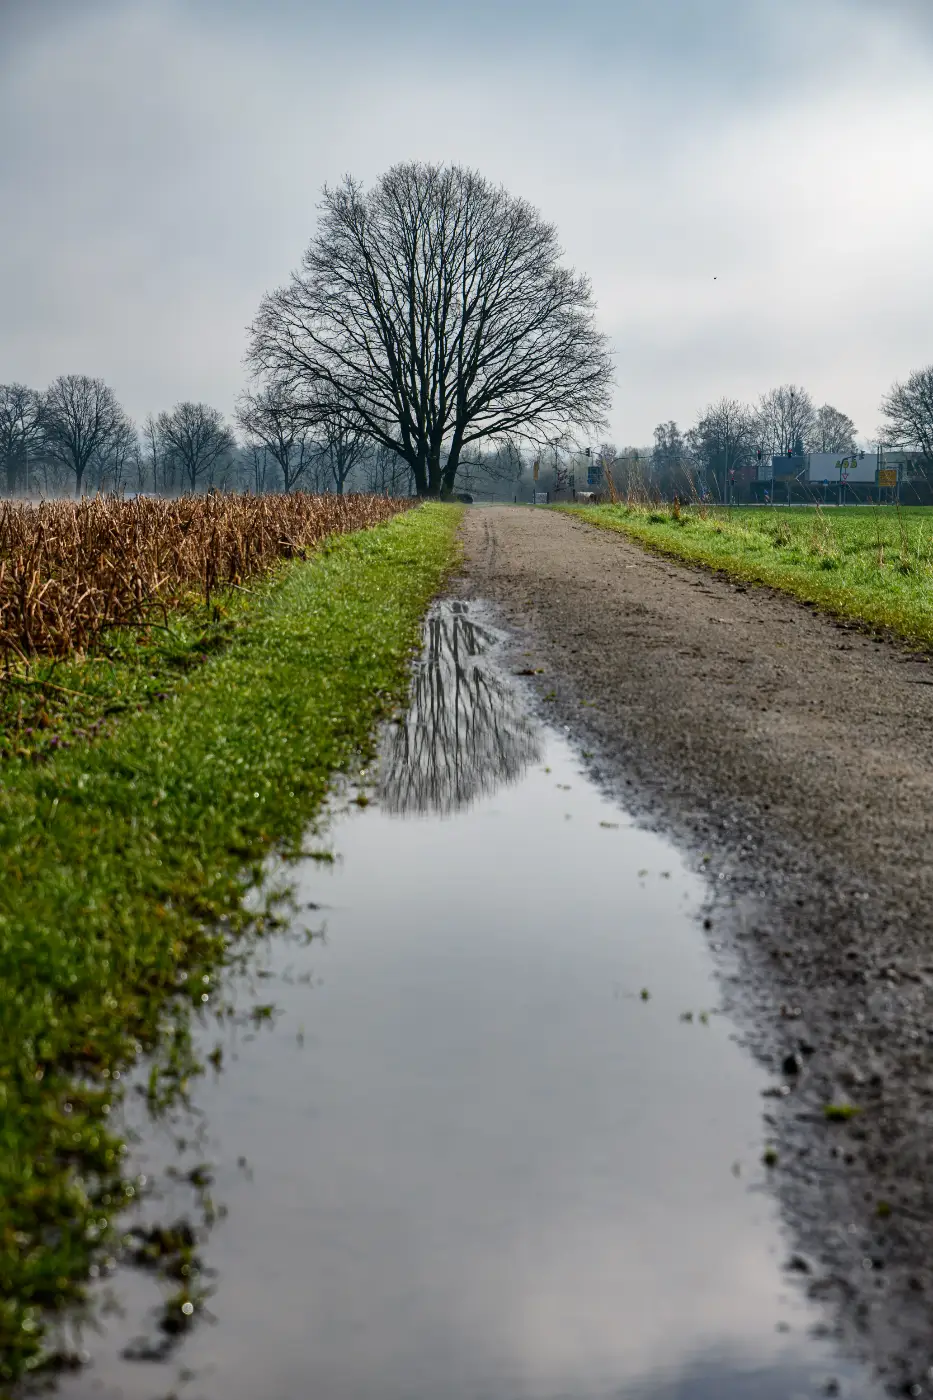
Graduated filters are available not only in grey, but also in colours. You can use one to add a warm tint to the sky, for example. These colour effects are now usually added in post-processing because they can be controlled more precisely there. A neutral graduated filter remains useful, however, for reducing differences in brightness.
Filter holder
Graduated neutral-density filters are generally rectangular and fit into a special filter holder attached to the lens. The filter can slide up and down, allowing you to position the transition between grey and clear exactly where it works best. If you are just getting started, you can choose a separate holder and adapter ring or a complete filter-holder kit with graduated ND filters.
By buying a suitable adapter ring for each filter size in your kit, you can use the same holder and filters on several lenses.
Cokin is a well-known manufacturer of this type of filter. Its classic P series still exists and is now also referred to as the M size. Larger systems are available for lenses with a larger diameter or an exceptionally wide angle of view. Brands including LEE, NiSi, Kase, Haida and Benro also offer complete filter systems.
The filter holder attaches to an adapter ring that screws onto the lens. You then slide the graduated filter into the holder. Some systems have room for several filters or for a separate polarizing filter.
With wide-angle lenses, watch out for possible vignetting. A thick filter holder or several filters stacked together can produce dark corners in the image. Special holders are available for extremely wide angles of view. Some modern ultra-wide-angle lenses, such as the Samyang AF 14-24mm F2.8 for L-Mount, are instead designed to accept standard 77mm screw-in filters.
Can't you just do it in Photoshop?
Many people say: forget the filters—can't you just do it in Photoshop or Lightroom? That is partly true. A linear gradient mask or automatic sky selection lets you darken the sky and adjust contrast locally.
There is one important condition: the information must have been captured at the time of exposure. If the highlights in the sky are completely blown out to white, you cannot recover the original clouds and subtle tonal detail afterwards.
A RAW file often retains a considerable amount of recoverable detail in highlights and shadows. This has made a physical graduated neutral-density filter less essential than it once was. If you use the filter when taking the photograph, however, it reduces the contrast before the light reaches the sensor. This can still be beneficial, especially with a very bright sky.
A physical graduated filter has a limitation too. The upper parts of mountains, trees and buildings that extend above the horizon will also be darkened. For an irregular horizon, a digital mask may therefore be more precise.
Types of graduated neutral-density filter
Graduated neutral-density filters are available in different strengths. You can choose a subtle adjustment that maintains a natural effect, or a powerful correction for a large difference in brightness.
The transition between the dark and clear sections also varies:
- A soft grad has a soft, broad transition and is useful for an irregular horizon with features such as trees or mountains.
- A hard grad has a more clearly defined transition and works well with a straight horizon, such as at the coast.
- A medium grad falls between the two.
- A reverse grad is darkest around the horizon and becomes lighter towards the top. This is useful at sunrise or sunset.
You can slide the filter up and down within the holder. The amount of adjustment available depends on the size of the filter, the diameter of the lens and the angle of view.
Common strengths include:
- 1 stop: subtle effect, designated ND2 or 0.3 ND
- 2 stops: clearly visible effect, designated ND4 or 0.6 ND
- 3 stops: strong effect, designated ND8 or 0.9 ND
If you are new to graduated neutral-density filters, a two-stop version is often a useful first choice. To try several strengths, you can also choose a complete set of graduated ND filters. The most suitable transition depends mainly on the landscapes you photograph.
What about HDR?
With HDR—High Dynamic Range—you take several photographs at different exposures and then combine them into one image in editing software. For example, you might take a brighter exposure that shows the land clearly and a darker one that retains the nuances in the clouds.
Preferably work from a sturdy camera tripod so that the composition does not change between exposures.
Modern software can align the photographs automatically. Small movements, such as leaves or people moving, can be partially corrected using a deghosting function. Strong movement between exposures nevertheless remains a concern.
HDR is sometimes associated with an exaggerated, almost magical-realist effect, but it does not have to look that way. With restrained post-processing, HDR can be an excellent way to control contrast naturally. If the brightness difference is limited, a single well-exposed RAW file may already be sufficient.
A graduated neutral-density filter, RAW processing and HDR are therefore not mutually exclusive solutions. The graduated filter reduces the brightness difference at the time of exposure. A digital gradient mask offers more local control afterwards, while HDR can help when the total contrast is too great for a single exposure.
And the polarizing filter? That is a different matter. The way it reduces reflections and influences colours cannot be fully replicated afterwards. A polarizing filter and a graduated neutral-density filter can therefore sit quite happily side by side in your camera bag.
To learn more about light, composition, filters and other techniques, you can also read our article about the Landscape Photography Handbook.



