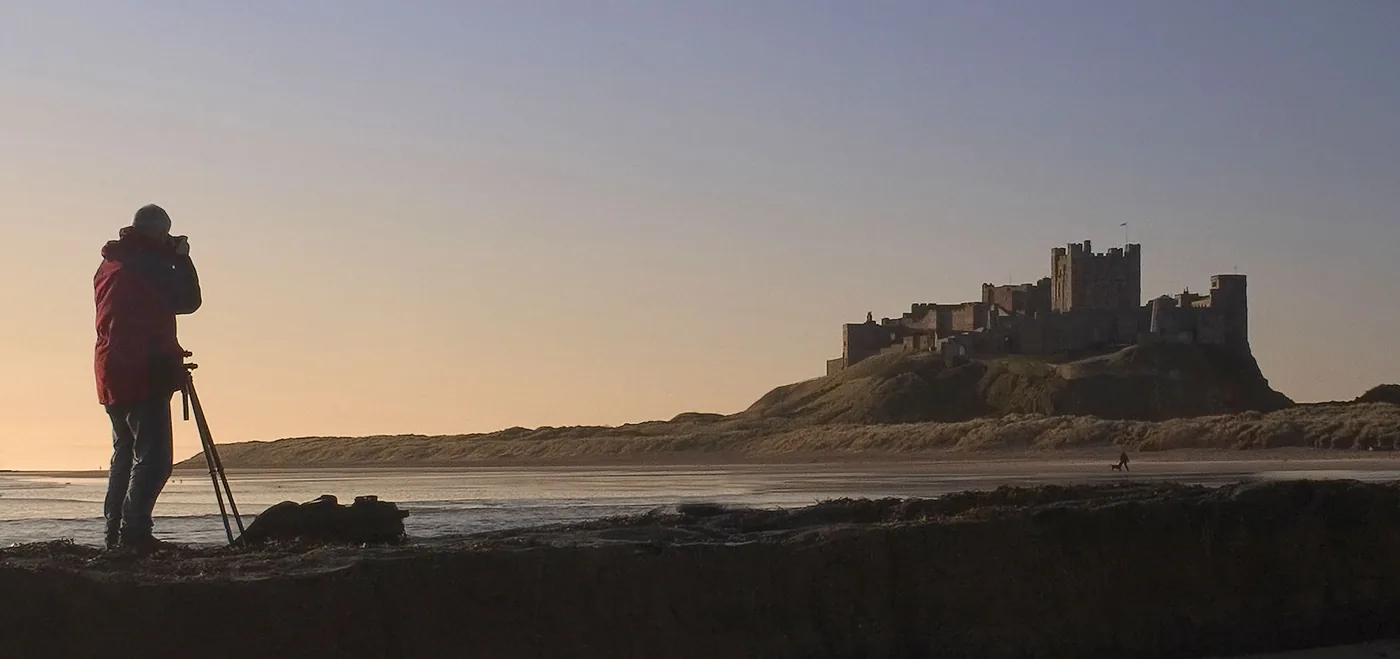
Anyone striving for exceptionally sharp photographs would ideally freeze the camera while the shutter is open. Because even the slightest movement of your hand can be enough to blur a photograph, a tripod should be part of every photo shoot. Read more about different types of camera tripods and supports and how best to use them.
Photographing on beautiful, sunny days takes little effort: with a fast shutter speed, you can simply hold the camera in your hand and will most likely still get sharp photographs. Even under such ideal conditions, however, it is worth considering a tripod for a less obvious reason. Setting up the tripod and preparing to mount your camera forces you to take more time over the photograph or photographs you want to make. You concentrate on the subject for longer, which makes you more likely to see a better composition and produce an outstanding photograph.
Different Types of Tripods and Supports
Tripod
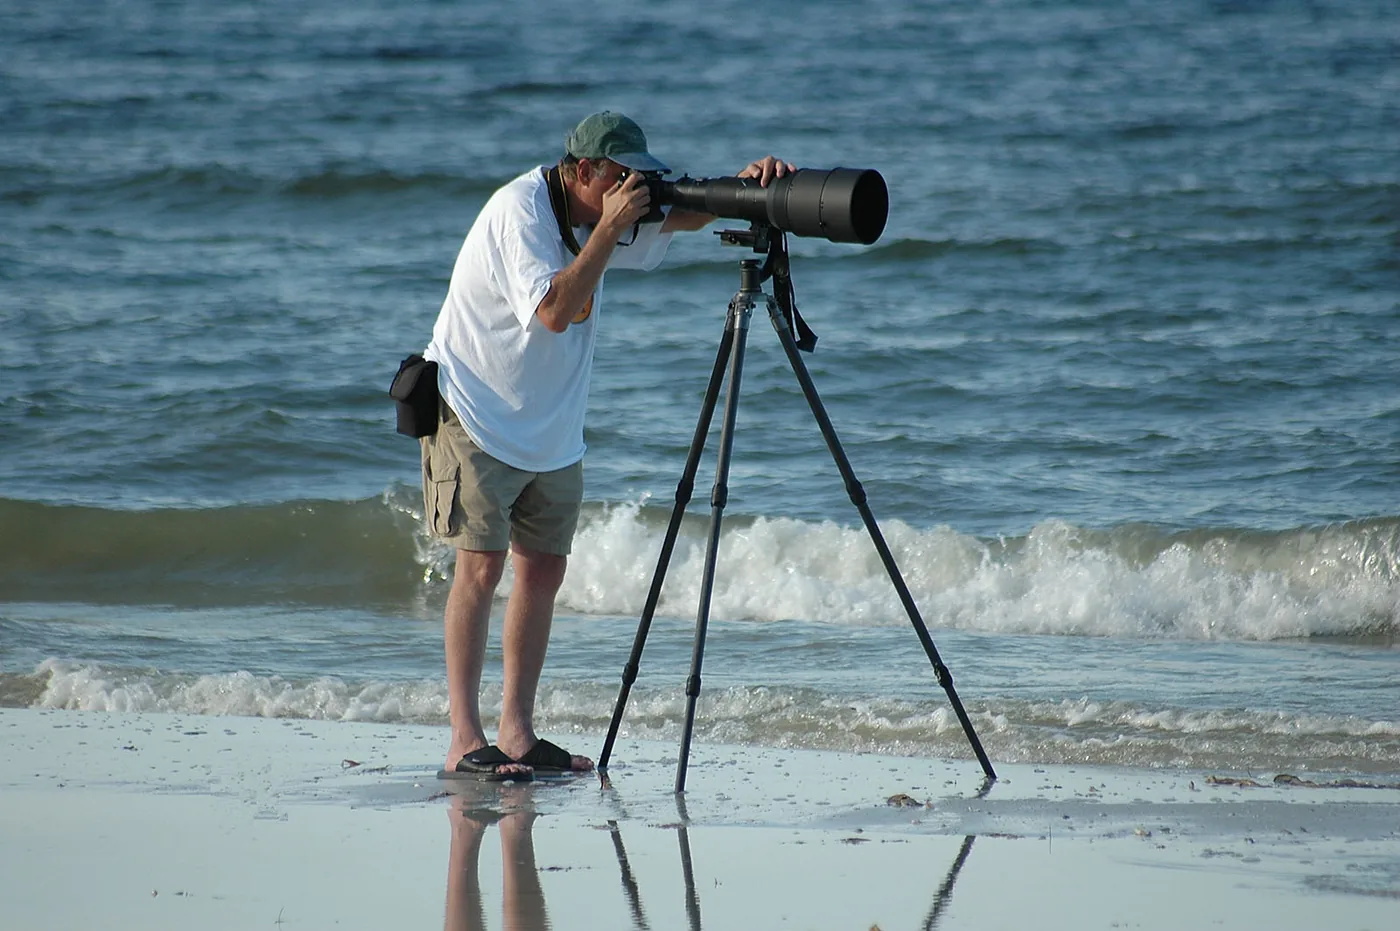
The tripod, a three-legged stand on which you mount the camera, is by far the most popular option. The reason is simple: once mounted, the camera does not move. You can also let go of the camera while it remains firmly in place and correctly positioned. That literally and figuratively leaves your hands free for other tasks.
Monopod
As the word mono suggests, a monopod is a one-legged support. Attach the monopod to your camera, place the assembly on the ground, and use your hands to keep the camera and support from falling.

Besides preventing the camera from moving up and down, a monopod lets your hands ‘rest,’ virtually eliminating camera shake. For a little extra support and stability, find a post or wall that you—or your camera and support—can lean against.
Chainpod
Also called a chainpod, this ingenious design consists of a chain or cord with a loop at one end large enough for your foot. The other end is attached to your camera. To use it, place your foot through the loop and raise the camera until the chain is taut while you take the photograph. Like a monopod, tension in the chain helps prevent movement and camera shake.
A major advantage of a chainpod is that it rolls up, takes up little space, and is easy to carry. Ready-made chainpods are not available in stores, so you will have to rely on your own creativity and practical skills.
Dolly
A dolly is a tripod with wheels and brakes. It allows you to move yourself and the camera without lifting it. Its drawback is that it is difficult to use outdoors because it requires a smooth, level surface.
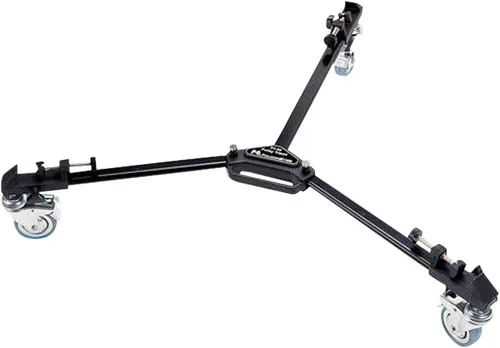
You can also buy a wheeled, braked base to attach to your regular tripod to easily turn it into a dolly.
Window Mount
A PRO-mount suction cup lets you attach your camera to a car window, so you can take photographs without leaving the vehicle—for example, while on safari...
Stone or Rock
A stone or rock? Absolutely. You can use any solid surface—at the right height, of course—to support your camera and prevent movement and vibration. This is useful when you want a sharp photograph but happen not to have your tripod with you. Even a large, heavy beanbag that stays upright can serve as an improvised support when the camera cannot remain upright on its own.
Which Tripod Should You Buy?
If you are still a beginner, a standard three-legged tripod is worth considering, preferably one with telescopic legs that extend to the right height for you.
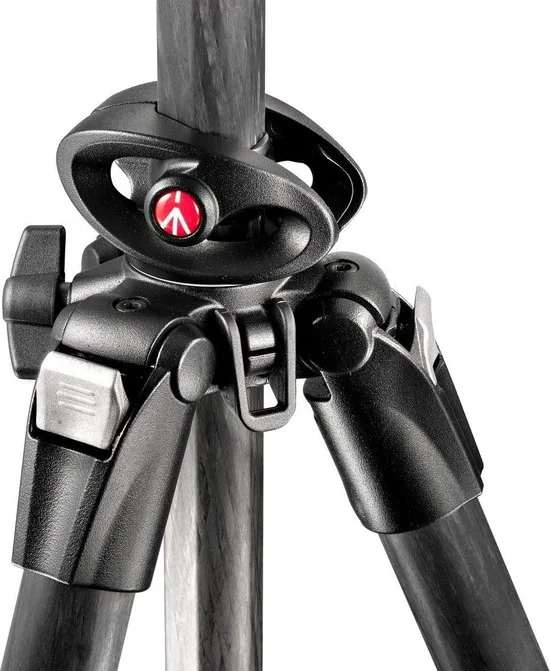
Make sure you choose a sturdy model—consider an aluminum tripod. A heavier model is generally preferable because greater weight provides more stability. Lightweight models are also available. Although they do not offer the same sturdiness and stability as larger, more substantial models, they are easier and more convenient to carry.
Using a Tripod
Most photo shoots follow the same routine: set up the tripod, mount the camera, and start photographing. A few additional techniques can make a tripod easier to use.
1. The longer a tripod’s legs are extended, the less stable it becomes because its center of gravity moves upward. Extend the legs only far enough to place the camera in the correct position and at the right height—no farther. In other words, lower is better.
2. Pressing the shutter button can sometimes move the camera. To minimize that risk, place your other hand on top of the camera, directly above the tripod mount, and apply gentle pressure. This steadies the camera and prevents movement.
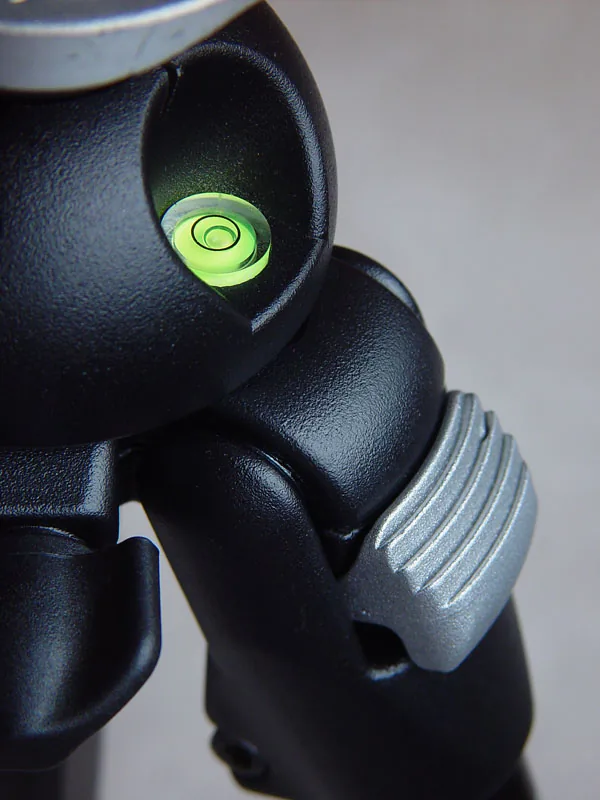
3. If you plan to buy a tripod, choose a tripod with a built-in spirit level. This helps ensure that your landscape photographs —if that is what you want—have a perfectly level horizon, saving you from having to rotate the image during post-processing.
4. Special lenses are available that compensate for camera shake and movement. In the flowery English terminology of photography, they are known as image-stabilization or vibration-reduction lenses. Unfortunately, they are generally expensive.
5. Buy a tripod with a quick-release system for your camera. This lets you respond quickly and pick up the camera when a photogenic situation suddenly presents itself.



