A solar eclipse is not a subject where you can simply show up with a full camera bag and improvise. Here, preparation and calm will do more for you than one more lens.
There was a total solar eclipse on August 12, 2026, and all kinds of checklists and advice circulated. Yet it does not have to be complicated for photographers. The key question is actually simple: do you want the Sun itself to appear large in the frame, or do you mainly want to capture the moment, the landscape, and the atmosphere?
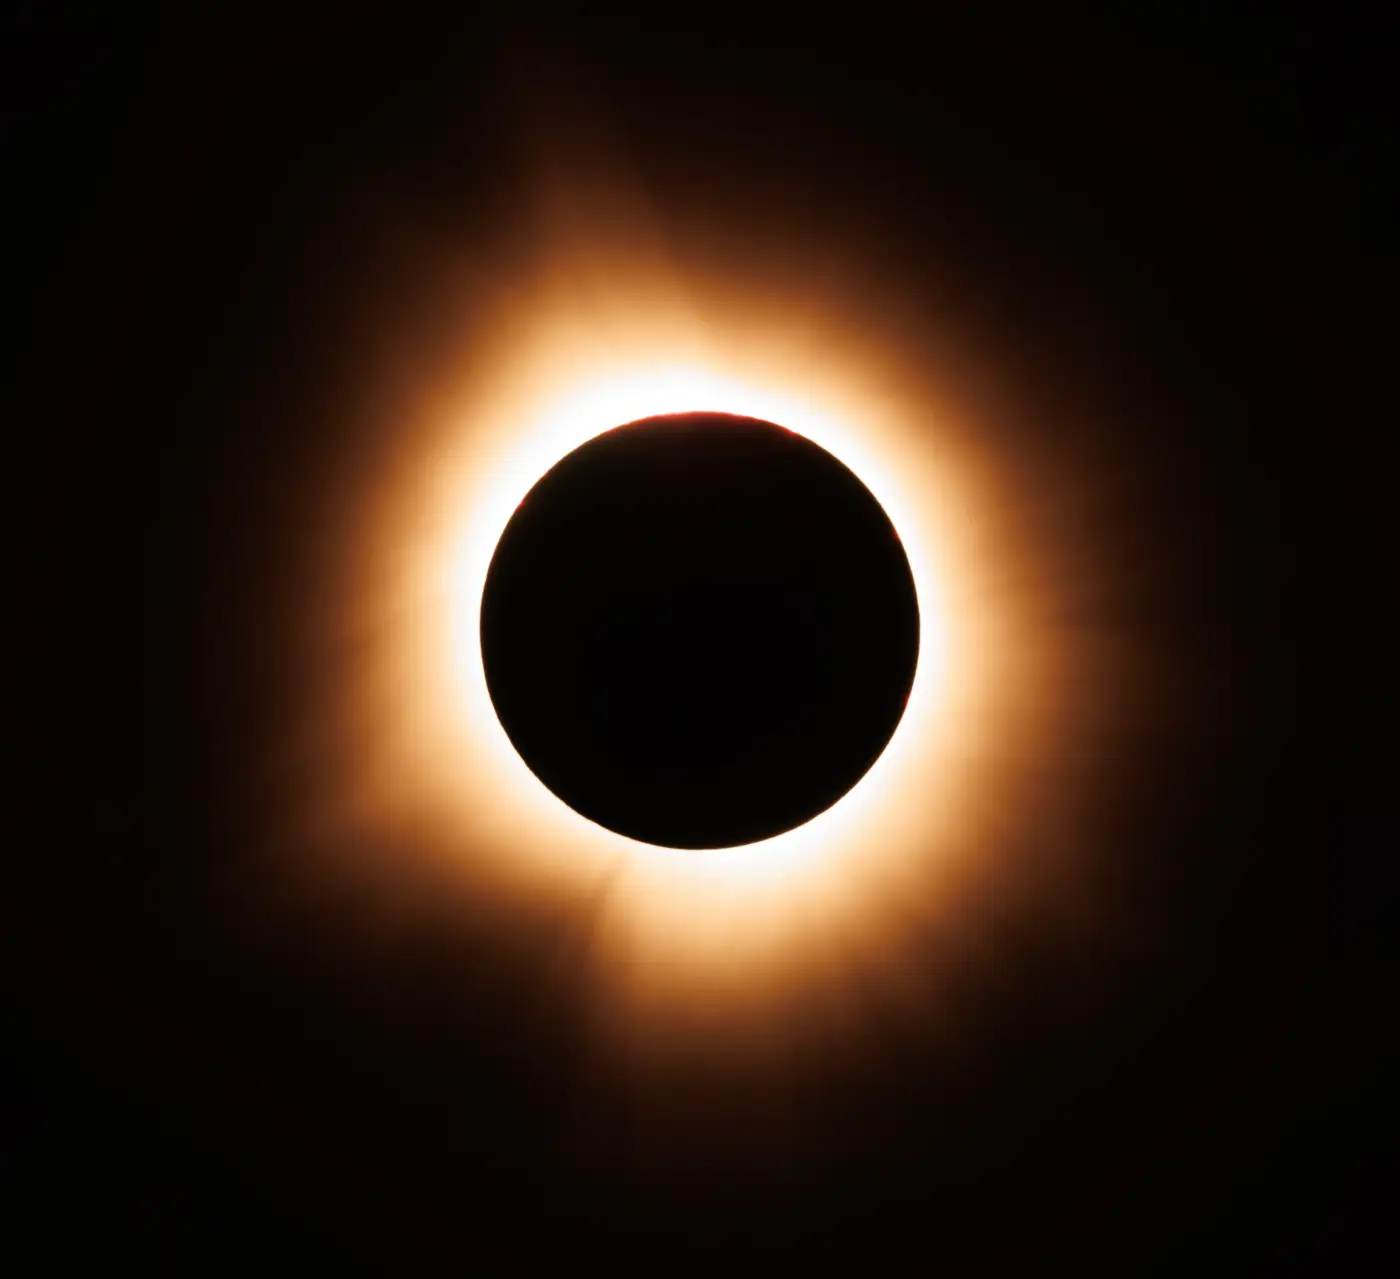
Photographers who decide that in advance often make better choices on the day itself.
First, Find Out Whether You Will Actually Experience Totality
The best eclipse photos begin not with your camera, but with your location. On August 12, the path of totality ran across Greenland, Iceland, the Atlantic Ocean, northern Spain, and a small part of Portugal. Only within that narrow band does the Sun disappear completely behind the Moon, producing the brief, extraordinary phase when the corona becomes visible.
Outside that path, you photograph a partial solar eclipse. That can be beautiful too, but it is a different kind of image. You see a bite taken out of the Sun, but not the complete eclipse with its almost otherworldly twilight. This makes a big difference to your preparation. A close-up of the corona requires a different approach from an atmospheric image of a landscape under dimmed light.
Safe Viewing Is Not a Minor Detail
Safety during a solar eclipse is not a formality. Whenever even a bright sliver of the Sun is visible, you need protection for both your eyes and your equipment. For viewing, use eclipse glasses that comply with ISO 12312-2. For photography, use a proper solar filter that is securely attached in front of your lens.
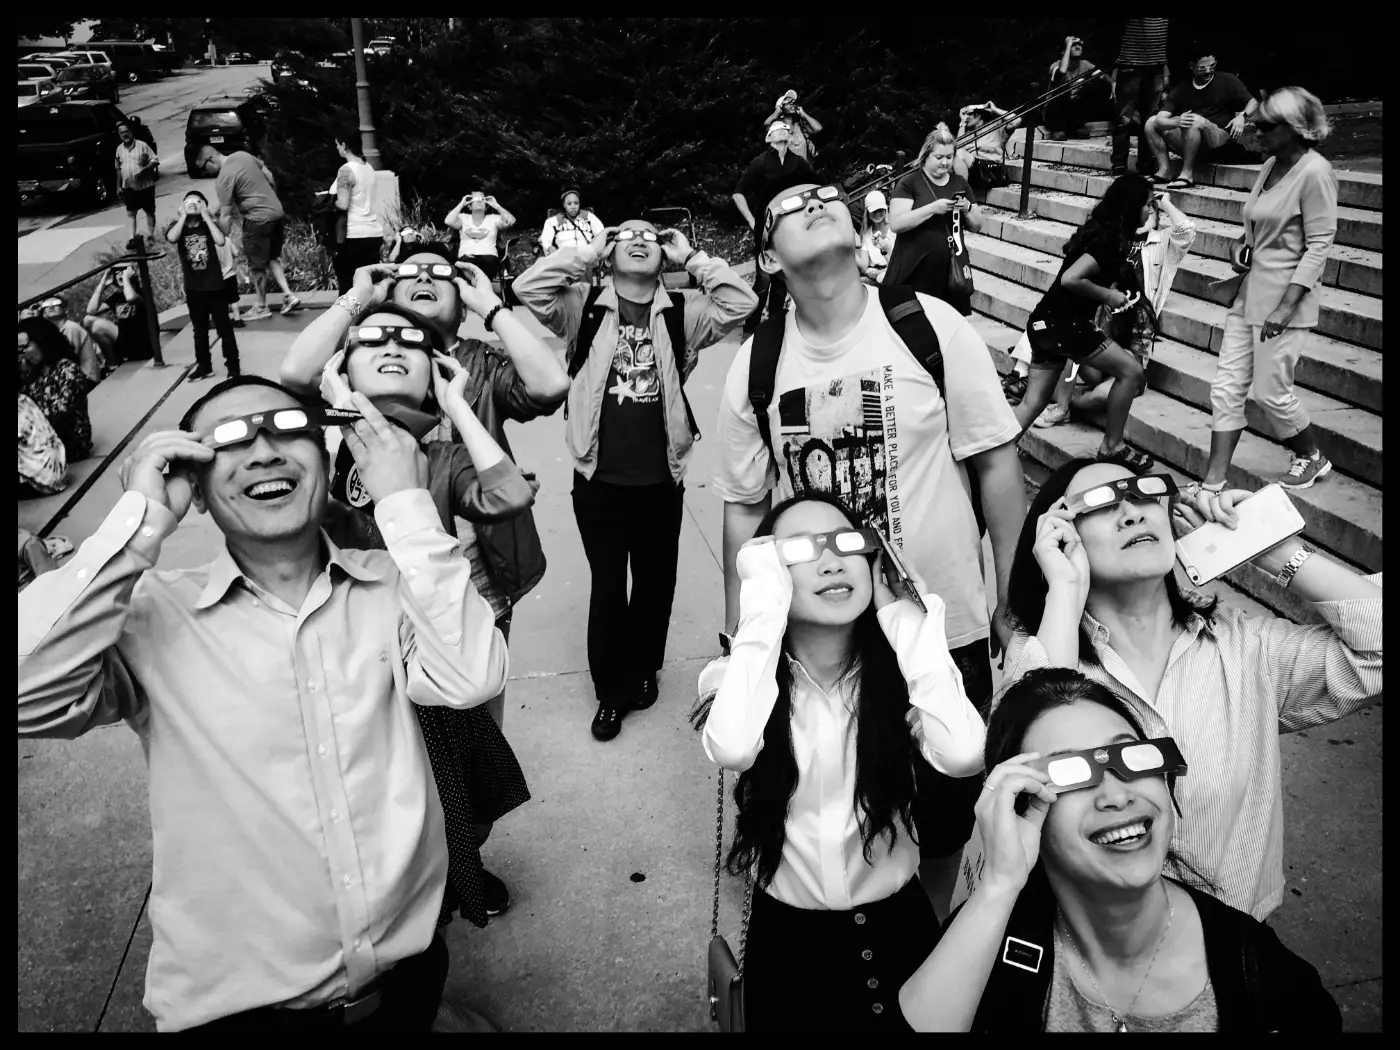
Ordinary sunglasses, improvised solutions, or a filter you are not certain is suitable are simply not a good idea. You may remove the solar filter from the lens only during the brief period of totality. Put it back on immediately as soon as the first bright sunlight returns.
Bring Less Than You Think
Many photographers bring too much equipment to moments like this and lose time as a result. It is better to choose one simple setup in advance.
A practical basic kit is often enough:
• for everyone: eclipse glasses, fully charged batteries, an empty memory card, a microfiber cloth, and something stable to brace against;
• for smartphone users: a phone mount or small tripod, plus a dedicated smartphone solar filter or suitable solar-filter material for the partial phase.
• for camera work: a mirrorless camera or DSLR, a tripod, and a solar filter that fits your lens properly.

If you also want to show the landscape, other viewers, or the atmosphere around the event, a second simple camera or smartphone is often more useful than one more lens in your bag.
A Smartphone Is Often Enough to Tell the Story
Dedicated solar filters for smartphones are also available for the partial phase, usually as a clip-on filter placed in front of the camera module. A simple alternative is certified solar-filter material that completely covers the lens. Do not use an ordinary ND filter, polarizing filter, or sunglasses for this purpose: they are not automatically suitable for photographing the Sun directly. You may remove the solar filter during the brief phase of full totality; as soon as direct sunlight becomes visible again, the filter must go back in front of the lens.
A smartphone is still too often dismissed as an emergency solution. That is not entirely fair. You can use one to make a perfectly good record of the partial phase, as long as you work safely. During totality, a smartphone is particularly good at telling the wider story: the darkened sky, the reactions of people around you, the horizon, and the sudden evening light.
Keep it simple, though. Turn off the flash, shoot in RAW if your phone supports it, and preferably place it on a small tripod. Burst mode can be useful, but recording 4K video and extracting a still later can work just as well. Just do not expect a phone to produce a large, detailed image of the Sun. That requires different equipment.
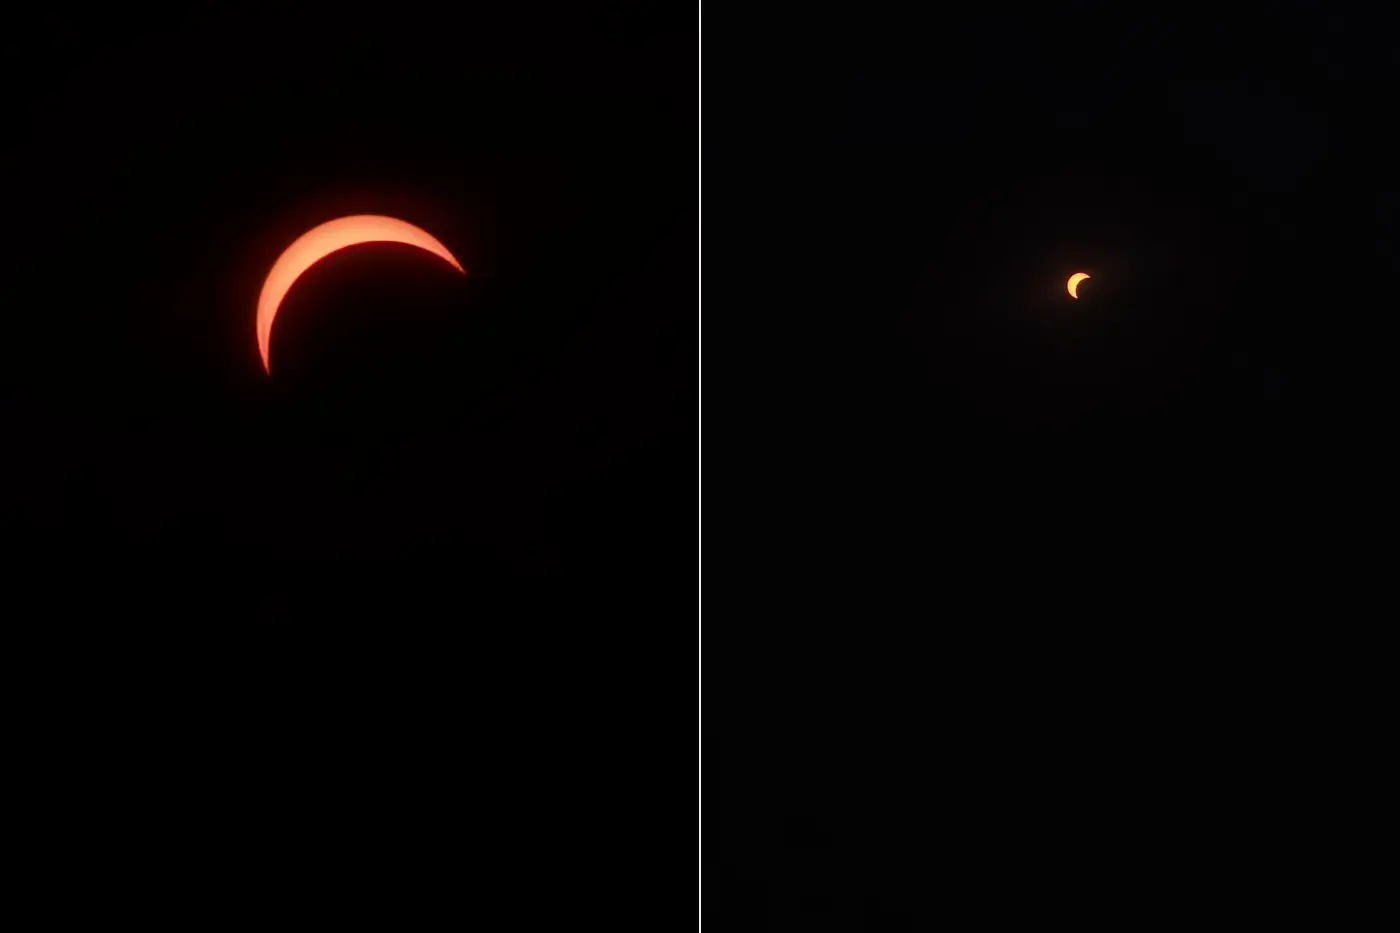
Photos above:
Two images of the partial solar eclipse, taken with a Samsung Galaxy S25 Ultra and a solar filter on August 12, 2026, in Amsterdam. The image on the left was zoomed in substantially to a 668mm equivalent (1/60 sec., ISO 250); the image on the right is a wider view at a 77mm equivalent (1/90 sec., ISO 100).
Complete solutions are also available, such as Solar Snap, which combines a solar filter for the smartphone with an app that lets you control exposure, focus, and zoom manually.
Tip: some sets of eclipse glasses also include a separate filter for the smartphone camera. You can also place suitable solar-filter material in front of the camera lens. Make sure the active lens is completely covered before pointing the phone at the Sun. A simple solution like this can produce surprisingly good photos of a partial solar eclipse.
Capturing Solar Detail Requires Patience and Reach
If you want not only to document the event but also to capture the solar crescent or corona at a larger scale, the work becomes more precise. A camera with a telephoto lens simply gives you more control. Roughly 200 to 600mm is useful in practice; for many photographers, approximately 400 to 600mm is a comfortable range for clear detail shots.

Knowing your setup matters more than focal length alone. Autofocus may struggle with a filtered Sun, so manual focus is often the most reliable approach. A sturdy tripod also helps more than people sometimes expect. Not because it sounds more impressive, but because every small vibration suddenly becomes visible.
Practice Matters More Than One More Lens
The best eclipse photo rarely comes from the photographer with the largest kit. More often, it comes from the person who tested everything a week earlier. Practice with your filter, tripod, and focusing method in advance. Point your camera at the Sun, see how quickly you can find the settings, and check whether your entire setup feels logical.
Mentally rehearse what you will do around totality as well: filter on during the partial phase, filter off during totality, and filter back on immediately as soon as the bright light returns. Anyone who waits until the event itself to think this through will lose precious seconds.
And perhaps most importantly, decide in advance what kind of photo you want to bring home: a close-up of the Sun, a wide landscape, or a human moment with viewers and twilight. Trying to do everything at once often leaves you with many doubts and little calm. If you make one clear choice, you will almost automatically take better photos.
Final Check
Just before leaving, there are really only four things to check:
• safe viewing: bring only eclipse glasses that comply with ISO 12312-2, and check that your solar filter is securely attached;
• weather and location: check not only the cloud cover, but also whether your spot has a truly unobstructed view and whether you are inside or outside the path of totality;
• suitable focal lengths: as a rough guide, think 24 to 35mm for atmosphere and landscapes, 70 to 200mm for the Sun within the landscape, and 400 to 600mm for true detail shots of the Sun and corona;
• choose your alternative in advance: if you want to travel light or focus on telling the story of the moment, also read RAW on your phone and telephoto on your phone.
That way, you arrive not with a random collection of gear, but with a plan that suits the photo you want to make.
Ultimately, the best eclipse photo is not necessarily the most technical one, but the photo that later lets you feel exactly how extraordinary those few minutes were.



