Digital cameras offer various quality and resolution settings. Simply set everything as high as possible and you can’t go wrong. Or does it make sense to use these settings more intelligently?
A high pixel count means large image files. It’s as simple as that. However, image data can be condensed electronically. With a uniformly blue sky, for example, there is no need to record every pixel individually. Groups of identical pixels can be recorded together, making the image file considerably smaller. This is known as compression, or image compression, and it is done using the JPEG standard.
To be clear, compression reduces an image’s file size, but it does not change the number of pixels that make up the image. An image containing many large, uniform areas can be compressed more heavily than one with lots of fine detail. That is why JPEG files are rarely exactly the same size.
JPEG and quality
If your camera lets you set the image quality, this always refers to the level of compression. The Fine quality setting, for example, often uses a compression ratio of 1:4. This is a low level of compression that causes virtually no loss of quality. The Normal setting typically uses a ratio of 1:8 and is well suited to general use. Finally, there is the Basic or Economy setting, at 1:16, which prioritizes the smallest possible files and may produce clearly visible quality loss.
This loss of quality appears as so-called JPEG artifacts. Smooth gradients, for example, may show block-like or streak-like patterns. The image becomes more fragmented and cluttered.
Image size
The second image property you can adjust is image size: the number of pixels that make up the image. The larger the image, the larger it can be printed or displayed. Clearly, an image is larger when it contains more pixels. How large it can be reproduced depends on the resolution of the output medium. A resolution of 300 dpi is generally used for printed publications and high-quality prints. For prints from photo labs and photographic inkjet printers, a resolution of 120 to 200 dpi is often sufficient. DPI stands for dots per inch, or pixels per inch. 1 inch is 2.54 cm.
Use lower settings?
Set everything to the maximum and you will always have the highest pixel count and the best quality. That saves hassle and disappointment afterward. At the time of publication, this was a reasonable approach given memory card prices: for the price of a few rolls of film, you could get 1 gigabyte of storage space.
Switching to a smaller image size or lower quality is most useful when you want to send photos quickly, open them quickly, and edit them quickly. Of course, you can always make a smaller copy of a large file. Some programs can even do this in batches, processing a series of photos at once. But digital photographers often take many photos and generally do not want extra work that could have been avoided.
So, if you know in advance that the photos you are about to take will only be used on a web page, working at the highest resolution is simply inconvenient. Transferring and opening the files just takes longer.
Editing photos
When editing photos on a computer, make sure the original file remains intact. At the time of publication, newer editing programs such as Aperture, Lightroom, and Capture One did this automatically. They used a non-destructive method: the original file was not altered, all edits were recorded in a separate file, and they could still be adjusted afterward.
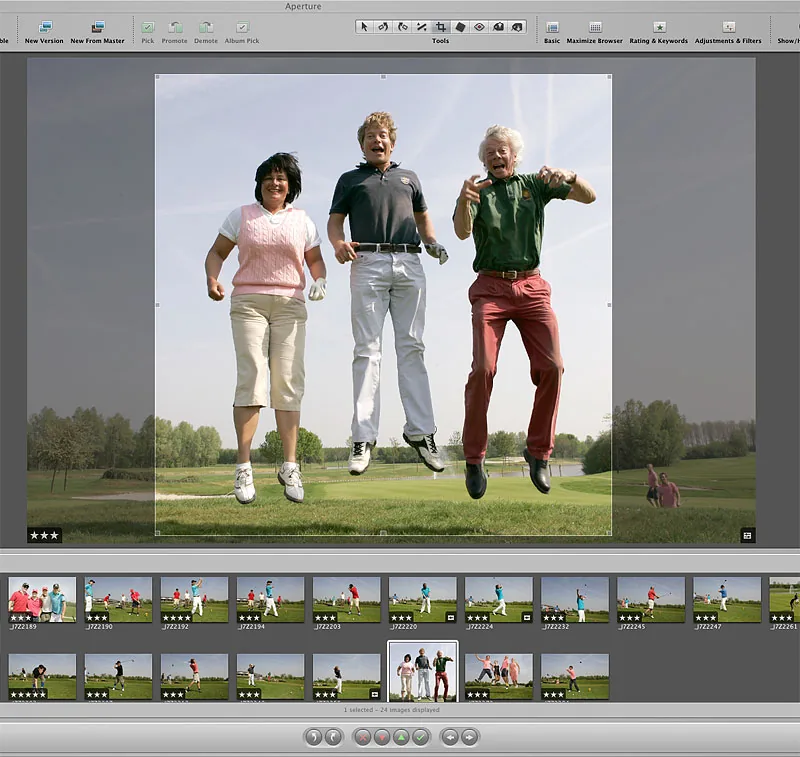
If you do not have such a program, you should make edits to a copy. To make sure nothing goes wrong, it is helpful to protect the originals so that the ‘Save’ command is disabled and files must be saved using ‘Save As.’
RAW
When shooting in RAW, only the raw image data is saved. The processing required to produce a complete, ready-to-use image file—which normally takes place in the camera—can instead be performed on the computer with a RAW file. This gives you a file containing as much image information as possible, allowing you to adjust all kinds of settings, such as color balance, contrast, sharpening, noise reduction, and saturation.
A wide range of software is available for processing RAW files, both standalone applications and plugins for existing editing programs. RAW files cannot be used until they have been processed, so you have to finish processing them. Fortunately, you can create fixed combinations of settings and apply them to groups of shots. So, if you are not satisfied with the image files produced by your camera—for example, because it applies an overly aggressive noise filter—this is the solution.



