The main advantage of shooting in RAW instead of directly in JPEG is that you can optimize your photos yourself. RAW editing also involves more than moving a few sliders left or right in your photo-editing software. With so many editing options, it can be helpful to follow a consistent order. That way, you always know where to begin and which steps come next. The order is not technically required, but it can serve as a useful checklist while you edit.
When you shoot in RAW, you can begin by applying a RAW or camera profile in your photo-editing software. A profile provides a starting point for aspects such as color and tonal rendering. You can then edit the image to suit your preferences. Below are nine steps you can follow to optimize a RAW file in Lightroom or Capture One Pro.
1. Lens Correction
Start with the Lens Correction panel because these corrections can affect exposure. Lens correction can address chromatic aberration, vignetting and distortion around the edges of a RAW image. Depending on the lens and profile, the effect may be subtle or very noticeable. Once corrected, the photo may look slightly or substantially brighter. If an embedded correction profile has not already been applied—as Lightroom indicates at the bottom of the Lens Corrections panel—you can enable or disable the correction yourself. Try both options and compare how they affect the photo.
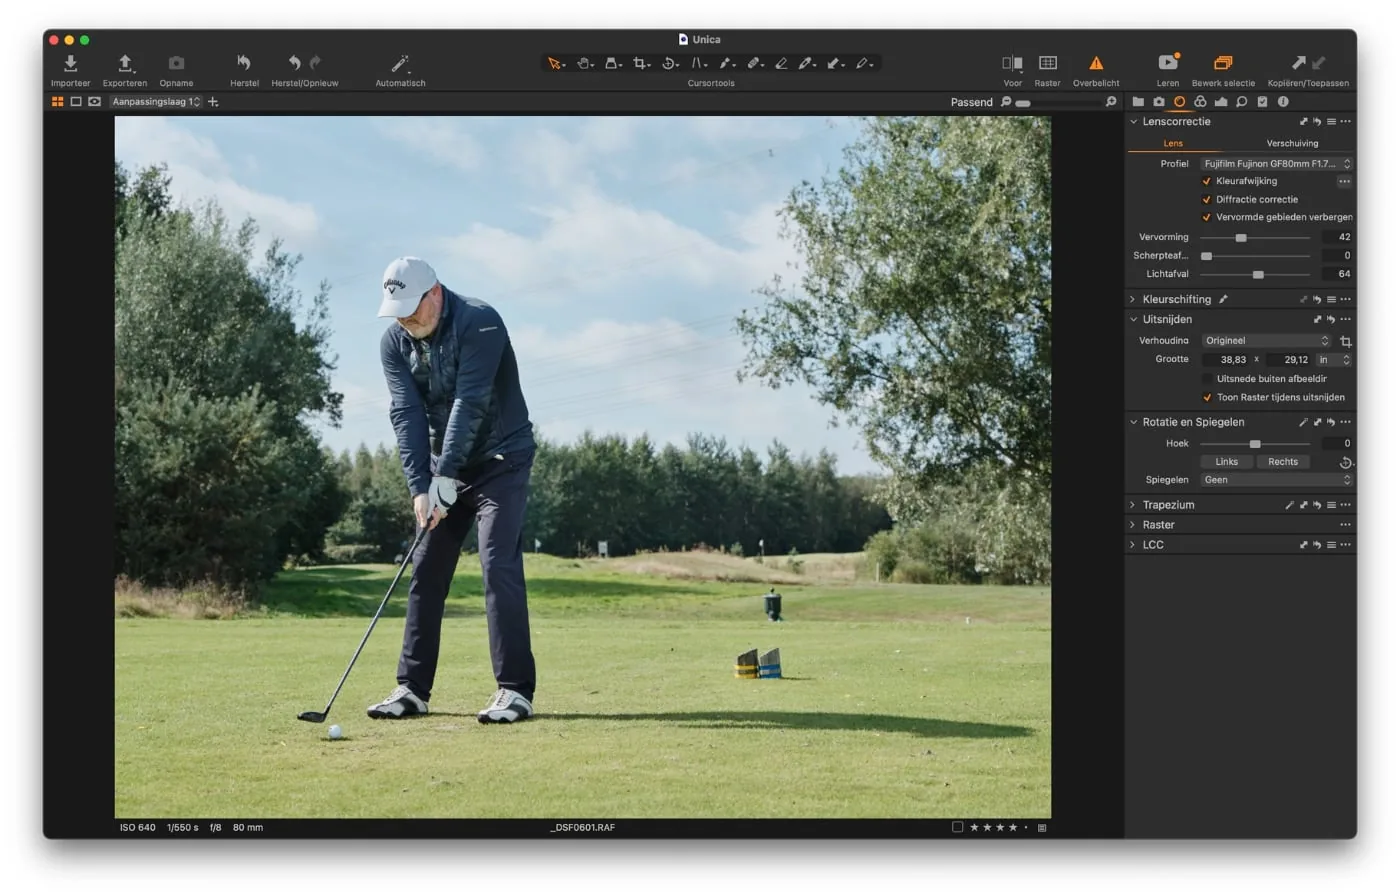
Capture One offers similar controls for assigning a profile, removing distortion, and controlling light falloff, which this tool labels as vignetting. You can find them in the Lens Correction panel. Whichever option you choose—enabled or disabled—make that decision first, then continue editing.
2. Transform
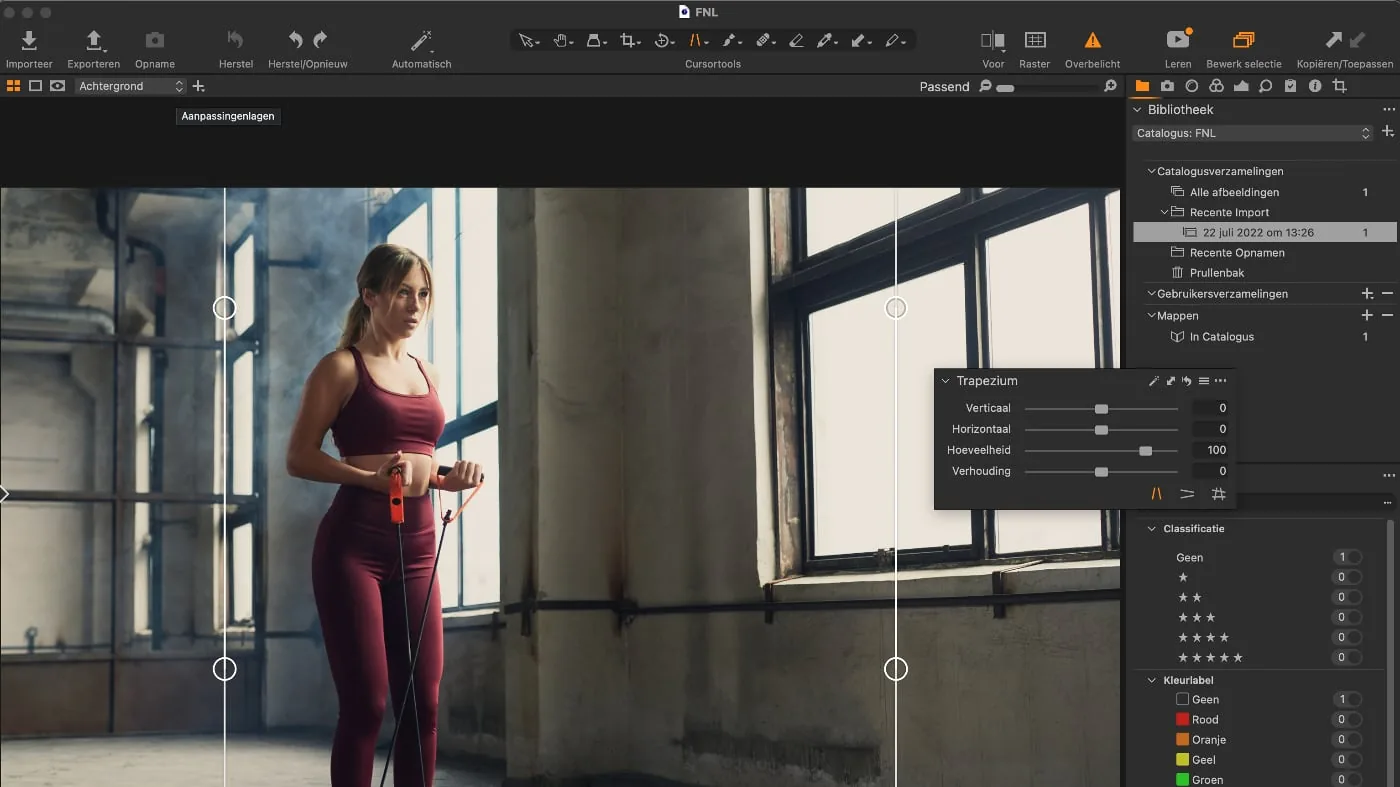
You can now level the image and correct perspective problems. This is especially important for subjects with straight lines, such as architecture. Vertical lines may converge when the camera is pointed upward or downward. Perspective correction can make those lines appear straight again.
In Lightroom, use the Transform panel. Lightroom can correct perspective automatically when you click Auto, or you can draw guides to show which lines should be straight. In Capture One, use the Keystone tool from the top toolbar or the Keystone panel.
3. Crop
After correcting vignetting, distortion, and perspective, crop the image. You might use the classic rule of thirds or the golden ratio, or change the aspect ratio to strengthen the composition. At this stage, you are not yet creating a crop for social media or another online destination; simply crop the image in the way that best suits the subject.
4. White Balance
Now decide whether the color temperature and tint of your RAW image should be adjusted from the values recorded by the camera. Move the white point so neutral colors appear neutral. If you did not use a gray card, use the eyedropper on a cloud or another object that was neutral in real life as your starting point.
Then decide whether the white-balance correction improves the photo. Do the colors need to be technically accurate, or does the image feel more natural without correction? If color accuracy matters—for product photography, portrait skin tones, or when applying presets or profiles for a predefined look—correcting white balance at this stage is usually a good choice.
For other images, the white balance does not have to be technically correct. Neutrals do not always need to appear neutral. You can use white balance creatively to shape the subject’s mood and atmosphere.
5. Exposure
Adjust the blacks, shadows, midtones, highlights, and whites to improve the brightness and tonal balance of the RAW image.
You can temporarily switch to black-and-white mode so color does not influence your decisions. Darkening a colored pixel increases its apparent saturation, while brightening it reduces saturation. In other words, exposure edits also affect color, even when that is not your intention.
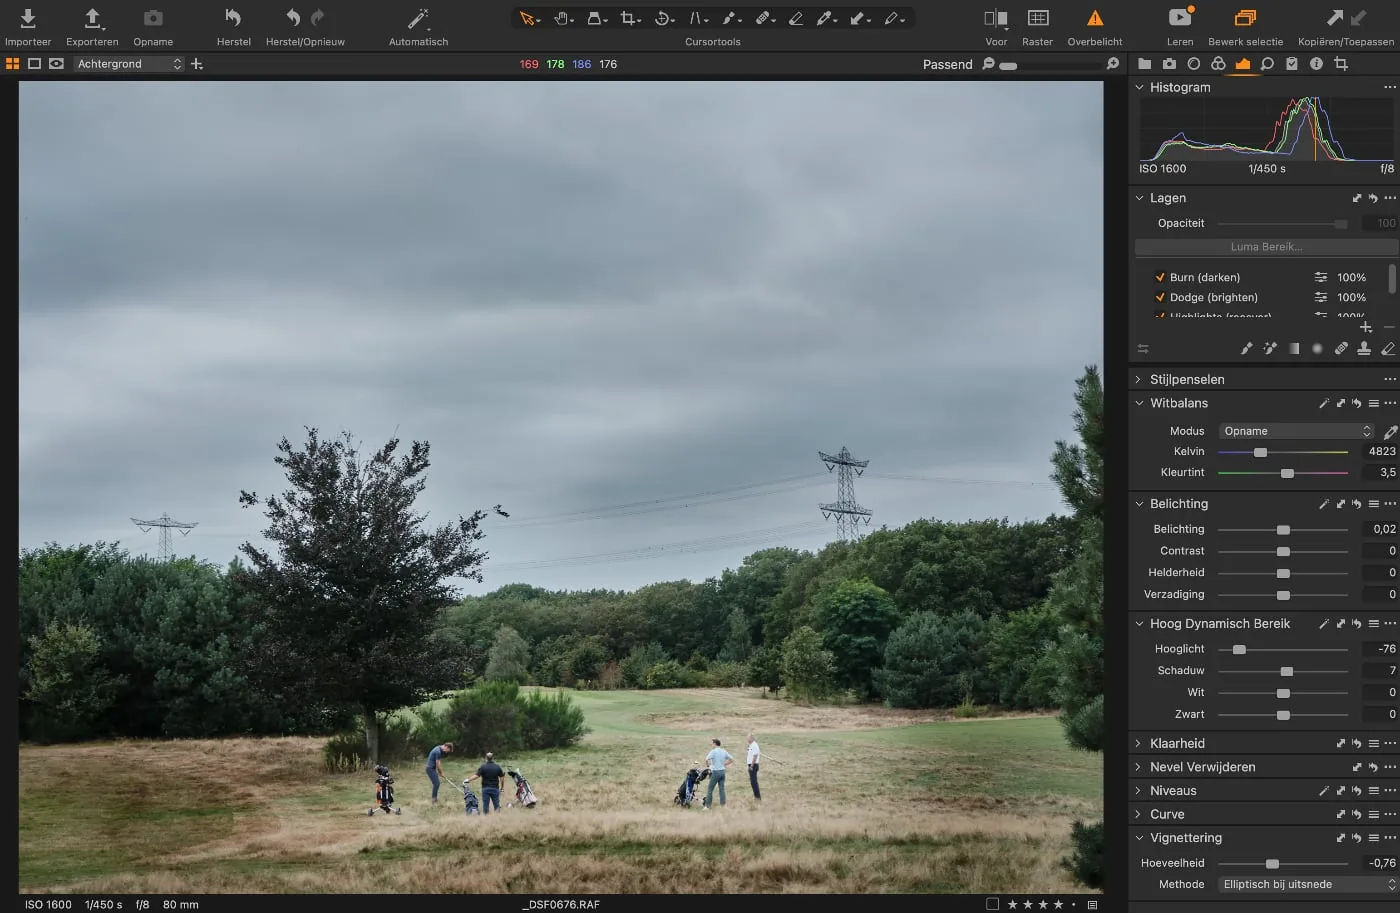
In general, the goal of this exposure step is to create smoother, more gradual tonal transitions throughout the image.
6. Contrast
This step resembles exposure editing, but now you work mainly in the middle of the histogram. Spread the midtones apart so the image does not look flat or dull. It may seem counterintuitive to expand the histogram after compressing it in the previous step, but this push and pull gives you more control over how much contrast is applied, where it is applied, and the tonal range of the image.
You can add or remove contrast from a RAW image in several ways. Lightroom and Capture One both have a dedicated Contrast slider, but it is generally less nuanced and provides less control.
Other Lightroom contrast tools include the Clarity and Dehaze sliders, which primarily target the midtones while helping protect the blacks and whites. You can also use the Tone Curve and choose a classic S-curve to darken shadows and brighten highlights. These tools provide more control over specific problem areas and help balance exposure and contrast throughout the image.
7. Color
After your earlier white-balance decision, refine the color in the RAW image. Look closely: have any colors become too dark or oversaturated because of the exposure and contrast edits? Does a particular hue feel wrong? Are skin tones too orange, or should the sky contain more cyan and less blue? Use Lightroom’s HSL panel or Capture One’s Color Editor to make the necessary adjustments.
Once the color is technically sound, express your creative intent. Identify which colors support the subject by drawing attention to it and which colors distract from it. If a color is distracting, shift its hue toward a neighboring color or reduce its saturation so it becomes less prominent.
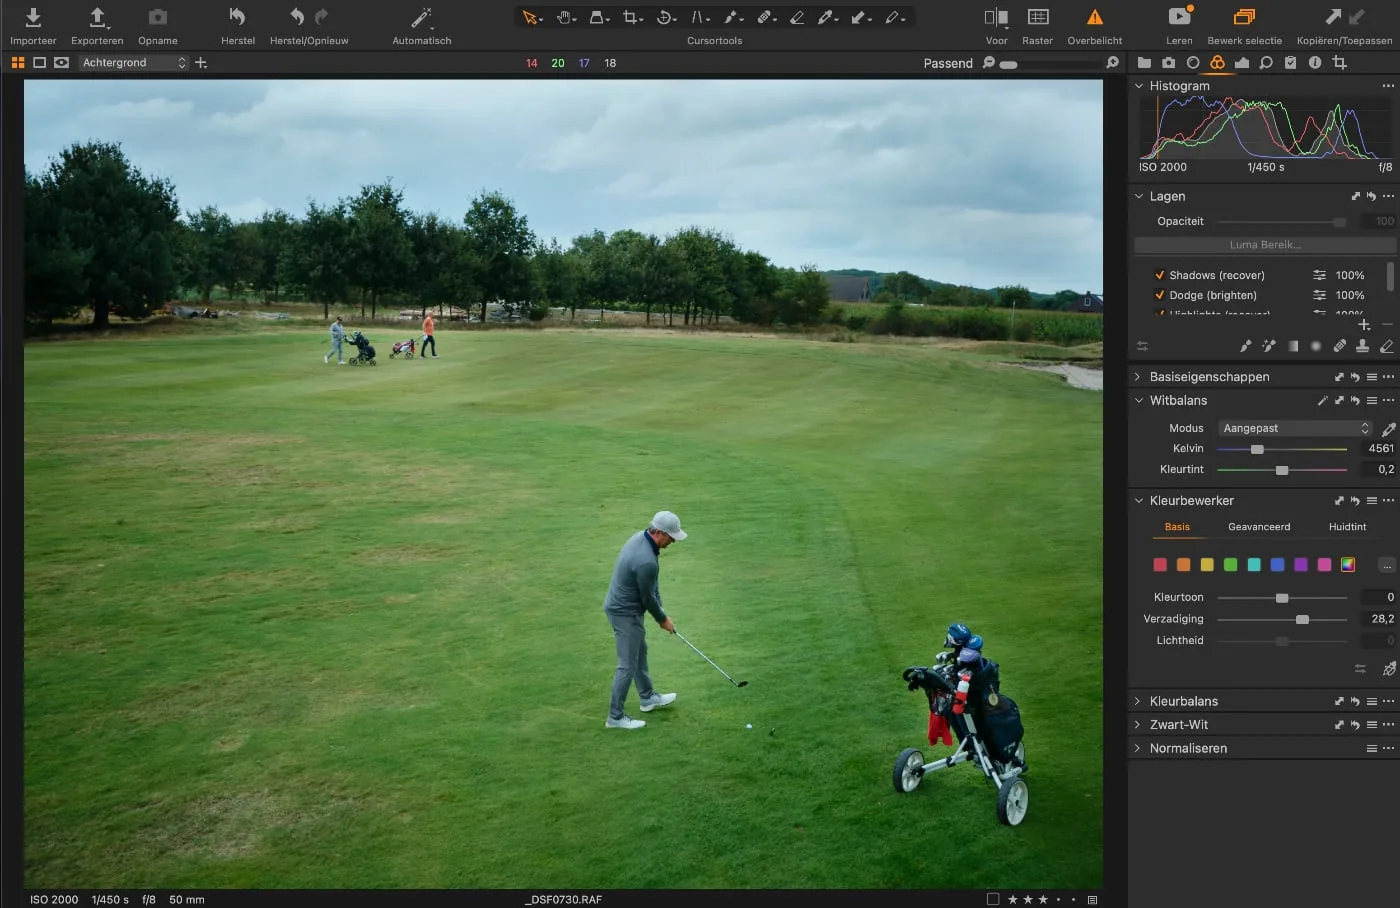
After spending time on color, take a break. If possible, wait a day so your eyes can reset. Return to the image with a fresh perspective; if you are still happy with it, move on.
8. Dodging and Burning
Dodging and burning comes from darkroom photography and means selectively brightening and darkening parts of an image. It is related to the earlier exposure and contrast steps, but focuses on specific objects or areas. Zoom out and view the photo from a distance to evaluate the overall balance. This often reveals areas that attract too much attention because their contrast is too high or too low.
The adjustment can be as simple as adding a post-crop vignette in Lightroom, using a graduated filter to darken the sky or brighten the foreground, or painting exposure and contrast changes into a specific area with a brush.
9. Sharpen
At the end of the edit, decide how much additional sharpening the photo needs. Consider its final use: an image for the web requires different settings than a large print. RAW software often applies basic capture sharpening automatically; you can also sharpen locally while editing and apply output-specific sharpening during export.
If you need a large image for your portfolio website , it may not require much sharpening. Apply sharpening when exporting a JPEG from Lightroom or Capture One, or open the RAW image in Photoshop and adjust sharpening and dimensions there.
In Conclusion
This is one possible order for editing a photo from RAW. It is not necessarily the only or best approach; its value lies in dividing the work into clearly defined steps so the photo improves gradually and each step provides a foundation for the next.
Read this article in Dutch: Werkwijze voor bewerken in RAW.



