Due to the growth of digital photography and smartphones, photos are mainly viewed on screens. Yet printing photos remains important, for example for presentations, exhibitions or wall decoration. This involves more than just supplying a file: choices in color, resolution and paper type largely determine the end result.
Bee printing photos Many people encounter practical questions, especially with larger prints and presentations. In this article you can read what you should pay attention to when printing high-quality photos.
sRGB or AdobeRGB: which works better for photo prints?
For digital photographers the choice of color space an important first step. The two most commonly used color spaces are sRGB and AdobeRGB. But what's the difference?
sRGB is the standard for online use. This color space has a smaller color range, but is well supported by almost all screens and printers. AdobeRGB offers a larger color range and is therefore interesting for photographers who want to get the most out of their colors. For this it is important that the entire workflow, from camera to printer, supports AdobeRGB.
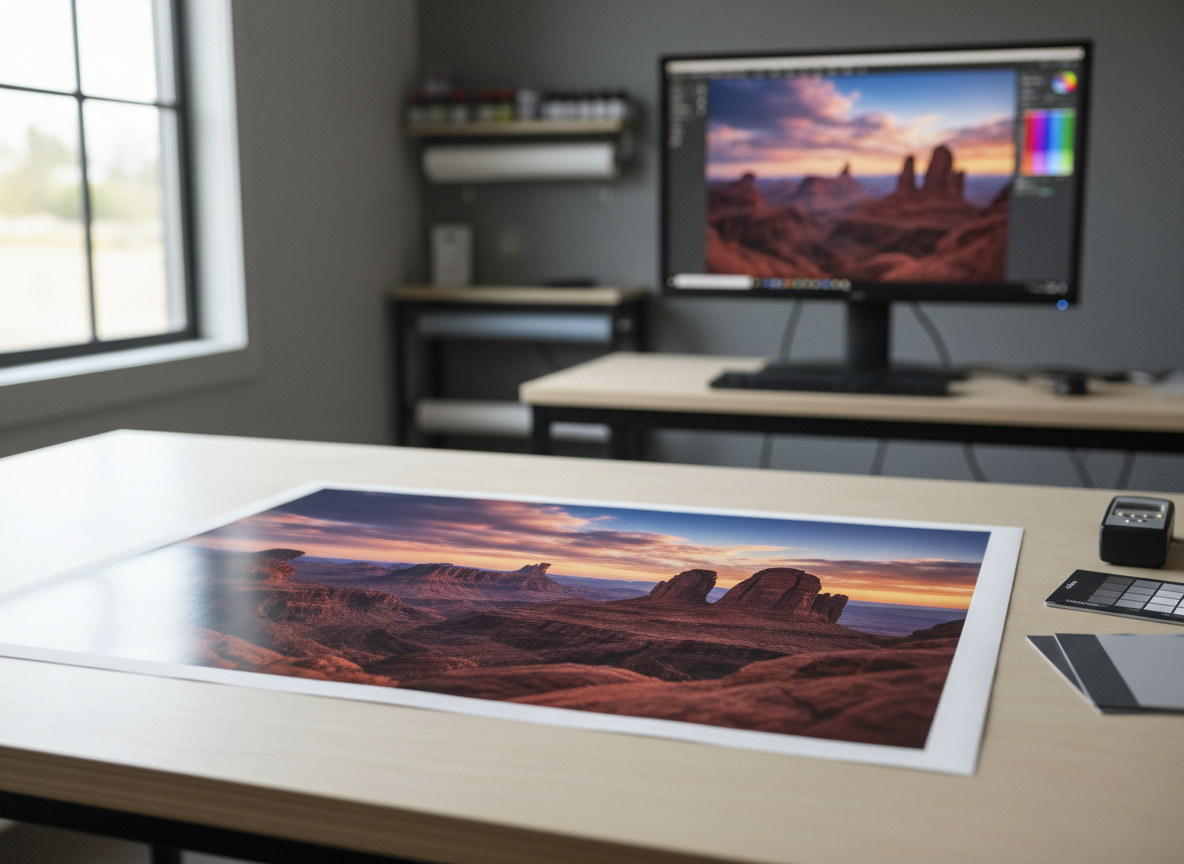
Many printing partners request files in sRGB, because this produces a consistent and predictable print result. If this is not the case, colors can look dull or unnatural. Therefore, always check which color space is recommended.
What dpi do you need for large prints?
The resolution of a file directly determines the sharpness of the final print. As a rule of thumb, small and medium prints are best delivered at 300 dpi. For larger prints, such as posters or canvases, 150 to 200 dpi is often sufficient.
Large prints are usually viewed from a greater distance, so a lower resolution still looks visually sharp. Increasing the dpi value of a file that is too small does not ensure that a photo becomes sharper.
Smart sharpening for print
Sharpening for a screen and for print is not the same. Paper absorbs light, which can make details appear softer than on a backlit screen. A slight extra sharpening for print is therefore often desirable.
Paper absorbs light, which can make details appear softer than on a backlit screen.
First edit the photo as usual and apply sharpening as a final step. Do this subtly and carefully check the effect. Too much sharpening can actually be at the expense of image quality.
Choose the right paper type
The type of paper you choose has a major influence on the appearance of a photo. Print on glossy paper provides bright colors and strong contrasts, but can cause reflections. Matte paper prevents reflections and looks calmer, but often shows colors less saturated.
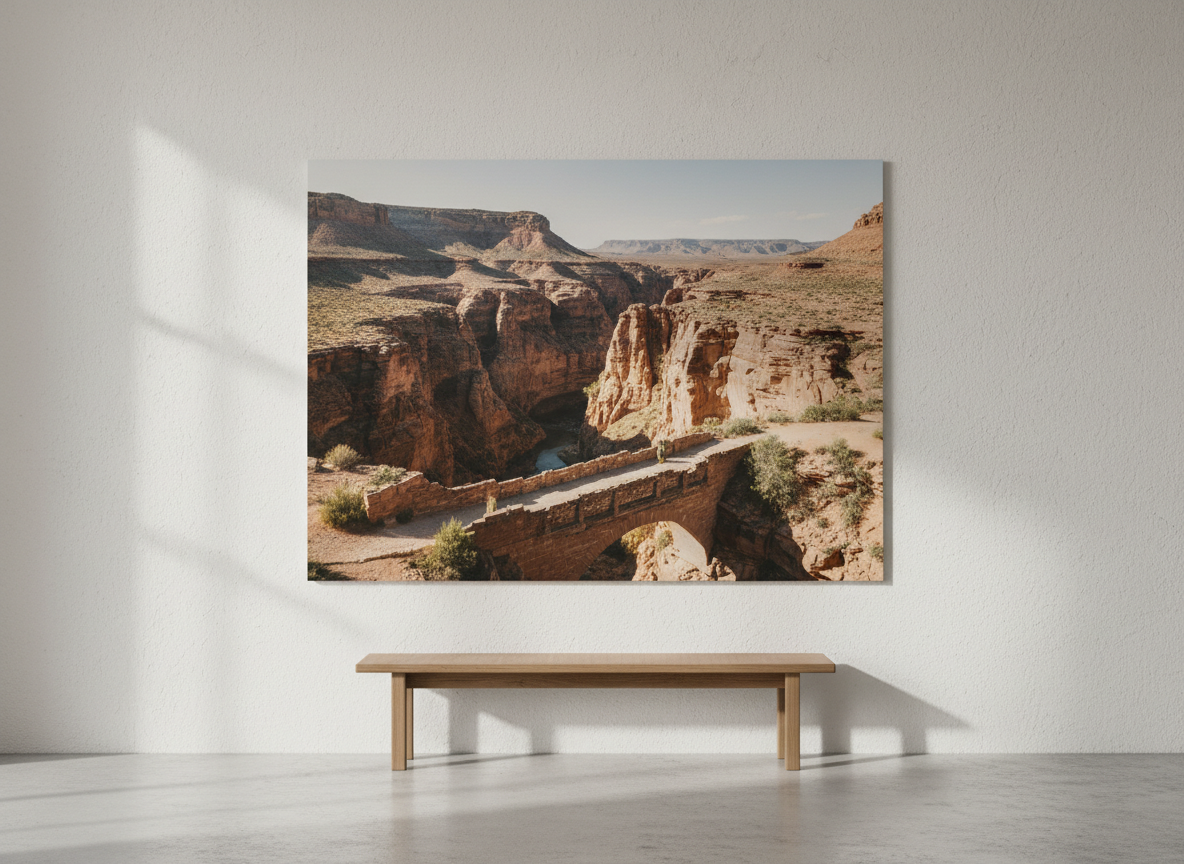
Those looking for a middle ground can opt for satin or semi-gloss paper. This combines vibrant colors with limited shine. The type of paper is an important factor in the final result.
A good printing partner makes the difference
A good printing partner contributes to a consistent and reliable end result. Print photos is a good way to ensure the highest quality. If you want to have photos printed, you can contact specialized printing services. You supply the images online and they are produced according to fixed specifications, which helps to guarantee quality.



