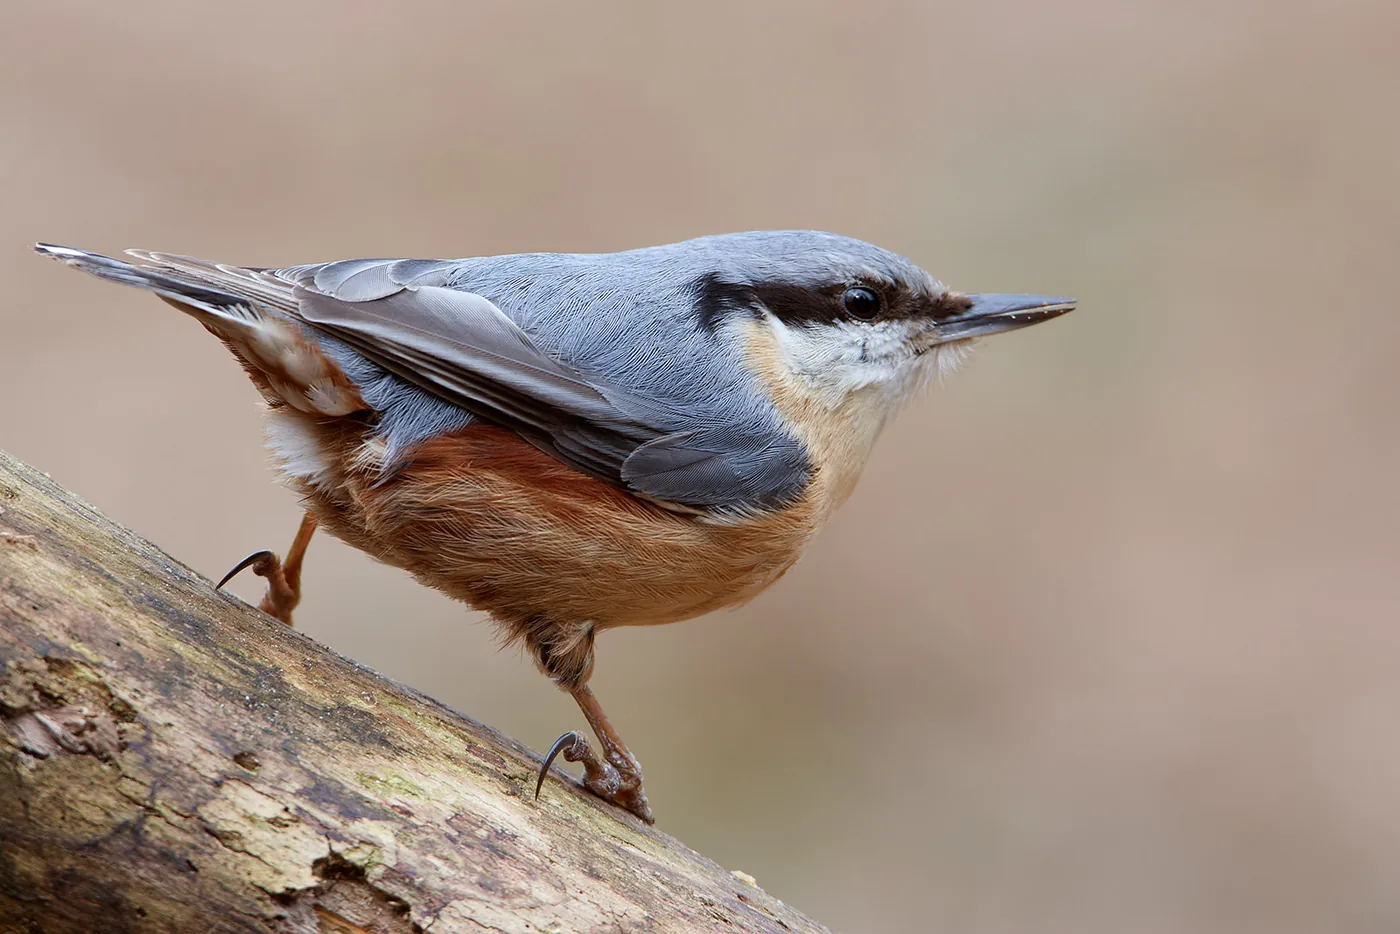
photo: Jan Duker | Nuthatch on a branch
Photographing birds in your garden is an accessible way to create beautiful bird photographs, especially when you set up a good feeding station. A well-designed feeding station significantly increases your chances of capturing attractive, natural images. This article offers practical tips on photographing garden birds, from setting up a feeding area to choosing a lens, background and camera position.
Photographing Birds in Your Garden
Many photographers think that photographing birds is possible only in nature reserves, but photographing birds in your garden can also produce excellent results. By feeding birds in a fixed location and photographing that spot thoughtfully, you can create natural images without distracting elements.
Any garden is suitable for bird photography. A large garden with plenty of trees and shrubs, or perhaps even a small wooded area, provides a largely natural setting. Many of us, however, have to work with a smaller plot. Even then, you can still make good bird photographs.
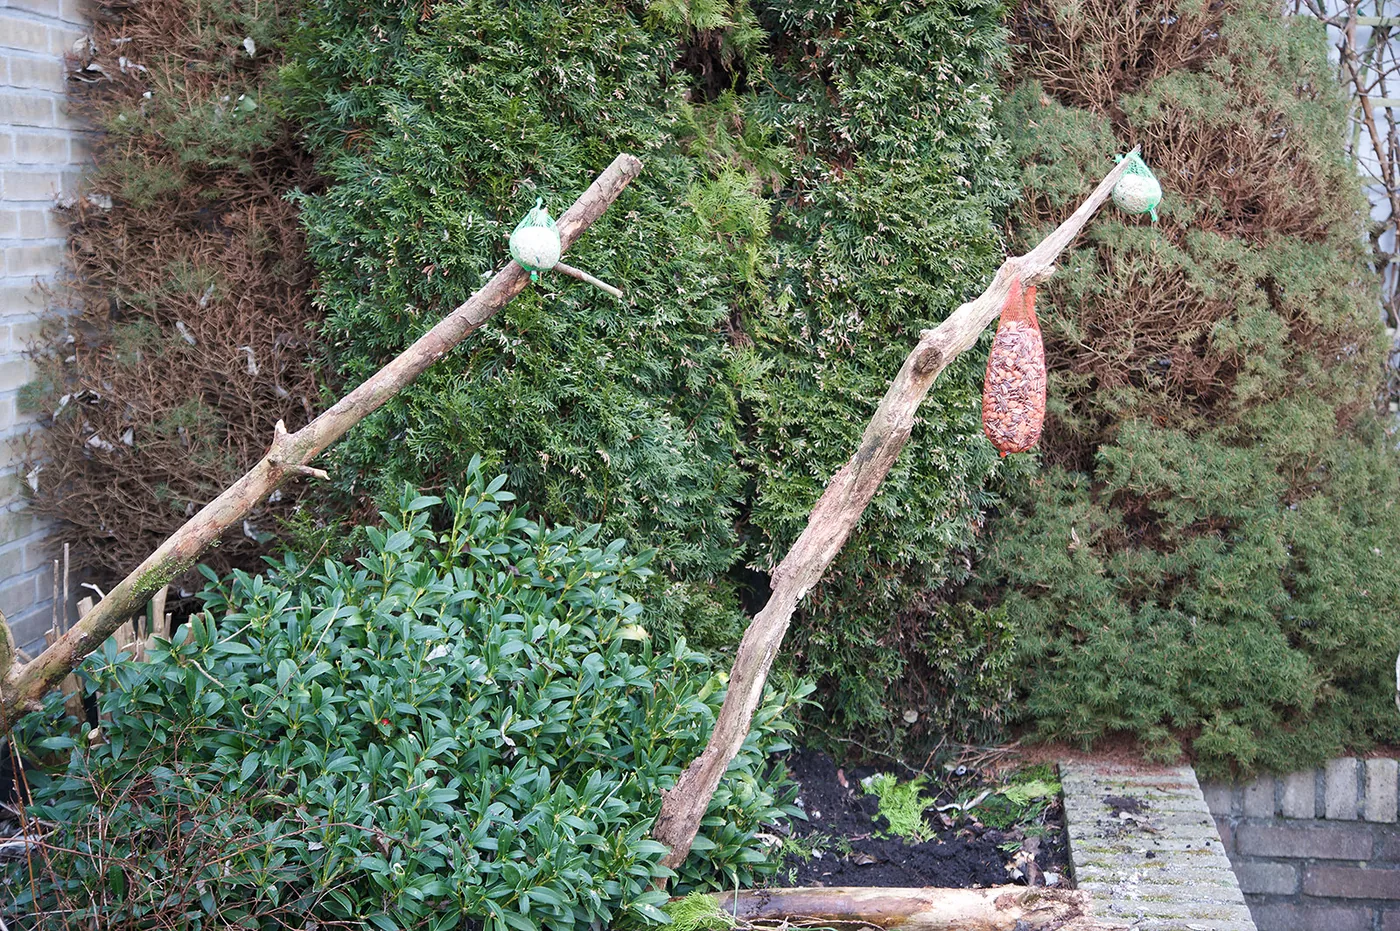
Photographing Birds at a Feeding Station
Instead of waiting for birds to land at a random spot in the garden, use old branches to create a feeding station. This encourages birds to visit a location you have prepared in advance.
Do not place the feeding station in an enclosed, hard-to-see corner of the garden. Birds want a clear view of their surroundings so they can spot approaching danger, such as cats and sparrowhawks, in time.
Water makes a garden even more attractive to birds, especially during freezing weather or hot summers. Make sure the drinking place is shallow and easy to reach. A simple container with a layer of water only a few centimeters deep, where birds can also bathe, is often enough.
After a while, birds discover the food and return regularly to forage
Start with a simple feeding station. At first, a few branches with some food attached will be sufficient.
After a while, birds discover the food and return regularly to forage. Use these moments to take your photographs.
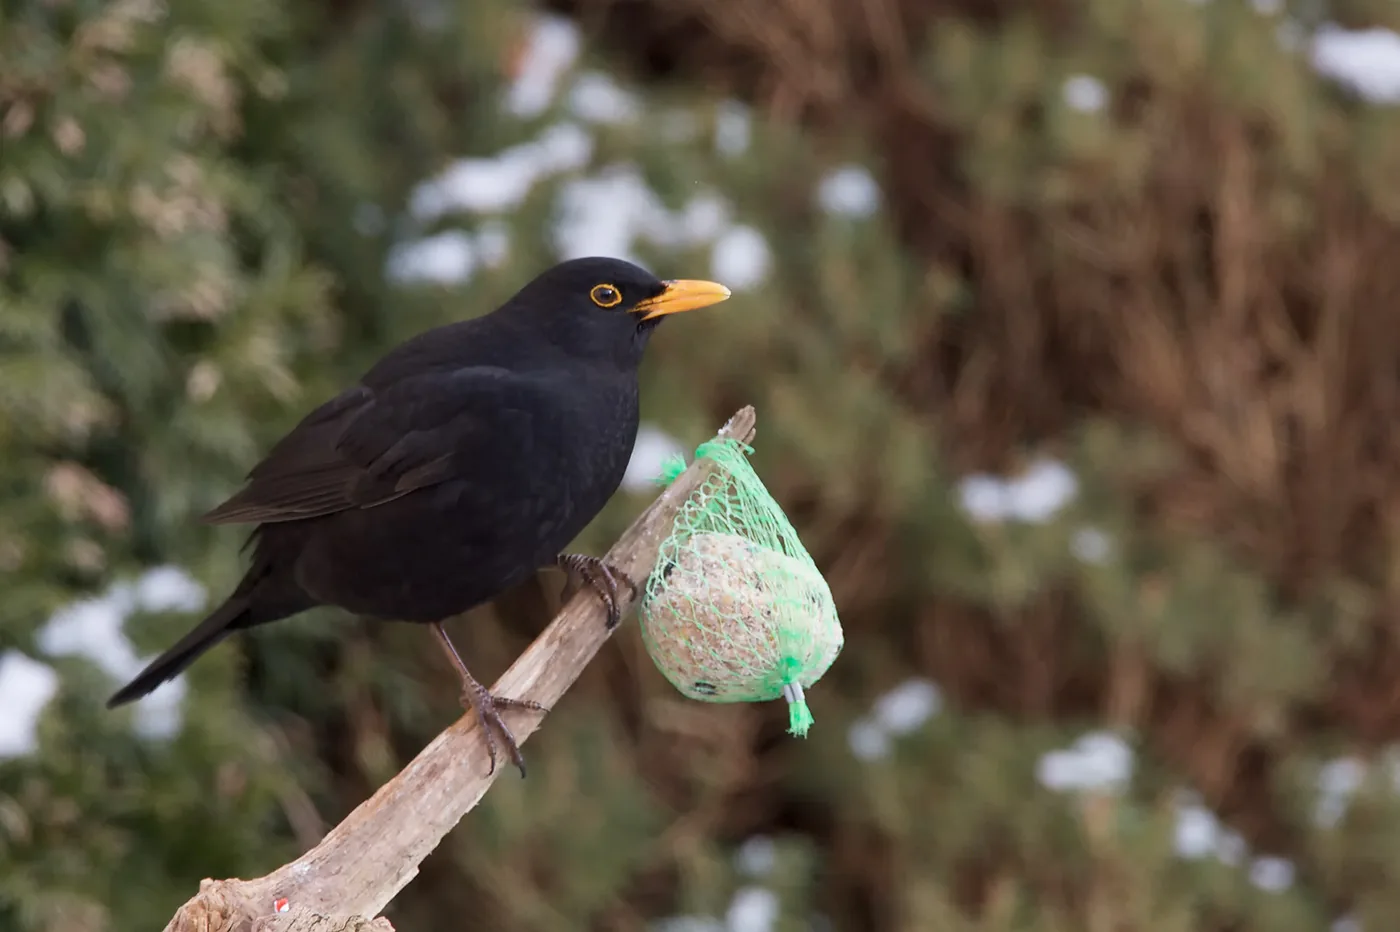
Choosing Branches and a Background for Bird Photography
Once birds visit your feeding station regularly, add a few branches or replace them with completely different ones, perhaps covered in moss. This creates more variety in your photographs. Images of several species all perched on the same branch quickly become repetitive.
Birds rarely land directly on fat balls or hanging nut feeders. They often survey the area first from a nearby branch. This is another reason to add extra branches: you can then photograph the birds without fat balls appearing in the frame.
After setting up the feeding station, begin putting out food a few days before you plan to photograph. Birds need time to discover a new feeding spot. Feeding regularly will encourage them to return to your garden. Do not be discouraged if few or no birds visit on the first day. Once they have found the spot, they will return.
Photographing Birds with a Telephoto Lens (300mm, 400mm or 500mm)
If you position the feeding station reasonably close to the house, a 300mm telephoto lens can already produce good results. A 400mm or 500mm lens naturally offers even more possibilities.
Small birds such as tits and robins move quickly, so try to use a fast shutter speed. Avoid stopping down too far to keep the depth of field shallow. This helps maintain a fast shutter speed while keeping distracting elements outside the area of sharp focus.
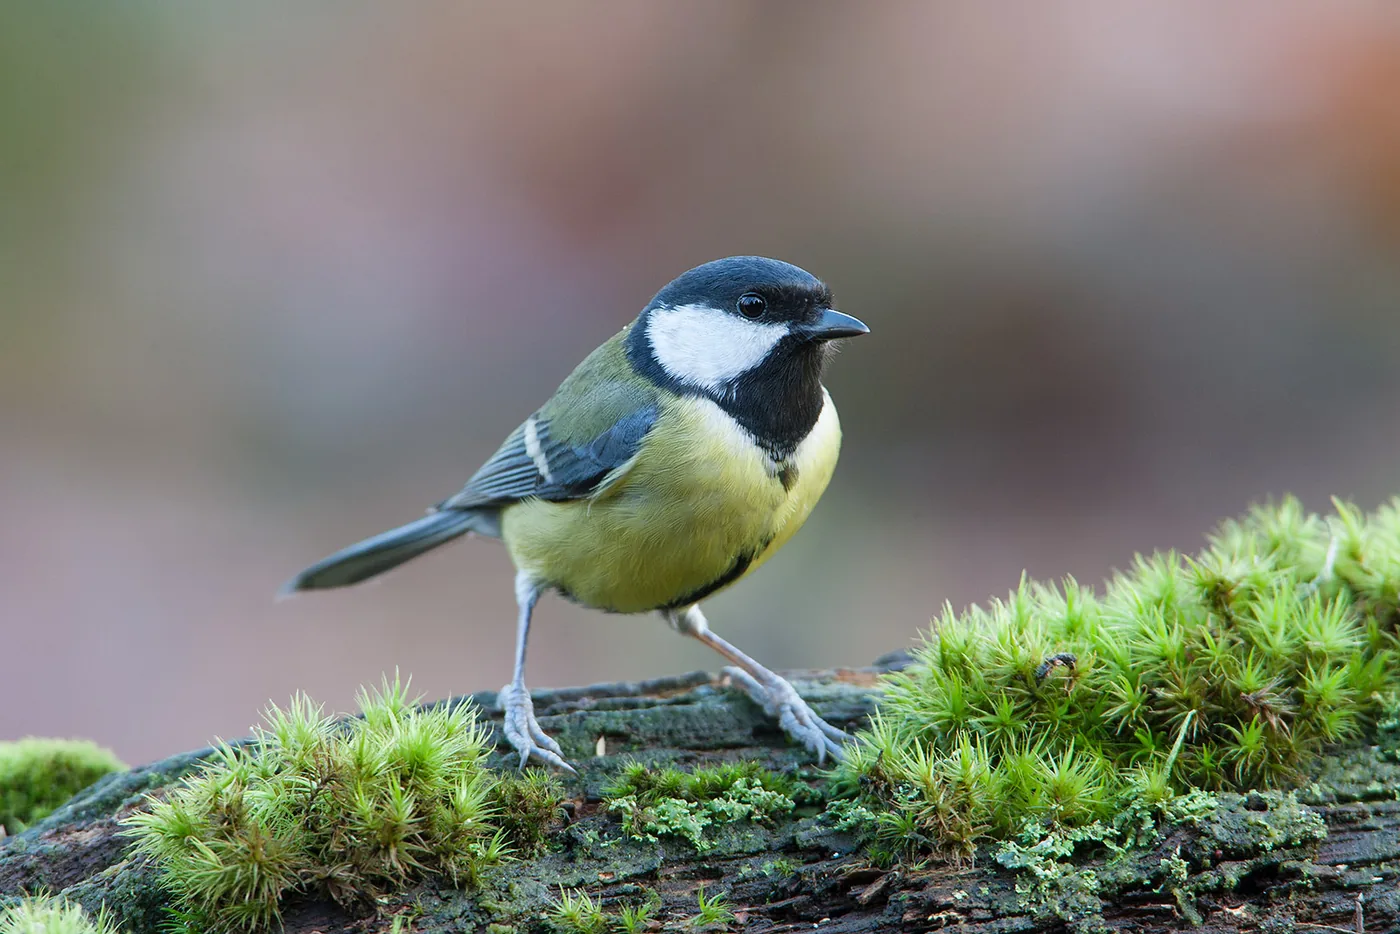
Choose a place in the garden that you can see clearly from your shooting position. Arrange the branches so that the scene looks natural through the viewfinder. Keep distracting elements such as fences, paving and walls out of the frame.
Position the branches not only for a natural scene but also against an even background, such as a green hedge or other vegetation. The distance between the branches and the background is very important. The greater the distance, the more the background will blur and the more uniform it will appear in the photograph.
Protruding objects, especially those that move, make birds extremely wary
You can photograph through a window or a partially open door, or perhaps from a shed or garage.
Camera Settings for Photographing Birds
Do not extend your lens too far outside. Birds react strongly to changes in their surroundings. Protruding objects, especially those that move, make them extremely wary. Keep yourself partly concealed as well. Birds notice sudden movements behind a window. Close the curtain partway, or hide yourself and your equipment behind some camouflage material.
Set your camera at the same height as the branches at the feeding station. This gives a bird photograph more impact than shooting the bird from above or below.
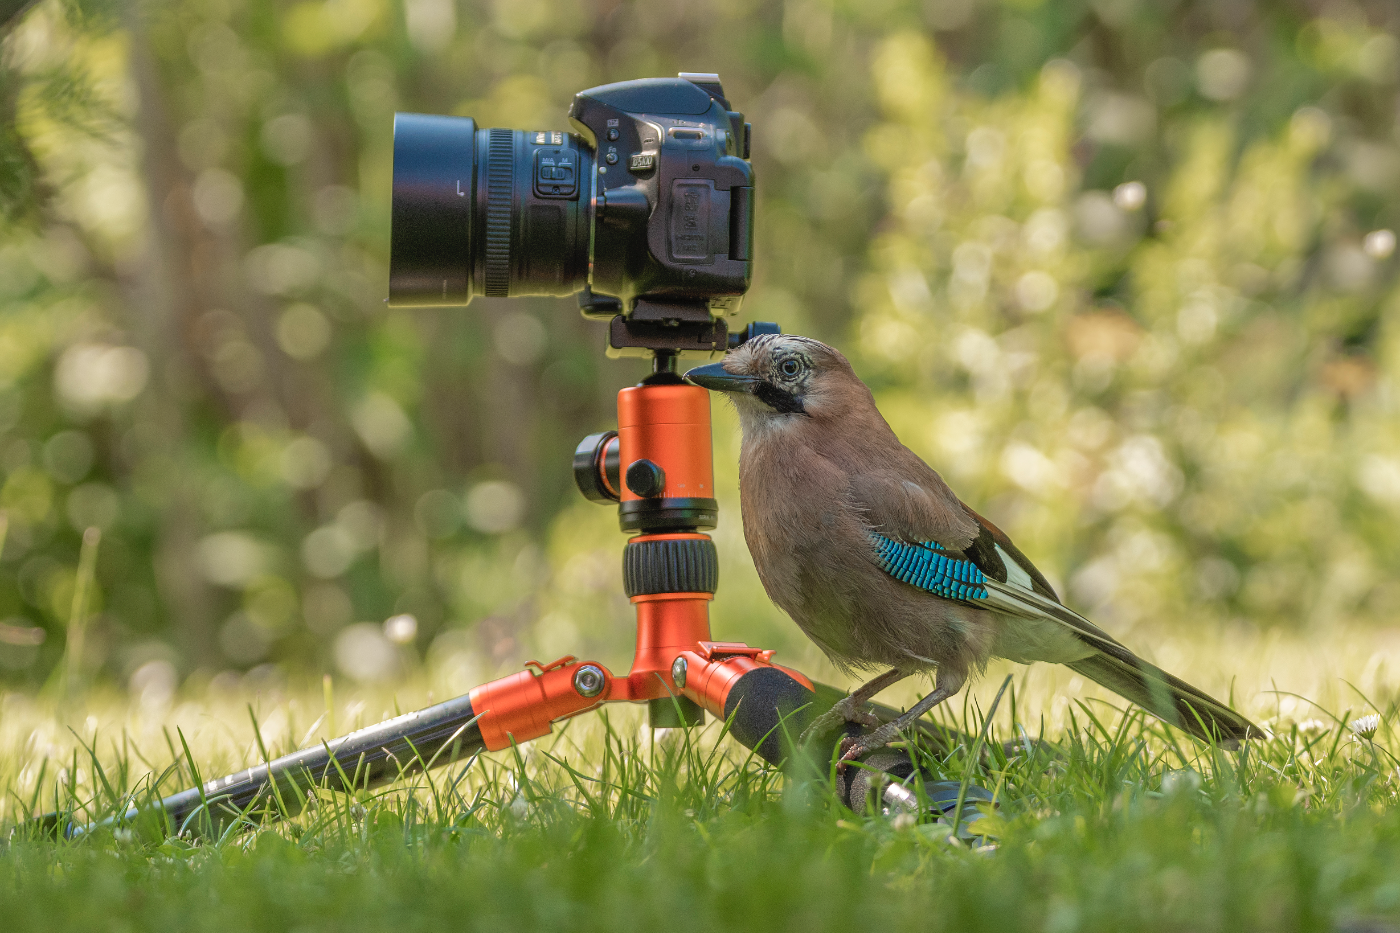
Set up your equipment before the birds arrive at the feeding station. For example, do this early in the morning if you plan to photograph later that day.
If you set up while birds are already at the feeding station, opening doors or windows and all the movement involved will inevitably scare them away. It can then take several hours before they return.
Feeding and Photographing Birds: What Should You Consider?
The birds’ welfare must always come first. The original article advises keeping feeding periods short and stopping in spring, when natural food such as insects is plentiful, to avoid making birds overly dependent on supplementary food.
It also recommends reserving fat balls for winter and not putting them out too early, noting that young birds may have difficulty digesting the fat. The aim is to avoid harming birds and to keep supplementary feeding responsible.
Also read: How to Photograph Flocks of Birds.



