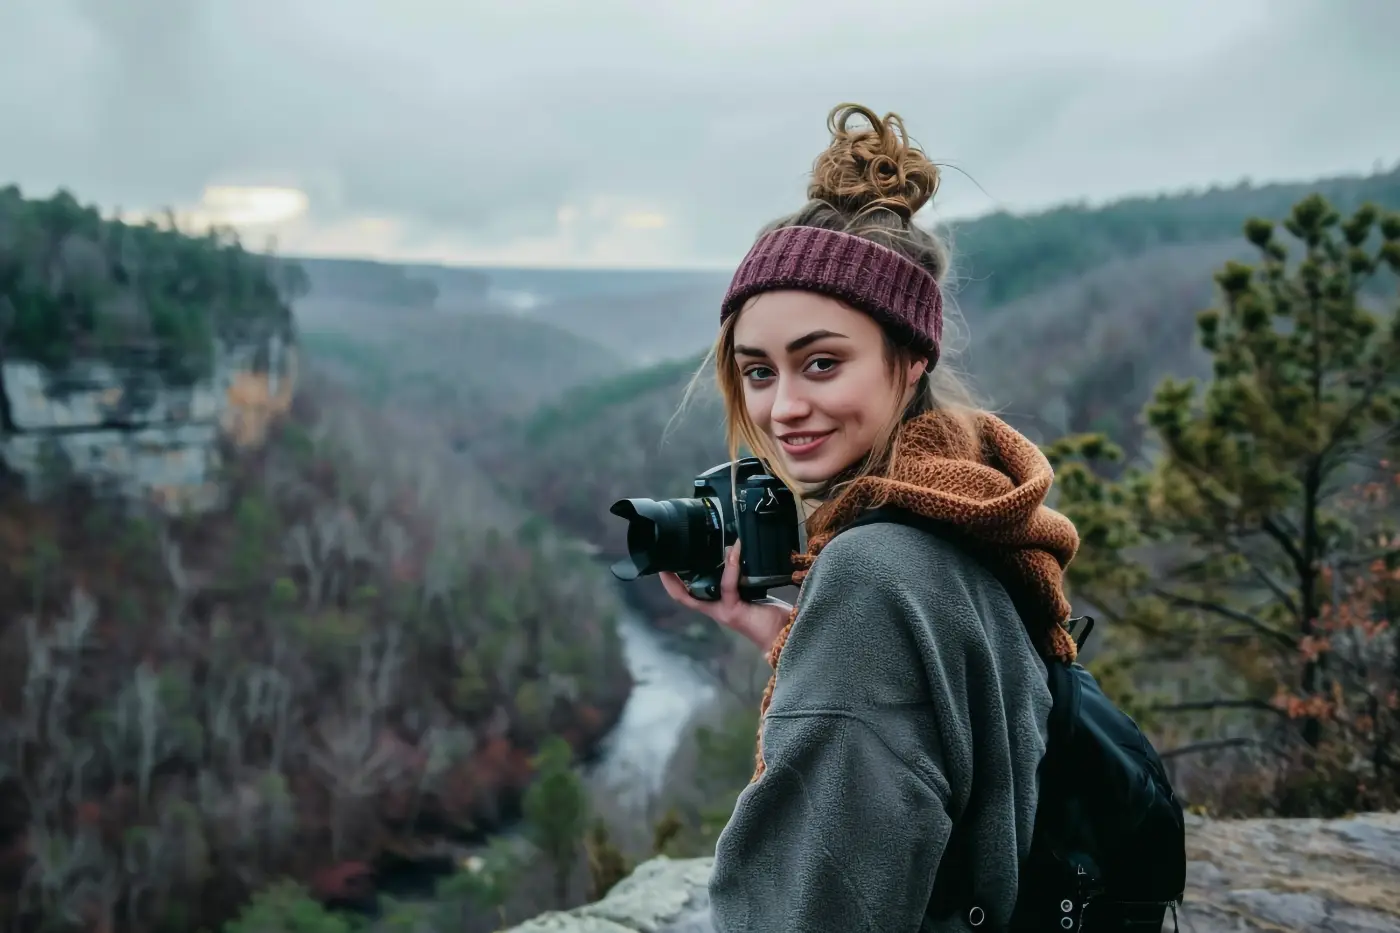
Taking photos on a cloudy day is often challenging. No matter how hard you try to follow professional guidelines, the photos you take on days like these almost always look flat.
Several fundamental aspects of lighting and their visual relationship with the subjects being photographed explain why photos taken on cloudy days often have a flat appearance.
Hard Light Versus Soft Light
Light determines the mood of an image, and light can be 'hard' or 'soft.'
Hard light is a directional type of light produced by a small light source shining toward the subject. This creates harsh shadows on the subject, which is typical on a bright, sunny day.
Soft light, on the other hand, is a diffuse type of lighting achieved by using a larger light source. Because the light is more dispersed and comes from different directions, it softens the shadows on the subject, similar to the effect you get on a cloudy day.

Hard lighting produces high contrast, resulting in images with more drama, brighter or more saturated colors, and greater visual impact.
An image with soft lighting has lower contrast. The tonal range is not particularly pronounced because the shadows are muted. This can make the image look rather dull; the colors are subdued and often appear flat or monotonous. Because there is little contrast in the image, the subject becomes one-dimensional or shapeless. The subject ultimately blends into the background.
One of the secrets of photography is learning how to "read" the light and apply it to the subject you have in mind. By understanding the difference in light quality, you can find ways to use it and capture a particular situation effectively. Below are several tips for photography on cloudy days.
1. The Right Subject for the Right Light
A cloudy day means soft light. And soft light means flat, even illumination with minimal shadows. The key to photographing in this situation is therefore to find the right subject: subjects that benefit from even lighting.

Professional photographers try to create this type of light in a studio using a softbox. This is usually done when taking portraits or product photos. Soft light naturally comes from all directions, minimizing shadows and, in turn, concealing skin imperfections such as wrinkles, blemishes, and bumps.
Because the contrast between highlights and shadows is lower than with hard light, it is much easier to capture the subject's details, for example in a product shot.
When photographing on a cloudy day, we are more likely to succeed with subjects such as people, animals, flowers, or specific individual objects.
Because a low-contrast subject tends to blend into the background, it is best to shoot close up or use a telephoto lens. This minimizes the amount of unnecessary background in the frame and allows us to focus on the details.
2. Subject Angle
Shooting portraits on a cloudy day can still be tricky. Even though the light is diffused and shadows are minimized, shadows may still appear beneath the subject's eyes. If this happens, ask the person to turn their head slightly until their face is fully illuminated.

3. Use a Reflector
Another solution is to use a flat white surface as a reflector to bounce light onto the subject's face. Although the light is diffused, it will illuminate the face even more and further minimize or eliminate unwanted shadows. This also results in a more appealing and vibrant photo.
This becomes more difficult with a subject such as a pet or a small child who cannot sit still. But with a stationary object such as a product or flower, simply mount the white reflector on a stand nearby.
4. Use a Flash
Another way to add some light to your subject is to use a flash. The challenge, however, is adjusting the flash output so that it does not overpower the ambient light and make the image look unnatural. It works especially well if you know how to control the direction of the light.
You can take a different approach by underexposing the shot while using fill flash to create additional dramatic effects.

If you do not want to limit yourself to photographing people, animals, or specific objects on a cloudy day and would still like to capture landscapes or wide-angle shots, you can do so with a flash.
When using an off-camera flash with a radio trigger, you can position it anywhere within a radius of one hundred meters. This allows you to illuminate subjects or points of interest even from a distance. By doing this, you imitate a patch of light falling on your subject of interest on a cloudy day.
There are several inexpensive radio triggers on the market today, and they are very useful. The set includes a transmitter attached to your camera's hot shoe and a receiver attached to the flash.
5. Adjust the Camera's Picture Settings
Another way to make an image look less flat is to experiment with the camera's picture settings. When you open the camera menu, you will see various options such as standard, neutral, monochrome, portrait, landscape, vivid, and so on.
Selecting vivid allows you to increase the photo's saturation and create a more vibrant image. So if a subject looks dull, uninteresting, or monotonous, increasing the saturation can sometimes make the colors appear more vivid.

Alternatively, select the monochrome option and convert the image directly to black and white or a tinted monochrome image. Even if you have a low-contrast image, as you might on a cloudy day, a subject with strong visual appeal that does not depend on color can still make an excellent monochrome image.
Smartphones adjust the white balance automatically, but photos can sometimes look too cool (blue) on cloudy days. Try manually adjusting the white balance in your camera app's settings to produce warmer tones.
The High Dynamic Range (HDR) mode on a smartphone can help capture more detail in both the bright and dark areas of your photo. This is especially useful when the sky is very gray and there is little contrast.
6. Shoot in RAW
By shooting in RAW-format on cloudy days, you get an image containing all the image data captured by the camera sensor. If you shoot in JPEG, the camera will process the photo you have taken based on your selected settings, such as increasing the saturation (as in tip 5). The camera's output is already a processed image created in-camera, with all the other originally captured information removed.
With the RAW file, you can make further adjustments to the dull image in post-processing. It not only contains all the original information, but also gives you more flexibility when adjusting contrast, increasing saturation, or converting the image to black and white.
7. Switch to Black and White
Sometimes an image becomes more dramatic when distracting, washed-out color is removed, allowing the eye to appreciate the image visually in its graphic form.

Converting the image to black and white with post-processing software gives you more options than letting the camera do it. You can, for example, adjust the contrast or add tones. However, achieving the desired results takes extra time and patience.
8. Use Post-Processing Software
A photo already taken on a cloudy day in flat light can still be adjusted in post-processing.
One of the first steps in post-processing is increasing the contrast to add depth and definition to your images. This helps the different elements in your composition stand out more clearly. You can also increase color saturation to enhance the natural colors without making them look unnatural.
By adjusting the highlights and shadows, you can create additional depth and bring out subtle nuances, making your photo more dynamic. Using local adjustments, such as brightening specific areas of the photo or adding shadows, can also help create greater focus and balance in your image.

In addition, the "Dehaze" filter is a useful tool on cloudy days, allowing you to remove haze and improve image clarity. If the colors do not look their best because of the flat light, converting the image to black and white can be a good way to emphasize the textures and shapes in your photo, creating an interesting, soft mood.
Dodge and burn techniques can also be used to accentuate specific areas of the photo and add natural-looking dimension.
It can be tempting to overprocess cloudy-day photos, but try taking a subtle approach to filters and post-processing as well. Keep it natural to preserve the mood of the cloudy day.



