Excerpt from Scott Kelby's Digital Photography book, Chapter 3, The Truth About Lenses—Vignetting and How to Get Rid of It
Vignetting and How to Get Rid of It
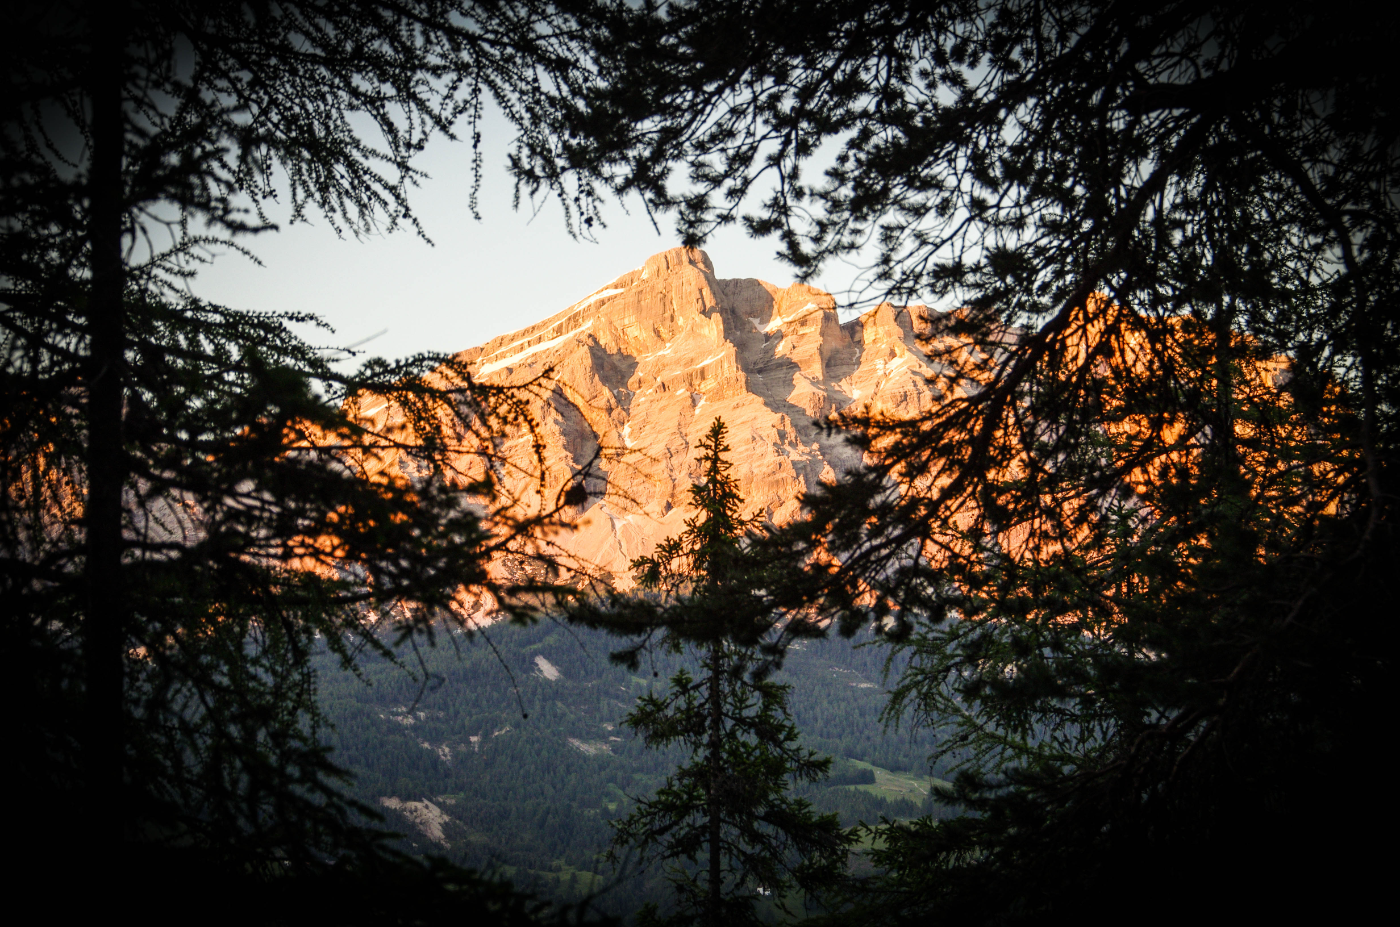
You have probably taken a photograph and later noticed on your computer that the corners of the image were darker than the rest of the photo. It happens often, especially with wide-angle lenses and less expensive lenses. It is called vignetting, a problem caused by the lens itself appearing in the photographs.
Fortunately, image-editing programs such as Photoshop, Photoshop Lightroom, and Photoshop Elements let you remove vignetting (sometimes also called lens vignetting).
In the Camera Raw window in Photoshop or Elements , click the Lens Corrections tab to access the options for removing vignetting. Drag the Amount slider to the right to brighten the corners. Use the Midpoint slider to determine how far the brighter area extends inward.
Drag this slider well to the left if you want to brighten only the corners. If the dark area extends fairly far into the photograph, drag the slider to the right. In just a few seconds, your vignetting problem is a thing of the past!
In Lightroom, you will find exactly the same controls in the Develop module, and they work in exactly the same way. Just scroll down until you reach the vignetting options.



