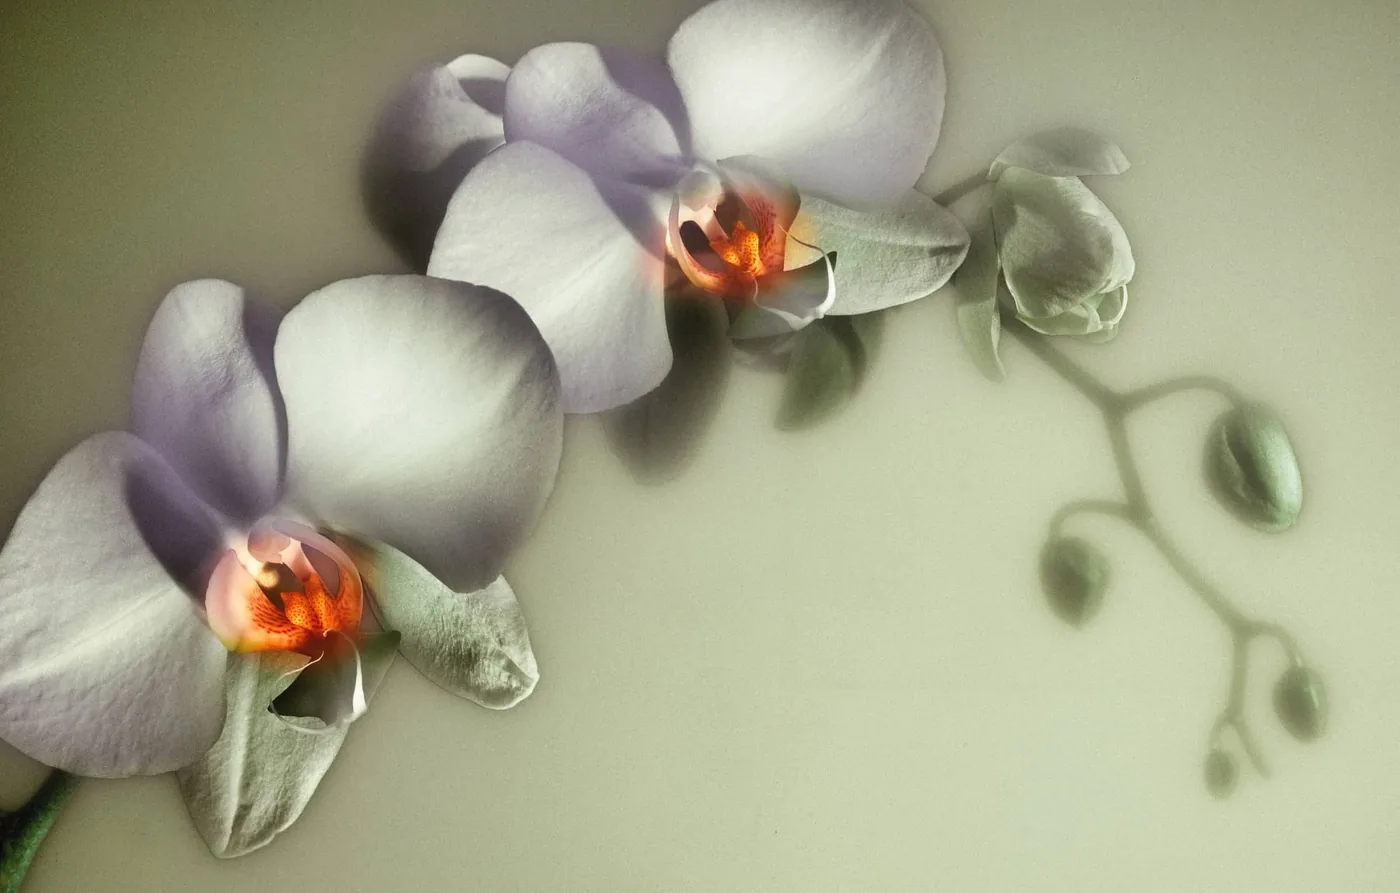
photo: © Alex de Smit – Orchid
Social media is full of short tutorials on special effects and unusual perspectives that can help you create striking photographs. One somewhat older technique that many amateur photographers still have not tried is light painting—a form of photography that can give even the dullest objects a spectacular, artistic appearance.
But how do you actually photograph with light? These tips will help you use light-painting techniques without expensive specialist equipment and give your photos an instantly artistic look.
What Is Light Painting?
Photography as painting is nothing new, and light painting blurs the distinction even further. You use your camera’s viewfinder as the canvas and light as your brush. Digital photography has made this fun technique more accessible to most photographers because you can immediately see what worked and what did not instead of waiting for a roll of film to come back from the lab.
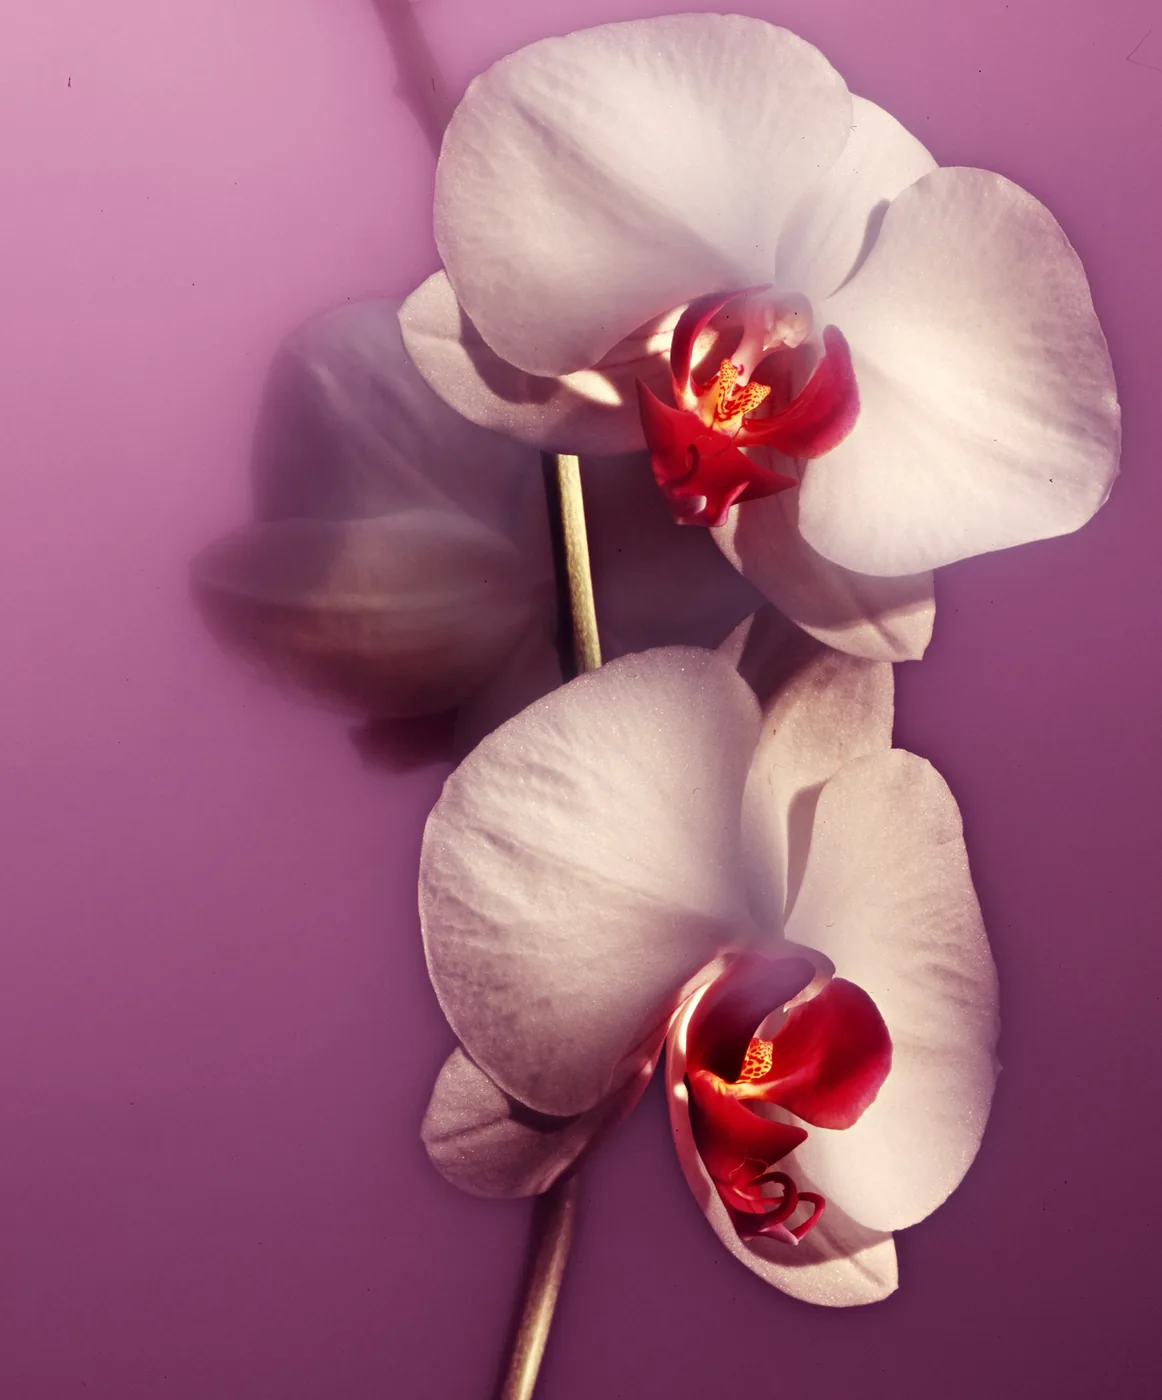
A long exposure lets you illuminate an object from several angles or record light trails made by a moving light source. You can achieve similar effects by moving the camera itself during the exposure instead of moving the light source.
This form of photography dates back to the early 19th century. Picasso created light paintings with a flashlight, so you probably can too.
What Do You Need for Light Painting?
You do not need fancy equipment, but you do need a camera with Bulb mode. It lets you keep the shutter open for as long as necessary while you complete your masterpiece.
You will also need a sturdy tripod and several flashlights—with and without colored filters—plus glow sticks, laser pointers, sparklers, or anything else you think could produce an interesting shot. An assistant can be useful but is not essential.
How Do You Get Started?
Choose a very dark location unless you plan to include ambient light in the image. A front yard on a busy street is not ideal because passing headlights can introduce unwanted light. A cul-de-sac or car-free courtyard could work, however. Indoors may be a safer option.
If you do want to use ambient light in your composition, visualize how it will affect the image. For example, keep the part lit by ambient light in the background to create an attractive contrast between the understated background and the light-painted foreground.
Now choose your subject or focal point. This is not strictly necessary because the light painting itself can be the subject, but try to include something interesting to give the image context. Compose the shot and take a test photo to make sure everything is sharp. Then disable autofocus and switch to manual focus.
You will need to experiment, adjust, and reshoot many times, but “the joy is in the journey”...
Because you are adding an unpredictable amount of light to the image, trial and error is the best way to find the correct exposure. Set up your shot, paint, review the result, and make adjustments as needed. Take another photo if you are not happy with it.
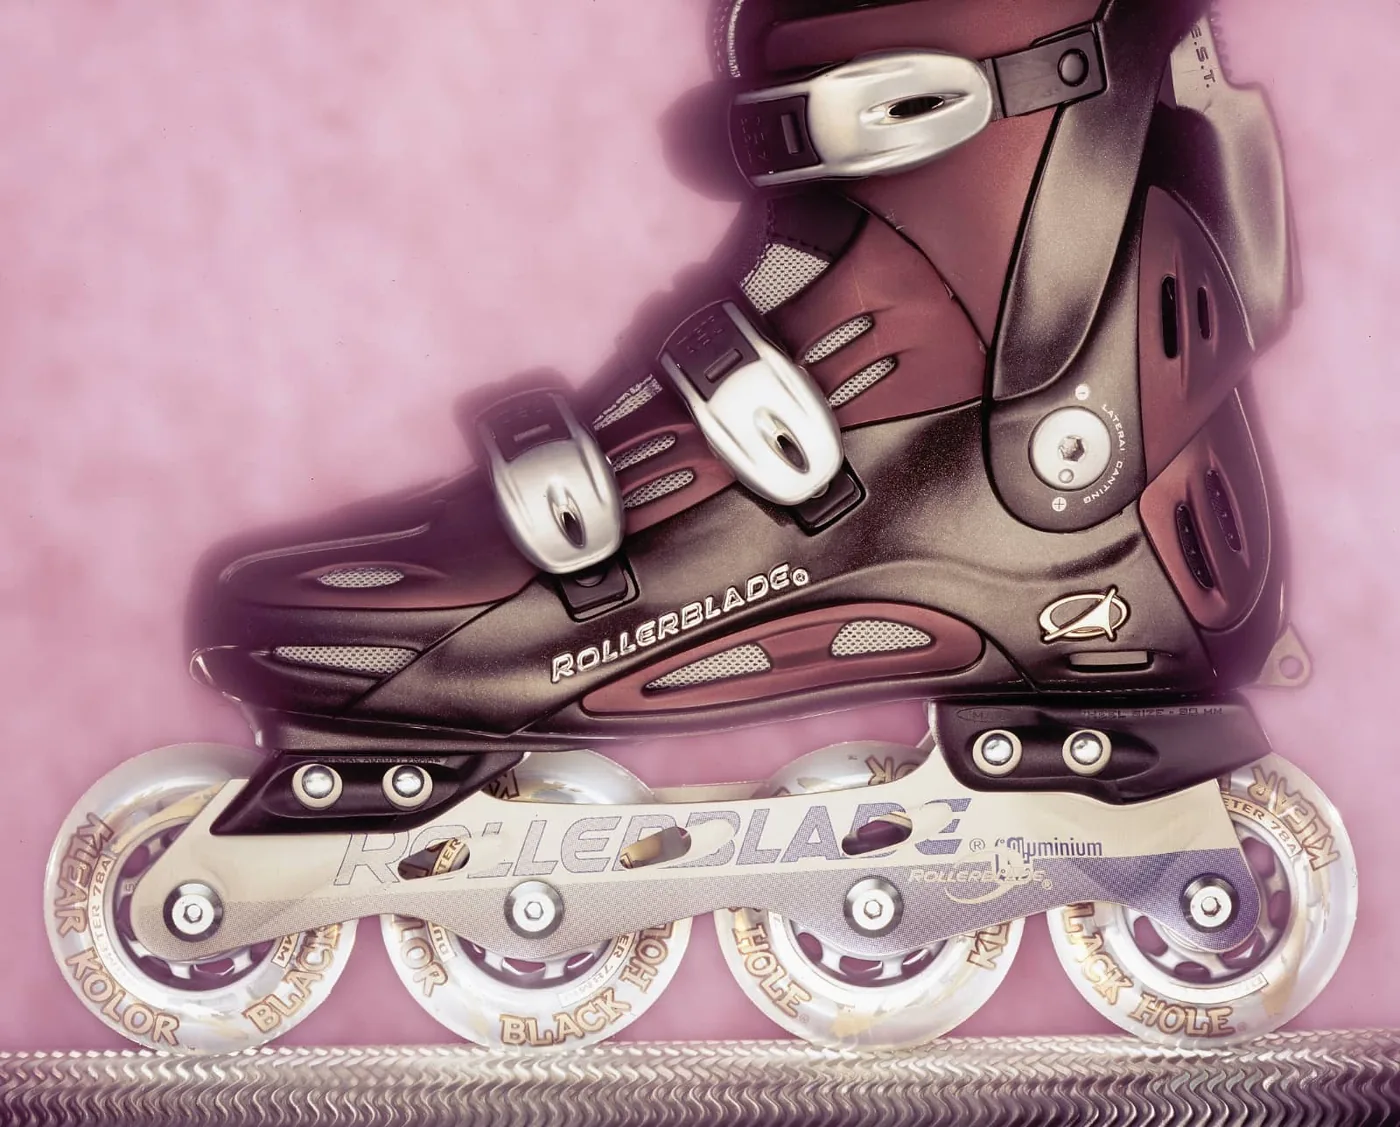
Some light paintings are used only to emphasize a subject against a dark background. The result can look surreal and sometimes eerie, yet it is easy to achieve. For this type of light painting, all you need is a flashlight with a broad beam. Open the shutter and paint your subject with the flashlight beam while making sure you remain outside the frame.
Your goal is to paint every part of the subject you want to emphasize without overexposing or underexposing any of it. Start by shining the flashlight on each area for two or three seconds, review the result, and adjust for the next shot. Illuminate each part for roughly the same amount of time so the subject looks evenly lit, or try lighting only parts of the scene to see what effect you get.
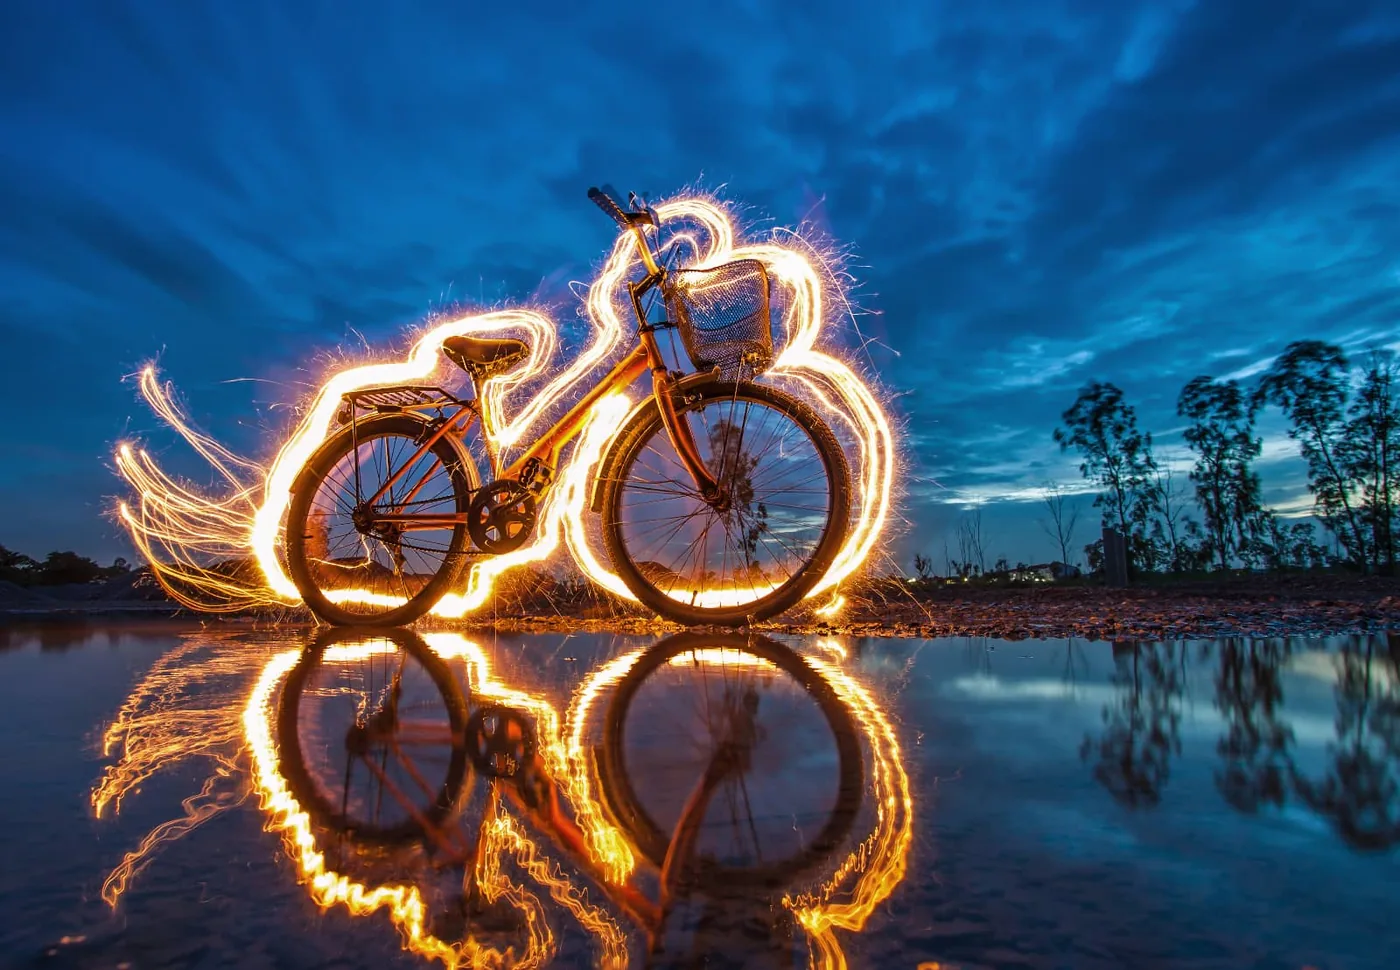
Another form of light painting uses a narrow-beam flashlight, glow stick, or another pinpoint light source to create visible colored lines. The point emitting the light must face the camera, so you will need to move physically through the frame or wave the light source. Do not stay in one place too long, or you may appear in the image yourself.
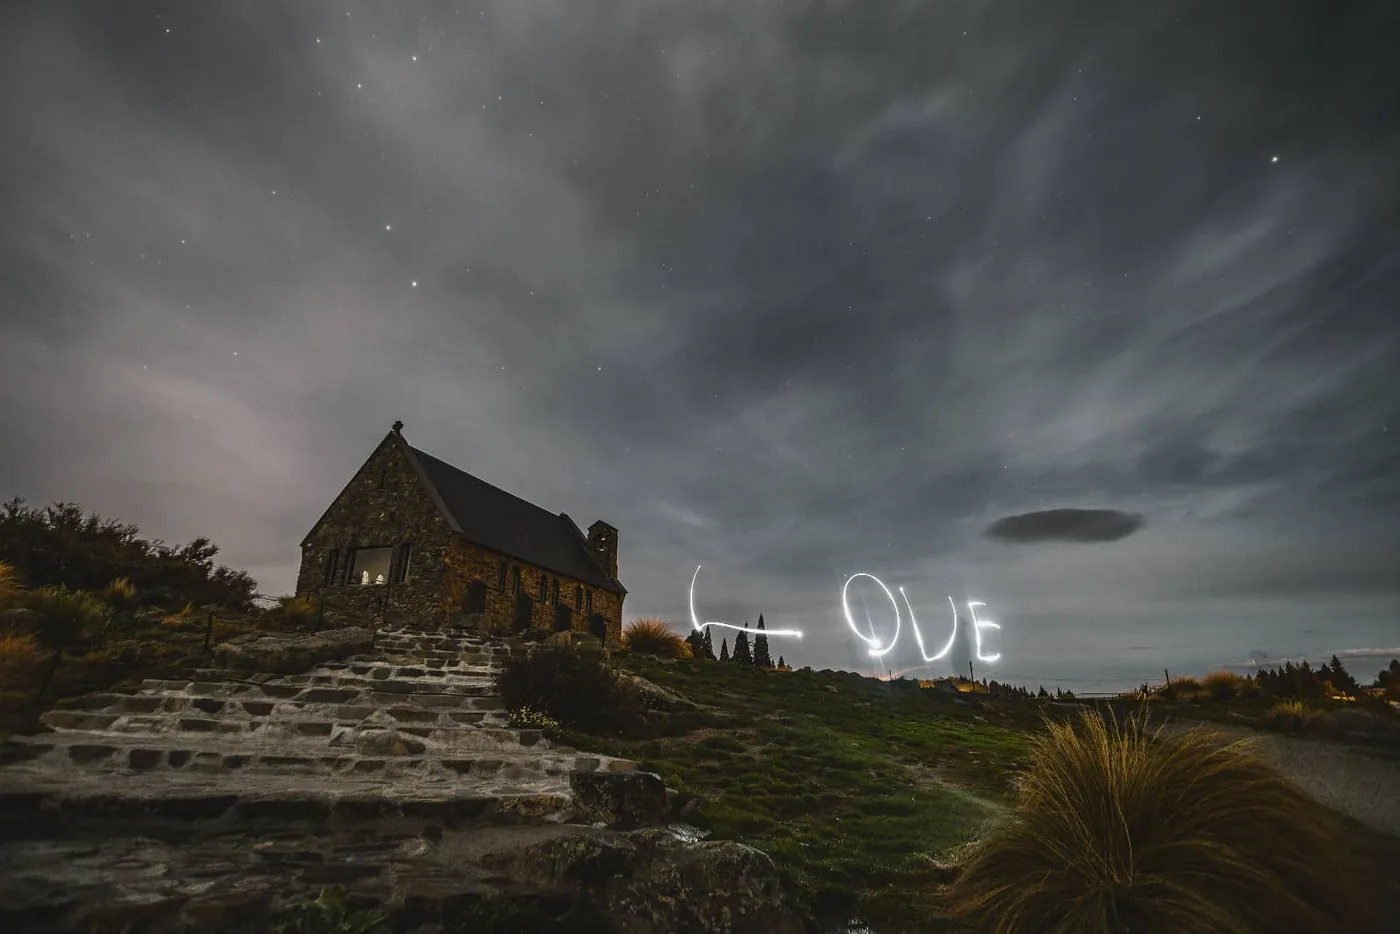
This is where light painting becomes especially fun and creative. You can draw a figure, write words in the air, trace the outline of your subject, or fill it completely with a beam of light. You will need to experiment, adjust, and reshoot many times, but “the joy is in the journey”...
Sometimes you simply need to try something completely different to bring artistry to your photography, and a flashlight and tripod are easy to arrange. Light painting can provide plenty of inspiration while deepening your understanding of light and exposure.
(With thanks to David Peterson.)



