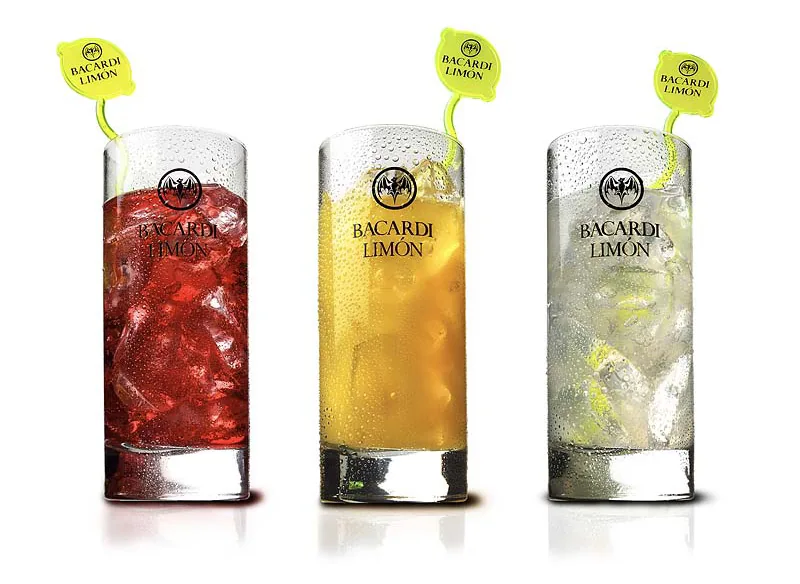
photo: © Feddo van Gogh
You can, of course, easily create a standard shadow in Photoshop. Choose: Layer>Layer Style>Drop Shadow*. Set the light direction on the dial, move the Distance slider and the Spread and Size sliders until you are happy with the result. Choose the desired Opacity and leave the other settings unchanged. That's it, right?
Unfortunately, this preset effect bears little resemblance to a real shadow. As a photographer, I assume you will not settle for such a poor result.
We therefore prefer to construct shadows ourselves in Photoshop using a Wacom drawing tablet. That should not be a problem. After all, when working with lighting, we do nothing but look at shadows. We know better than anyone that they give the subject a sense of depth and form. When imitating them, however, it is not always desirable to adhere completely to reality. A little exaggeration often works very well.
Working with a Wacom
I assume that you have a drawing tablet, probably a Wacom of at least A4 size. The pressure-sensitive pen is ideal for drawing shadows, which you can then place on a separate transparent layer beneath your subject.
A shadow is a complex whole. You can imitate it only if you understand its essence. Always begin by carefully analyzing the unedited photograph for the direction of the light and the way shadows are formed.
Also pay close attention to the position of the subject in relation to the surface beneath it. Unlike the automatic Photoshop Drop Shadow, a real shadow usually consists of a very dark contact area close to the subject, where it touches the surface. From there, it gradually fades to white. The shape of the subject and its distance from the surface determine the shape, size and opacity of the shadow.
Preferences
Before you begin, first go to Photoshop>Preferences. Under Display & Cursors under: Painting Cursors, select: Normal Brush Tip and: Show Crosshair in Brush Tip. Under: Other Cursors select: Precise.
Photoshop cursor preferences
Cut out the subject, preferably using a path. Convert the Background into a Layer. Select the background and choose a small Feather Radius (Select>Feather), for example 0.5 px, to prevent the edges from looking unnaturally sharp. Then erase the background (using Bk Sp or the Eraser tool) and choose: Deselect. You now have the subject on a transparent background.
Create a new layer and name it shadow. Place it at the bottom of the layer stack. Choose a Brush with 0% Hardness. Diameter: approximately twice the width of the desired shadow. Activate the Airbrush icon next to the Flow box. Set the foreground color to black, Opacity to 100% and Flow to 1%. This gives you complete control over building up the shadow.
Painting with light—in other words: photography
1. To paint with light follow the shadow edges of the subject using medium pen pressure. Move the pen up and down in short strokes of no more than ten centimeters without lifting it from the tablet. Keep the center of the Brush circle just inside the subject, so that you use only the soft, feathered edge of the Brush extending from underneath it. Four to six overlapping layers are usually needed. When you are finished, you will have a soft midtone shadow that gradually fades to white.
2. Halve the Brush size and repeat the process. Again, stay just inside the edge of the subject and create a darker tone.
3. Halve the Brush size once more and continue until a small, very dark shadow has formed where the subject touches the background. If the result is too dark, reduce the Opacity of the shadow layer by no more than 10 to 20%.
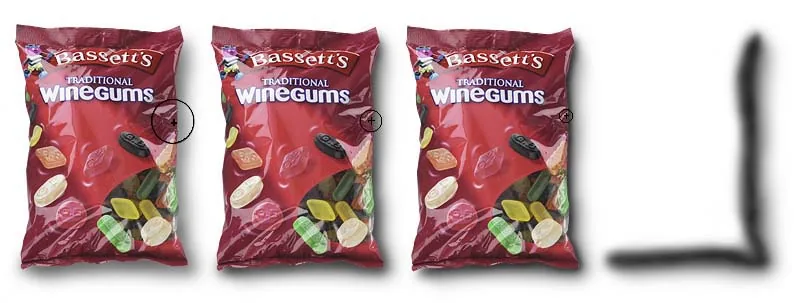
The shape and height of the subject determine the shape and width of the shadow. If a corner curls up somewhere and allows light to pass underneath, erase the shadow there with the Eraser (Flow 1 to 4%). Continue until you are satisfied. Again, you do not need to reproduce reality exactly; simply exaggerate things a little where necessary. The most important thing is to create an attractive sense of depth and form. It takes a great deal of patience at first, but you will soon find that it becomes routine.
you do not need to reproduce reality exactly; simply exaggerate things a little where necessary
Adding color
So far, you have worked with a black Brush. A colored subject, however, often affects the shadow. The midtones in particular look much better when they contain some of the subject's color, which can greatly enhance the mood.

Sample the subject's color with the Eyedropper and sweep a large Brush set to 1% Flow (in Color Mode) over the shadow where you want to simulate reflected color. The color adheres only where a gray value exists and leaves transparent areas untouched.
Transparent objects usually do not have black contact shadows. I often use the Clone Stamp (with Flow set to no more than 10%) to copy parts of the outer edge of the image into the shadow. This simulates light passing through and reflecting off the surface beneath the subject. I place the Clone effects on a new layer for optimal control. Sometimes I photograph the shadow effects separately using modified lighting; this creates an especially attractive effect with glassware.
I copy an enhanced shadow like this to another new shadow layer. Finally, I like to add a small amount of film-grain-like Noise to the bare computer-generated shadow. Go to Filter>Noise>Add Noise. Select Gaussian. At 300 dpi, 2.5% is usually sufficient. Because you always create the shadows on a separate transparent layer, you can also place them over colored backgrounds. If you know for certain that the photograph will be placed on white, you can also use the shadow captured in the original photograph. Here is how.
Using the existing shadow
Before erasing the background, first make a copy of the Layer and place it at the bottom of the Layers palette. Starting in the top Layer, erase the background and choose: Deselect. In the bottom Layer, roughly erase the background using the Eraser at 100% Flow and a large Brush.
Reflection and color in the shadow
You can also do this with a rough selection. Set the Flow back to 1 or 2% and slowly erase the unwanted parts of the background shadow. Again, use the edge of the Brush. With the History Brush (also at 1 or 2%), you can restore areas later. Finally, you can also darken or color parts of the shadow locally.
This ‘reverse’ method is slightly faster. The result always looks natural. The disadvantages: you must make your selection very carefully, and you can use the image only on a white background afterward.
Rest assured: a technical explanation like this sounds more complicated than it is. The key ingredients are careful observation, patience, and practice.
* Terminology and screenshots are taken from the English version of Photoshop CS2 (Mac version).



