Nature is a wondrous world. Anyone who looks at it up close is constantly making new discoveries. Close-up and macro photography are therefore popular with many nature photographers. They turn harmless spiders into terrifying monsters and transform the markings on a caterpillar into an abstract painting. This article explores beautiful macro photographs and the equipment you need to make them.
First, a little clarification of the terminology. Reproduction ratio is expressed as two numbers, for example 1:1. This means that the longest side of the subject is reproduced at the same size as the longest side of the photograph.
Photography up to this reproduction ratio is generally called close-up photography. If you move even ‘closer,’ it is called macro photography. For photomicrographers, however, even that is not enough: they only become interested at magnifications greater than 100x.
How much you can magnify your subjects depends on the focal length and focusing distance of the lens on the camera. Many digital compact cameras have a dedicated macro mode.
When this mode is enabled, the camera can focus within just a few centimeters of the subject. The result is often disappointing, however, and the photographs are frequently out of focus. That is not particularly surprising.
In macro photography, the depth of field is very shallow. After the camera has automatically focused, moving only a fraction forward or backward can place the subject outside the area of sharp focus. A small tripod can prevent this problem.
In addition, pressing the shutter button usually moves the camera enough to make a sharp result unlikely. A remote release solves this problem. Keep these two points in mind and you will already achieve a major improvement.
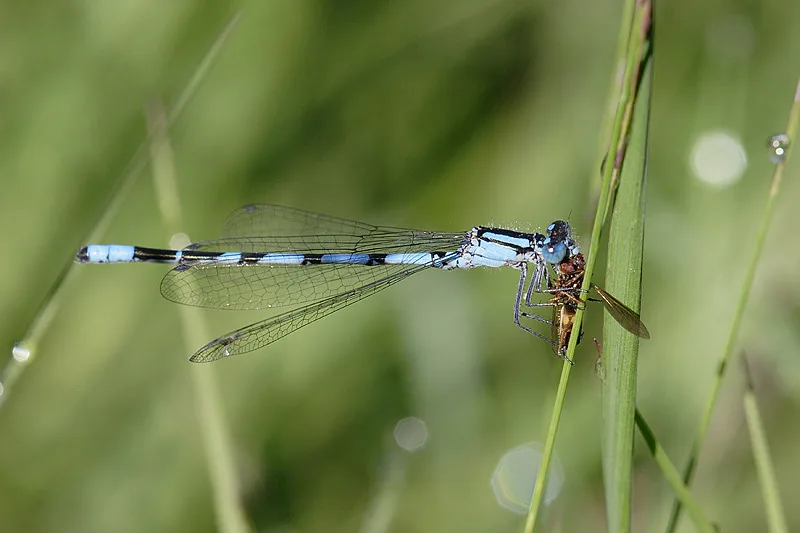
Tip: Get up very early and look for dew-covered insects that are still resting. Combined with the beautiful morning light, this can produce wonderful photographs.
Macro Lens
Anyone who wants to take macro photography seriously will need a (digital) SLR camera with a good lens. Dedicated macro lenses are available in a range of focal lengths.
The 100mm lens is very popular in film photography. Because of the ‘focal-length multiplier’ associated with digital SLR cameras, the major brands are now introducing specially developed macro lenses with a focal length of around 60mm.
‘Longer’ lenses (150-200mm) are also popular among nature photographers. Their advantage is that you can remain farther away from the subject while achieving the same reproduction ratio. This is particularly useful with fluttering, skittish creatures such as butterflies. Even more than with a compact camera, it is difficult to hold the camera steady and keep a fixed distance from the subject.
Here too, a tripod and cable release are indispensable if you want truly sharp photographs. However, moving smoothly through a field with a bulky, heavy tripod is not always easy. Small yet sturdy tripods are therefore available. These baby tripods are only about twenty centimeters high, allowing you to work close to the ground.
These tripods are often remarkably stable. They also fit easily into a camera bag and are affordable. The world of macro photography offers plenty of other equipment that can produce excellent results without immediately costing a fortune.
For compact cameras, for example, very useful magnetic or screw-on close-up lenses are available. Owners of an SLR camera do not have to buy an expensive macro lens right away either. Special close-up lenses are available in different ‘strengths.’ They are essentially filters that screw onto a standard zoom or short telephoto lens, for example.
Another useful and relatively inexpensive aid for macro photography is a set of extension tubes. For about one hundred euros, you can buy a set of three tubes of different ‘thicknesses.’ The tubes are placed between the lens and the camera. The effect is remarkable, because the minimum focusing distance suddenly becomes much shorter. Because extension tubes contain no glass elements, there is no loss of light.
That is not the case when using a so-called macro converter. With a macro converter that has a 2x magnification factor, you also lose two stops of light, making photography more difficult in dim conditions. The viewfinder image also becomes slightly hazy, which makes focusing more difficult.
Getting Even Closer: Bellows and Reversing Rings
Anyone who wants to get even closer must use devices such as bellows and reversing rings. A bellows is a kind of variable extension tube made of flexible material that resembles the central section of an accordion. One end connects to the camera and the other to a lens. Bellows work well in the studio, but are more complicated to use in nature. A reversing ring connects two lenses, with the front lens mounted in reverse.
Novoflex specializes in manufacturing this type of macro accessory. Anyone who has developed a taste for macro photography and wants to buy a macro lens could also consider brands such as Sigma and Tamron. They make excellent lenses at prices tens of percent lower than major brands such as Canon and Nikon. Nikon photographers can sometimes still use older manual-focus lenses. Because focusing in macro photography requires precision, manual control is often preferable to autofocus.
Finally, there is one accessory that is the subject of heated debate in the macro world: the flash. Some nature photographers detest flash and swear by natural light. Others value modern flash techniques because they can illuminate specific details more effectively. Dedicated macro flashes are available that attach to the lens rather than to the camera. The camera’s built-in flash can also be useful in some situations to brighten dark areas. In that case, it is used as fill flash.
Tip: Several good books on macro photography are available. One of them is Close-up en Macrofotografie by Paul Harcourt Davies.
Getting to Work
Even when you are equipped with the right gear, a beautiful macro photograph does not happen automatically. A successful image requires you to observe several basic rules. First, it is helpful to learn about the subject you want to photograph.
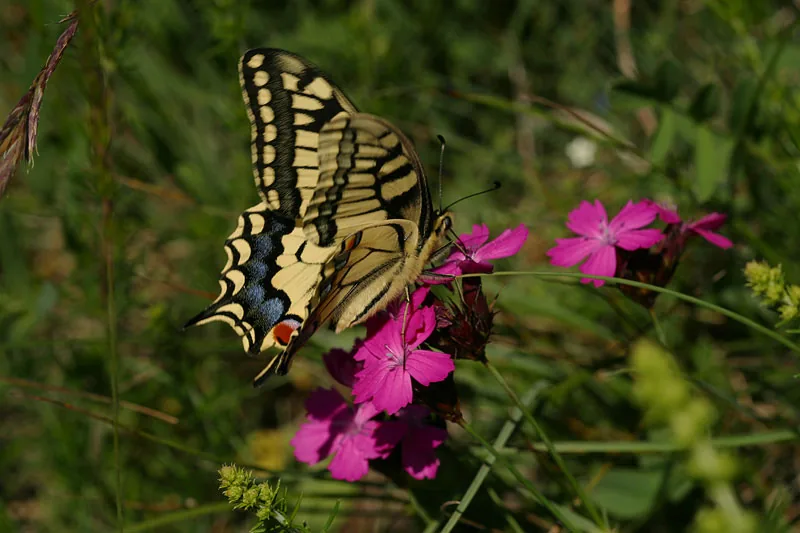
Suppose you have seen a television report about the scarce swallowtail and decide that you want to photograph this beautiful butterfly. If you live on the clay soils of Groningen, you will soon discover that scarce swallowtails are not exactly abundant there. In the Netherlands, you will have to travel to South Limburg. It is also useful to know that they love nectar from umbellifers such as wild carrot.
Once you have found a meadow where the butterflies are fluttering around, you will quickly notice that they hardly ever sit still. A frantic chase almost never produces results. It is better to observe them for a while. You will then discover that, besides favoring certain plant species, they visit some spots more often than others.
It is therefore a matter of observing carefully and being patient.
The time of day can also have an effect: the warmer it is, the more active the butterflies become. Those who do not enjoy this way of photographing and prefer a calmer approach can still achieve a great deal with macro photography.
Nature offers the most intricate and fantastic patterns if you take the time to look around carefully. The challenge is to isolate the subject so that it is not immediately obvious what it represents.
A beautiful classic example is a macro photograph of tree leaves. You can experiment with them endlessly, often producing very attractive ‘abstracts.’ Mosses, lichens, sawn tree trunks, bark, and patterns in the sand are similarly rewarding subjects that will not fly away.
Keep Practicing
It takes time to master every aspect of macro photography. As noted earlier, the shallow depth of field can be particularly challenging. The aperture setting is very important here. A low f-number, such as 2.8, produces a shallow depth of field. Stopping the aperture down, for example to 16, increases the depth of field. Remember that the shutter speed becomes correspondingly longer. Moving from 2.8 to 16, for example, represents a difference of five stops of light. The shutter speed therefore becomes five times as long, increasing the risk of motion blur.
The interplay between these two settings is crucial. With too much depth of field, the subject does not stand out sufficiently from the background. The aperture may also be stopped down too far, causing parts of the subject to become distractingly blurred. Because the shutter speed has become much longer, even the slightest breath of wind can cause motion blur. In this respect, a digital camera offers many advantages over its film counterpart: you can assess the result immediately and change the camera settings. Above all, however, it remains a matter of practice!
Tip: Macro lenses are also highly suitable as portrait lenses. Most lenses have a dedicated switch for different focusing ranges, which reduces distracting autofocus ‘hunting.’
Photographs: Aaldrik Pot



