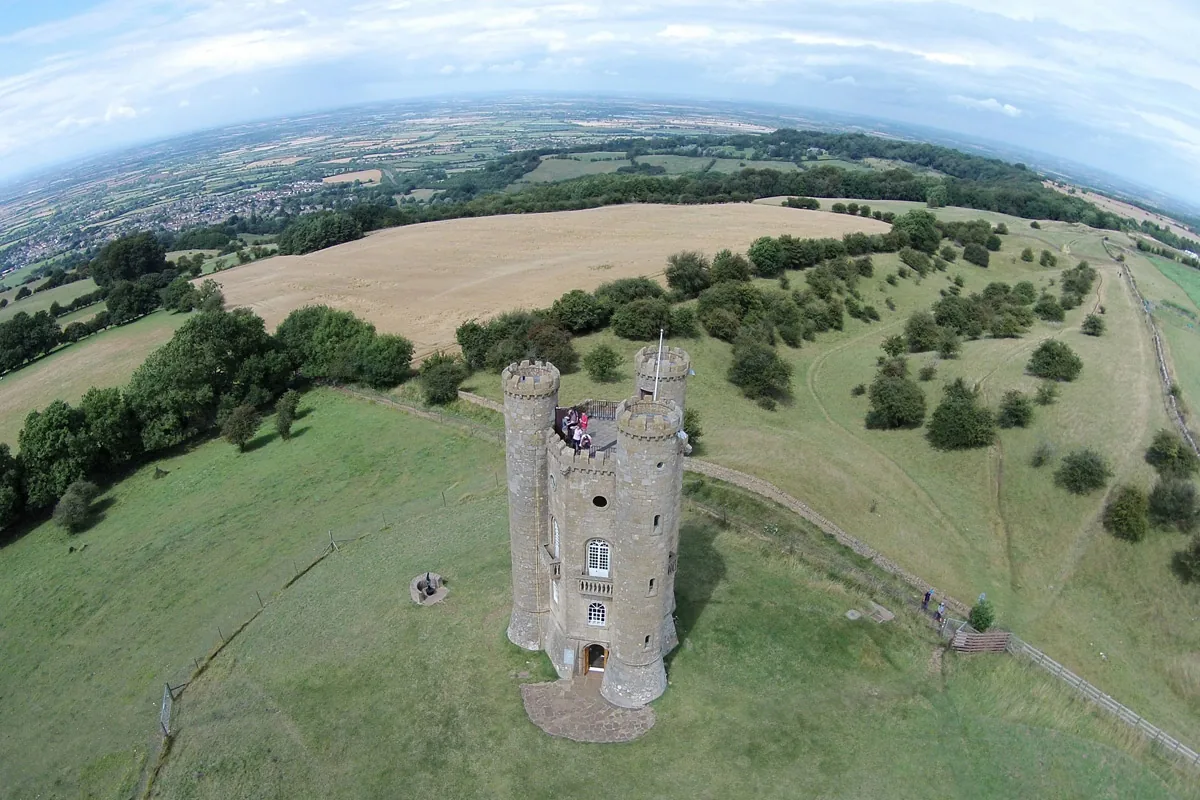
Beautiful aerial photographs and videos were appearing with increasing frequency online, in magazines and on television. This was a direct result of the rise of affordable unmanned aerial vehicles, commonly known as ‘drones.’ Equipped with a small camera, they can photograph the Earth’s surface from the perspective of a bird or helicopter pilot.
Equipped with GPS and various sensors, these drones can hold their position in the air independently, allowing you as an aerial photographer to concentrate on getting a good shot.
Buying a Drone
When you start looking for a drone, remember that you cannot simply attach your current DSLR to any drone. It is far too heavy unless you buy a drone costing several thousand euros. A better first step is to consider a ‘ready to fly’ drone supplied with a camera, which you can use straight out of the box.
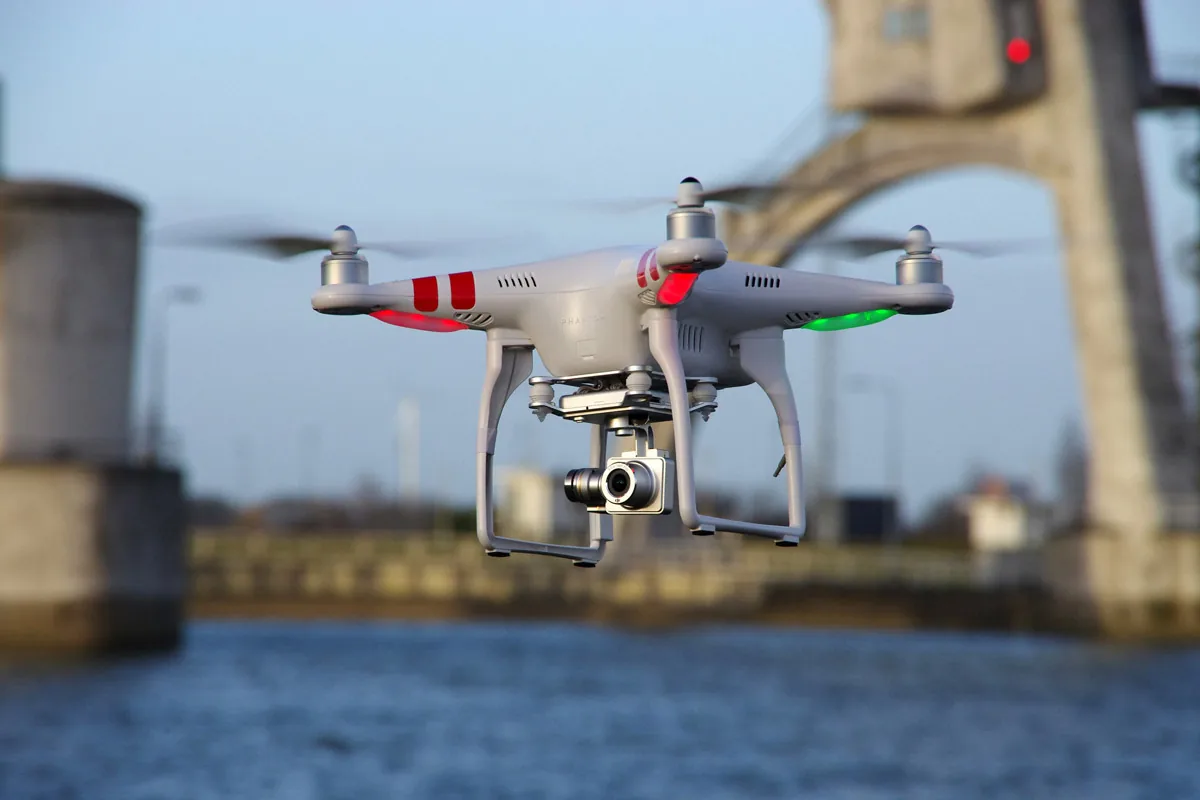
These drones often have four propellers (a ‘quadcopter’), allowing them to take off and land vertically and hover in one place—as if you were using a tripod with legs several hundred yards long.
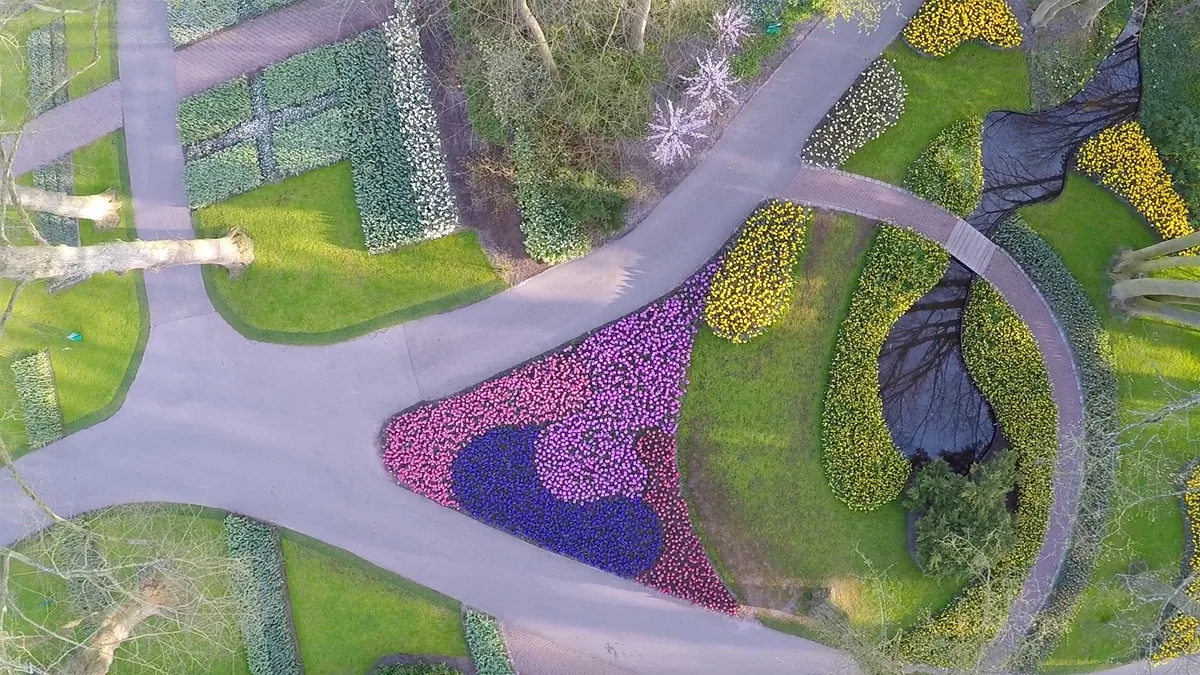
At the time, a camera drone such as the Parrot Bebop Drone could be bought for a few hundred euros. It could be controlled with a smartphone or tablet, which displayed what the camera recorded (‘first person view’).
For genuinely good image quality, the article recommended saving for a DJI Phantom 3 or Yuneec Q500. Both drones could make photographs at a resolution of 12 megapixels. Even a camera drone costing a few hundred euros could quickly produce beautiful aerial photographs.
The camera was also mounted on a gimbal, an electronically stabilized camera support that kept it aimed at the same point and compensated for the drone shaking in the wind. This was particularly important when recording video as well as photographs. The latter two drones could easily be flown several hundred yards away. Flight time was about twenty minutes on one battery.
Preparation
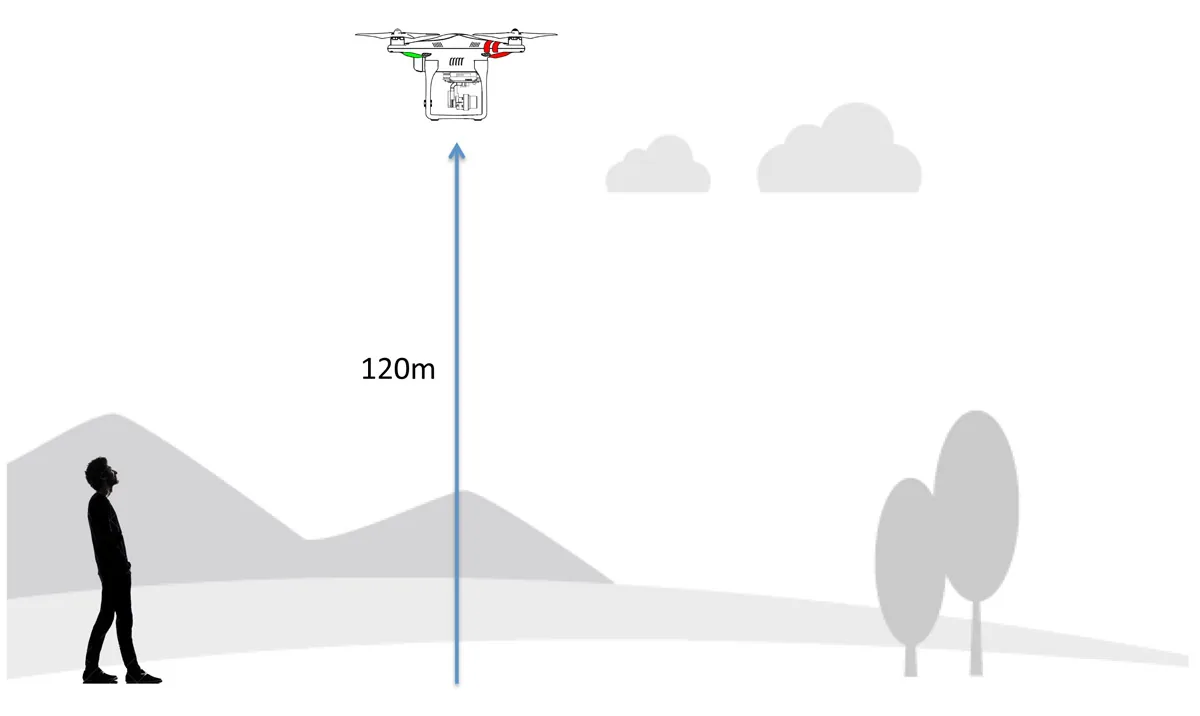
Before taking to the air, it is important to check the rules that currently apply where you intend to fly. The rules described at the time allowed hobbyists to fly to a maximum altitude of 120 meters (previously 300 meters and possibly due to change by the end of 2015 to 50 meters), provided they did not fly over roads, ports, built-up areas or crowds and stayed away from airports.
At the time, hobbyists could fly to a maximum altitude of 120 meters
The article also stated that the aircraft had to remain in sight throughout the flight and could only be flown during the day. Commercial use was not generally permitted unless the operator had a license and an exemption for each flight, although a change was considered possible from October 1.
It is also strongly advisable to get to know your drone thoroughly first. Memorize the meaning of the color signals from the built-in LEDs and make sure you know how the drone responds when its battery is almost empty—you would not be the first person to jump into a ditch to rescue an automatically descending drone.
It is also wise to regularly calibrate the compass and make sure you know how the drone obtains a good GPS fix. Modern drones can automatically fly back to their takeoff point if, for example, the connection to the pilot is unexpectedly lost (‘return to home’), but the starting location must be set correctly. In short, read the manual carefully and begin with a few practice flights over an empty field.
Making Beautiful Aerial Photographs
Once you have mastered the controls of your drone and are familiar with the camera settings, it is time to begin aerial photography.
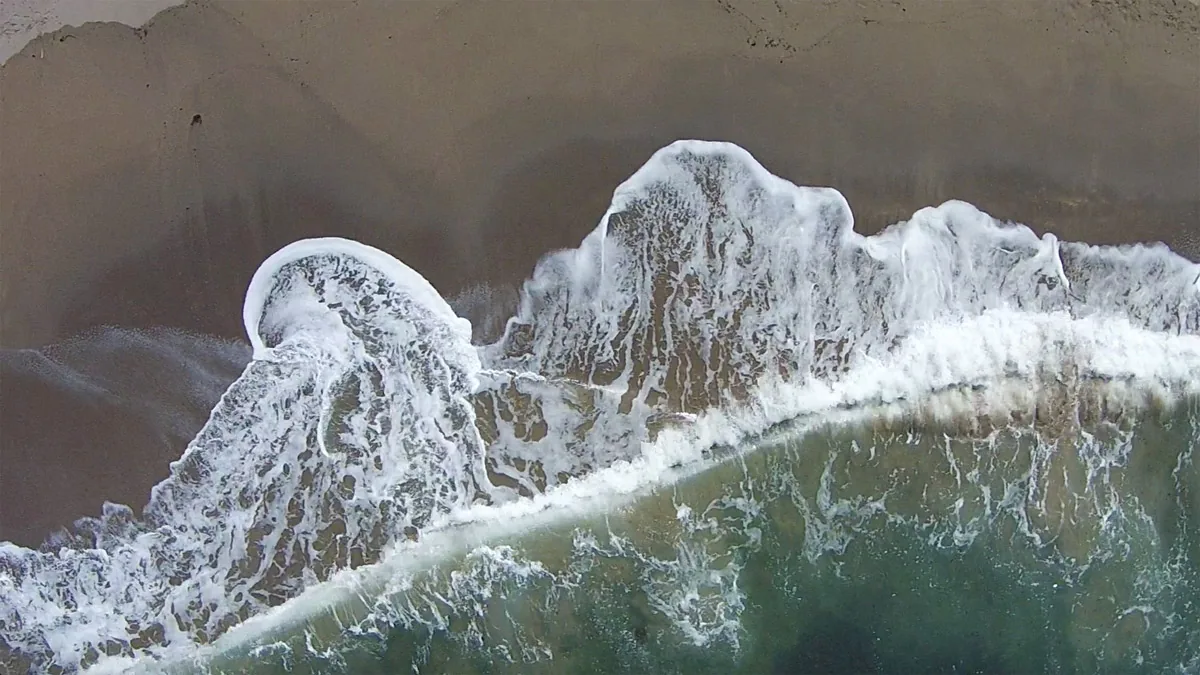
Do not immediately send your drone hundreds of yards into the air: you can often create the most unusual photographs from only a few yards up. Pointing the camera straight down gives you a distinctive view of the world and can make everyday scenes look completely different.
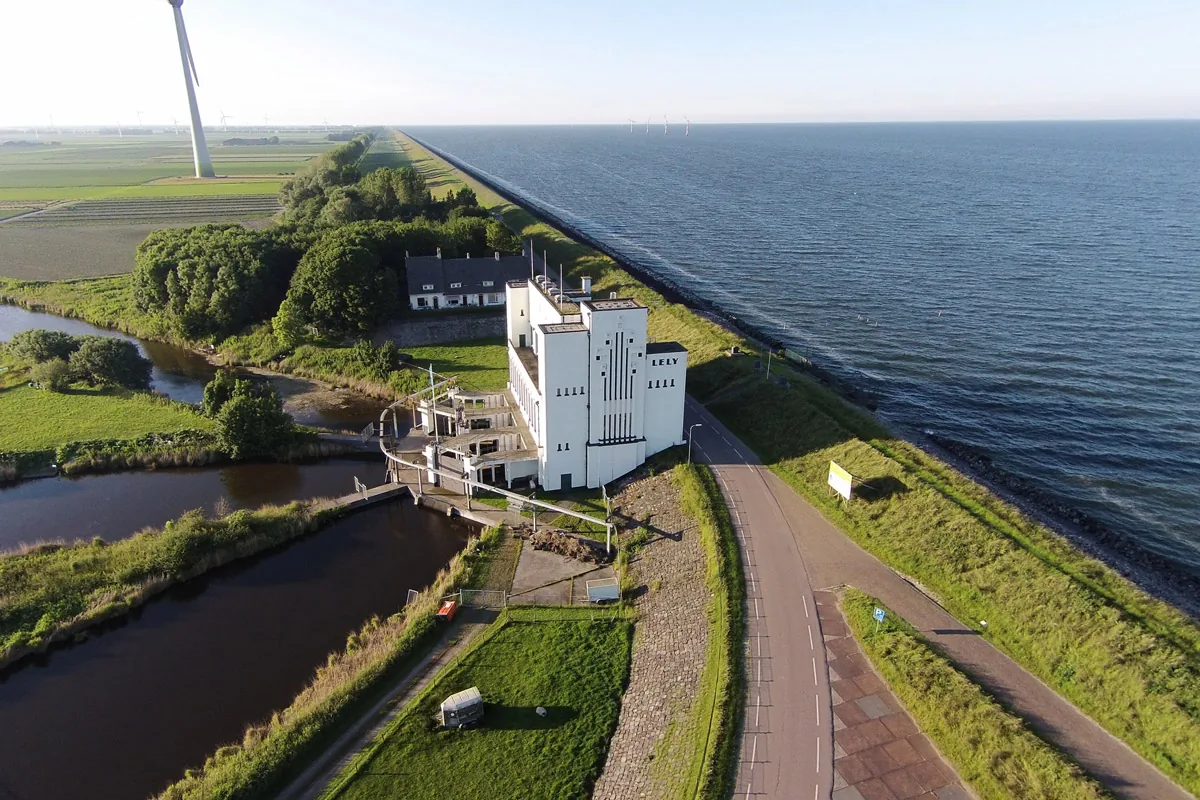
Make the most of the way patterns and lines on the ground can create fantastic compositions from the air. Look at Google Maps at home to identify attractive photography locations. Get up early to use the beautiful morning light, or experiment with shadows cast by a low sun.
If you use a drone with a separate GoPro camera, the fisheye lens will cause barrel distortion. This can be used creatively, but a curved horizon is not always desirable. You can avoid the fisheye effect by photographing straight ahead, or remove it afterward with software such as Photoshop or a suitable app on your smartphone or tablet.
Interested? Read much more about this subject in the book Focus op fotografie: Dronefotografie by Wiebe de Jager.
The book explains in detail what to consider when buying a drone, how to prepare for the first flight, which camera settings are involved and how to make beautiful aerial photographs. It contains numerous photographs by drone photographers from around the world and also discusses the regulations.



