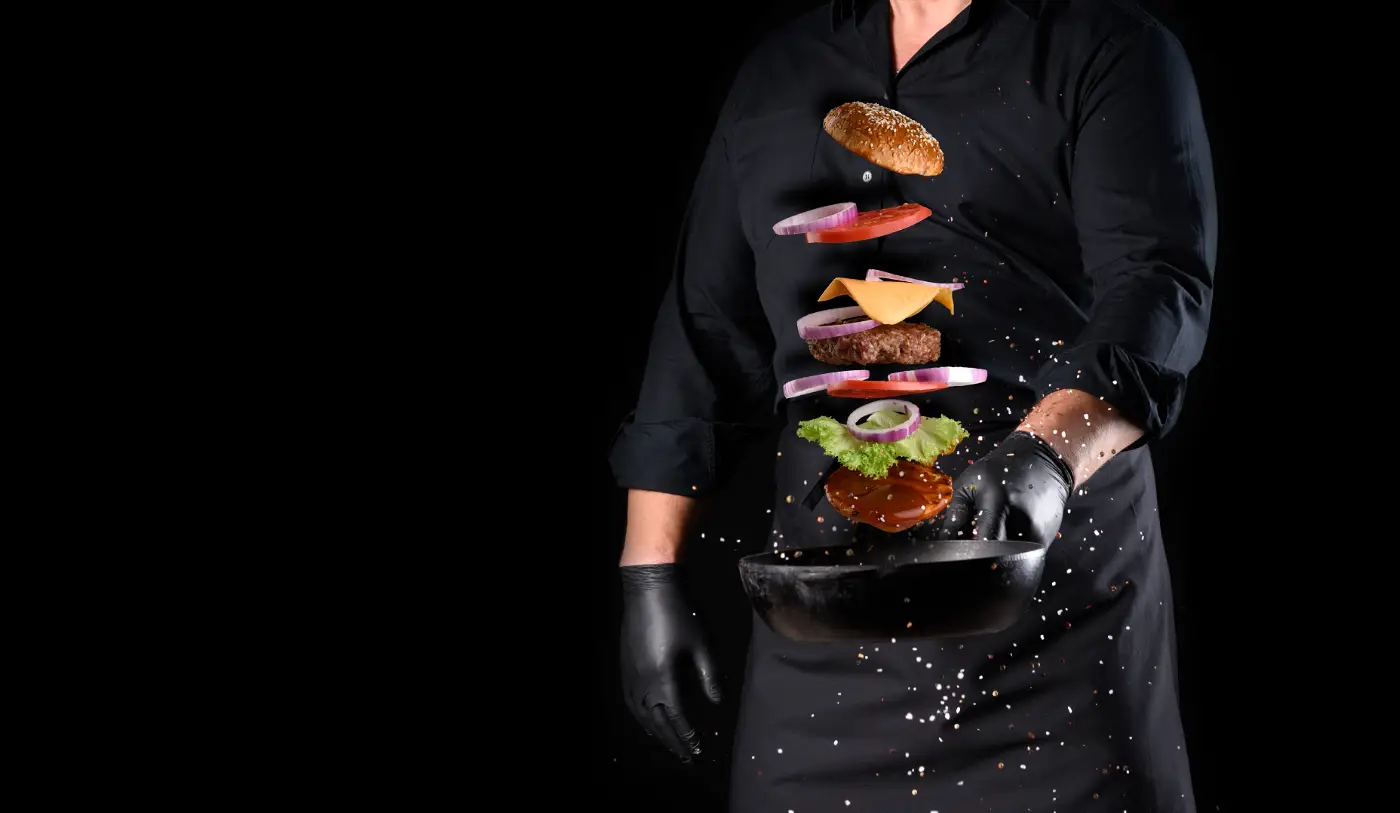
You probably know the expression 'always eat with your eyes first'. And this is especially important in food photography, when the goal is to take photos that will sell a dish or recipe to a hungry viewer.
Food photos, more than any other subject, suffer when the lighting is poor and the composition is sloppy. Any other subject could still look okay if those elements aren't quite perfect, but the difference between perfect lighting and less than perfect lighting in food photography can make food look really delicious or downright unappetizing. How do you make sure your food photos make your viewers hungry?
Relief
The most important thing in food photography is that the lighting is good. Fortunately, this is actually somewhat easier to do with this branch of photography than with portrait photography, for example. Plates and dishes with food are a lot smaller, so a simple lighting system is preferable to a large set. This means you can set up your food photo studio in your kitchen, making it easier to take beautiful photos of dishes as they are prepared and ready to serve.

A smaller lighting set is also easier to tune, as the lights can easily be placed in different positions around the food. This makes it a lot more practical to experiment with until you find the right light for the dish you are photographing.
As with all types of photography, the term 'correct light' is subjective. Many food photographers avoid studio lighting altogether and instead place the food next to a window. Natural light makes the food look more natural; you can soften the incoming light by hanging a thin sheet over the window, and you can fill in shadows with a piece of foam board as a reflector to avoid having to spend too much.
Whether you're a professional photographer, a food blogger or someone who just wants to capture family recipes...
While every dish is unique and every photographer likes to do things differently, as a general guideline, stronger natural light is preferable for bright colors and summer dishes, while soups, stews, or other winter dishes look best in flatter, more even light with little contrast between highlights and shadows.
There are situations where natural light is simply not available, and you have to rely on your studio lighting. In general, food photos should be taken with diffused lighting, as black shadows and glare make food look less appetizing.

When using artificial lighting, try to simulate the time of day when food is typically served; breakfast items such as pancakes, eggs, a green juice and orange juice should be photographed under brighter lighting, while dishes served at dinner can be photographed in low light, which will create a more restaurant-like atmosphere.
Use props
Props are very important in food photography, but to use them effectively you need to experiment and practice. Provide a range of plates and cutlery and again choose brightly colored plates and bowls for summer dishes and earth tones for winter dishes. Don't forget the garnishes either; a simple sprig of cilantro or a strawberry can really brighten up an otherwise uninteresting dish, especially if that dish lacks color.
Once your serving elements are in place, it's important to compliment them with background props. Try not to clutter an image by cramming too many things into the background, but instead choose one or two quiet elements, such as some antique silverware, a wine glass, a second plate of food, or very simple food like a sandwich.
Try to place these objects in positions where they compliment the food but don't become the main focus of the image. Use a wider aperture (lower F-number) so that the background props become out of focus.

Also avoid clutter on the board itself. Try to add less food to a serving bowl or plate than you normally would when serving a meal to your family or friends. A large, generous portion, like the one you'd get at your local rowdy chain restaurant, can actually look less appealing in a photo than a small portion carefully placed on a larger plate.
Pay attention to details
Novice food photographers often overlook the small details in a food shot. While a drip or splash can look amazing on one dish, it can look awful on another, so make sure your plates are clean and that any stray crumbs, stray sauces or other elements are only present when they contribute to the overall appeal of the dish.
For example, a drop of chocolate sauce may look tempting running down the rim of a sundae glass, but a smeared smear of chocolate on that same glass obviously just looks gross.
Shoot from different angles
As any chef knows, it's almost impossible to make food look perfect from every angle. By rotating your plate, sitting low, and taking photos from just above table height or from a 45-degree angle, you can hide imperfections and change the overall mood of the photo.

Experimentation is key and digital photos are free, so take as many photos as possible from different angles.
Use of fresh food
Freshly prepared food can quickly lose its good appearance. Ice begins to melt within a few minutes, garnishes on soups or drinks sink, and crispy fresh lettuces shrink if left at room temperature for too long.
So it's best to get your recording set ready before the food has even finished cooking. Use an empty board as a place holder and place all your props well in advance. Experiment with lighting before the food is ready, that way you can get the photo quickly with the freshly prepared food.
Including steam in a photo can be difficult, but it is doable if you know the right tricks. A cup of hot tea or a café mocha looks much more tempting with steam coming from the surface, without steam it may just look cold. But since steam is vaporous, always moving, and very pale in color, it can be difficult to capture. For example, without backlight, steam is almost invisible in a photo. Light backgrounds also make it difficult to show this.

Professional food photographers have their own tricks for photographing steam, and most of these don't involve photographing the natural steam of the food. For example, try placing a cotton ball, soaked in water and heated in the microwave, inconspicuously behind a plate of food or a hot drink: it will fool the viewer into thinking that steam is coming from the food itself.
Whether you're a professional photographer, a food blogger, or someone who just wants to capture family recipes for a scrapbook, food photography is a sales job. If you can't sell your recipes to your viewers, you might as well forget about the photo altogether and use words instead. A great food photo should look delicious to everyone who sees it, even someone who just finished a four-course meal. If you can also seduce that person, you are doing your job well.



