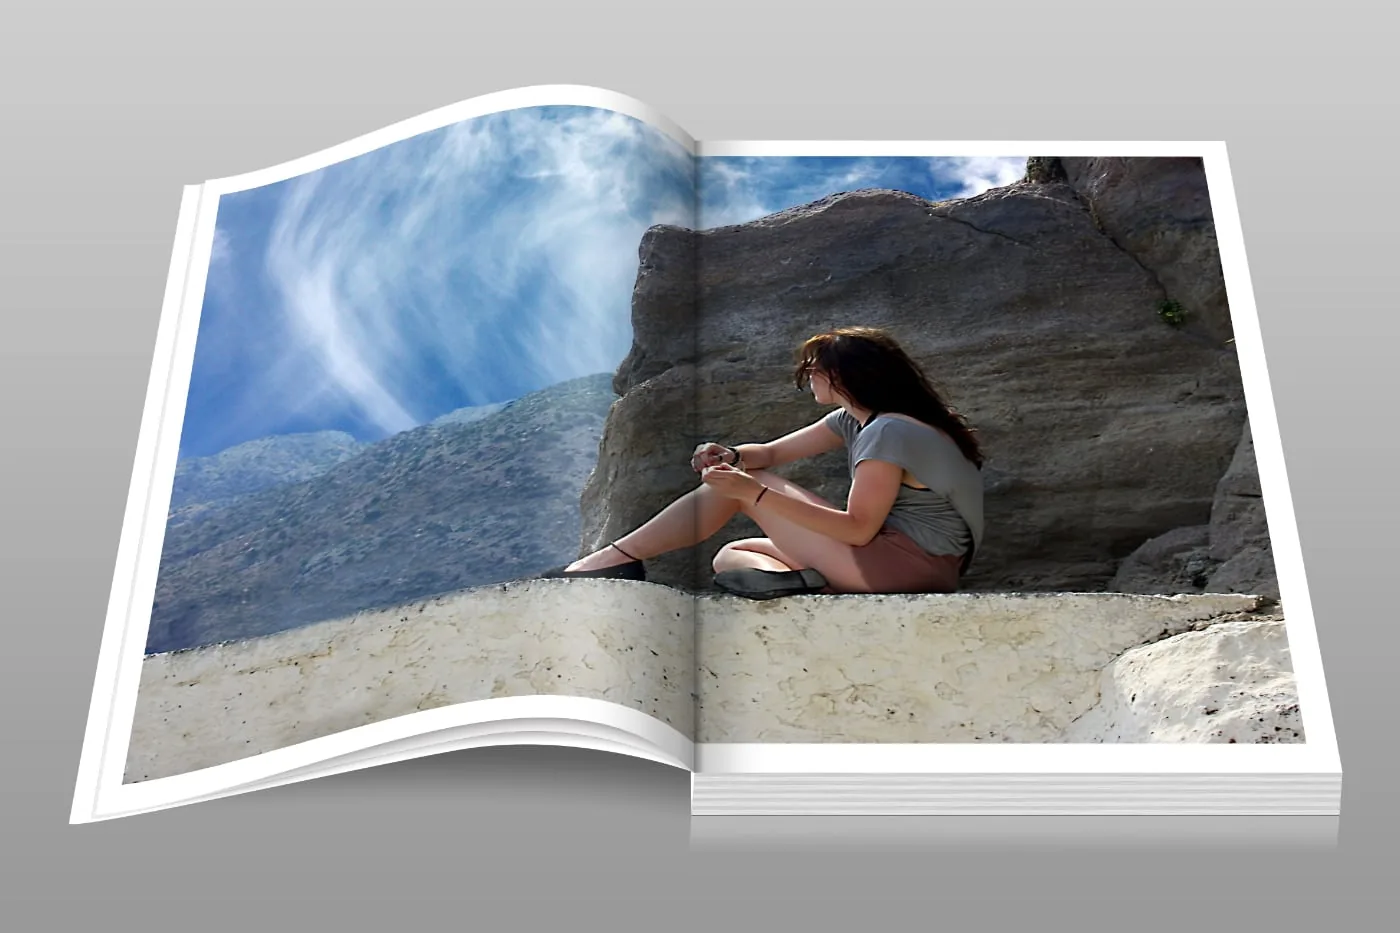
E-books may dominate today’s world, but almost everyone still buys physical books. They may be valuable heirlooms, titles unavailable as e-books, books that simply feel more meaningful on paper, or photo books.
As a photographer, you may need to document important books for your own records—especially photo books, old books, or expensive editions. You may also be hired to create an attractive image of a newly published or existing book.

On websites that sell used goods, photos of books often share one trait: their quality ranges from poor to downright terrible. A good book deserves a good photo, and a poorly photographed book may sell for less than one presented well. The following six points cover the main challenges photographers encounter when photographing books.
Reflections
Reflections are one of the biggest causes of poor book photography, especially with hardcovers that have glossy dust jackets. Ambient light can easily reflect from the surface, and direct flash makes the problem worse.
If you want to sell a photo book to someone looking for a special photo gift, the image must represent the book accurately. A used-book photo should reveal both flaws and pristine areas, but reflections can hide dents, scratches, and other cover details.

Even when the book is not for sale, a valuable volume photographed for insurance purposes must be documented accurately. Photograph it from an angle that eliminates reflections, or use diffusion—such as a light tent—to soften the light. This also helps when photographing interior pages that curl as the book lies open.
Distortion
Distortion is another common problem. A book is a geometric object, and with few exceptions its cover is rectangular or square. Converging or diagonal lines can therefore give viewers the wrong impression of its shape.
We instinctively know that the book should be rectangular, yet distortion remains distracting. Keep your camera lens parallel to the cover to avoid an unappealing result.
The closer you are to the subject, the stronger perspective distortion becomes, especially when shooting at an angle to show the spine and cover. Step back and use a longer lens, such as a portrait lens, rather than moving very close and filling the frame. If you shoot in RAW at your camera’s full resolution, you can crop the image later.
Focus
If you do not have a macro lens or macro mode, shoot in RAW, which gives you the most flexibility from your image sensor. A high-resolution camera also lets you capture plenty of detail without placing the camera extremely close to the book.
Focusing while shooting handheld can be difficult. With smaller books, moving closer makes it harder to keep the camera steady and the cover within the plane of focus. A tripod stabilizes the camera and makes it easier to fine-tune the angle to avoid distortion. It also allows longer exposures in limited light, such as window light or a small continuous light source.
Settings
When photographing only the front cover, you do not need a very small aperture , because the entire cover lies on one plane. If the spine must also be sharp, stop down to increase depth of field. Use your camera’s depth-of-field preview, or take a test shot and inspect it at high magnification on the screen.
Make sure both the spine and cover are sharp. Shutter speed matters less on a tripod, but keep ISO low because higher ISO settings can introduce noise and other quality problems that become obvious in detail-rich photographs.
If a lower ISO requires a longer shutter speed, use one. A stationary subject can be photographed with a long exposure, although very long exposures may also increase noise, so try to keep the exposure to no more than a few seconds.
Flash
Flash is balanced for daylight, which may make it seem useful for accurate color. Direct flash, however, always creates glare. Unless an off-camera flash is placed behind diffusion material, it is unlikely to improve the photo. Use a natural light source instead, such as open shade or window light.

For accurate color, set a custom white balance. Procedures vary by camera, but you generally photograph a truly white or neutral reference and tell the camera to use that image as the white point. You only need to do this once per session, as long as the light does not change.
Background
When you do not want to crop tightly to the edges—particularly for used books—the background matters. Texture and patterns distract from the book’s details.
Choose a neutral background; a sheet of paper can work well. Lay the book flat and photograph it straight on, keeping the lens parallel to the cover so the image contains no distortion or unintended diagonal lines. Then angle the camera to show the spine. In that view, slightly diagonal top and bottom edges are natural because they reflect the way we often see books.
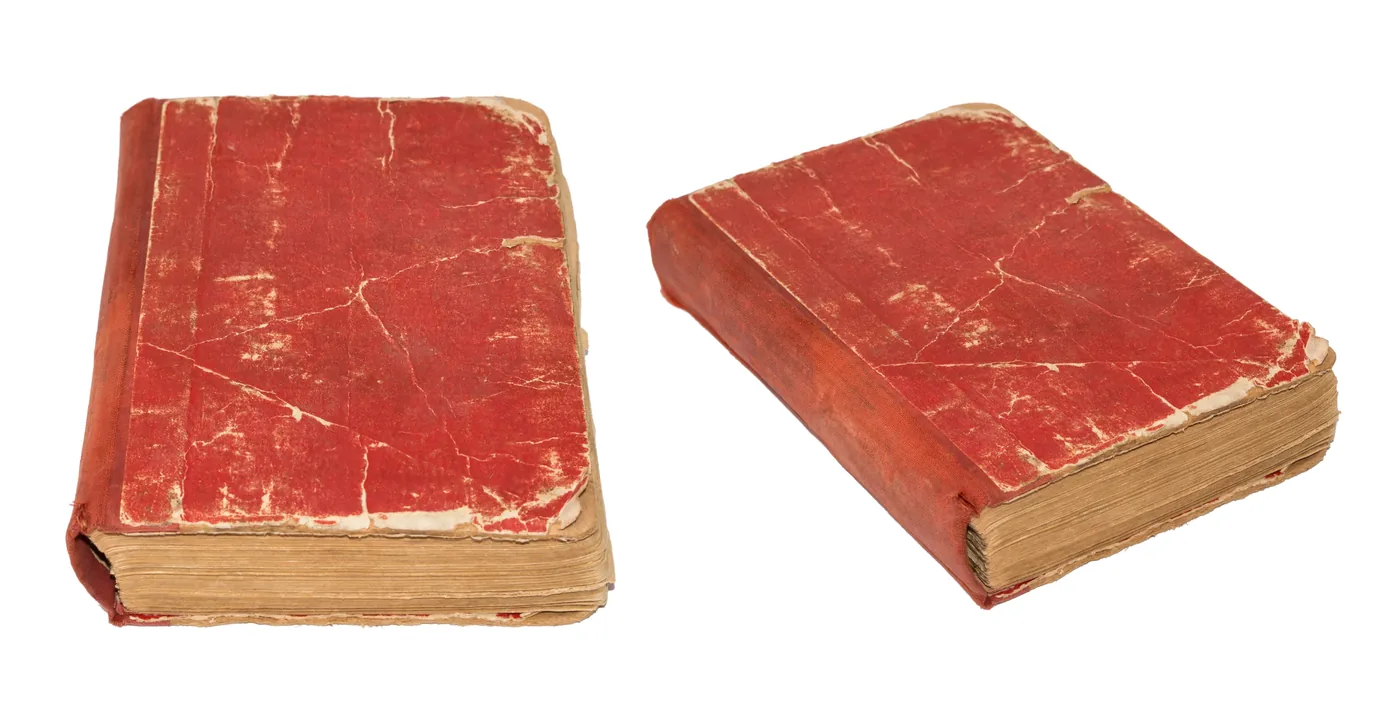
In post-processing , use Levels or the Highlights and Shadows controls to brighten the background and bring the colors to life. Work on a calibrated monitor and keep the book nearby so you can match its real colors as closely as possible. Avoid making the colors more vivid than they truly are: the goal is accuracy, not artistic reinterpretation.



