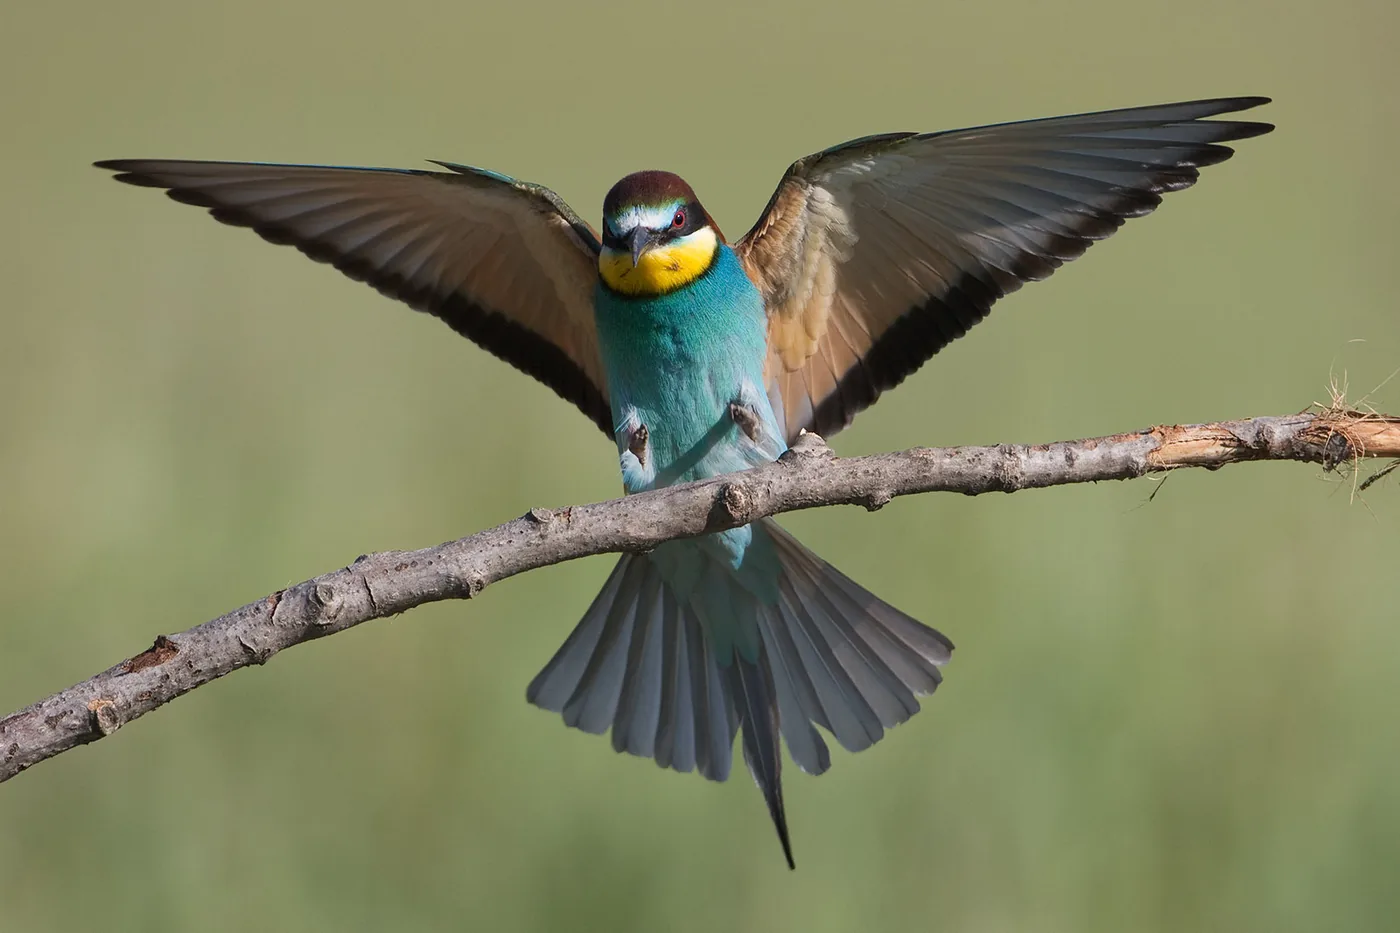
photo: Jan Duker | European bee-eater, photographed with a 600mm F/4.0 lens.
In Part I, you read that composition is just as important in bird photography as it is when photographing landscapes or buildings. Part II examines the equipment and techniques involved. Which camera, lenses, and accessories do you need to create a successful bird photograph?
Camera
At the time of publication, the digital SLR was the camera of choice for photographing birds. You view your subject through the lens, giving you good control over how the image is composed. This is especially important with active subjects such as birds. Another major advantage is that you can use different lenses on your camera.
Autofocus
Reliable autofocus is important when photographing fast-moving birds. A fast AF system focuses quickly and reliably, but accuracy matters too. An accurate AF system can focus well even in poor lighting and is less likely to ‘hunt’ for focus by moving from infinity to a nearby distance and back again, a behavior known as focus hunting.
Focusing is handled by the autofocus points you see in the frame when you look through the viewfinder. At the time of publication, simpler cameras often had no more than 5 sensors, while advanced cameras had 9 or more, with some offering as many as 40. A camera with many AF points offers maximum focusing flexibility, but that does not mean good bird photography is impossible with a simpler camera.
Exposure
You can generally choose from several exposure modes. Although P mode provides a correct exposure, it does not sufficiently account for the depth of field you need or for a shutter speed fast enough to prevent motion blur.
A mode prioritizes the aperture setting so you can photograph with sufficient depth of field, while the camera selects the shutter speed. S mode instead prioritizes the shutter speed to prevent motion blur, while the camera selects the appropriate aperture. M mode lets you set the aperture and shutter speed independently. It is generally used only by experienced photographers in unusual lighting conditions.
Interchangeable lenses
Bird photography often calls for long telephoto lenses with maximum apertures of F2.8, F4.0, or F5.6. These let us use fast shutter speeds in poor lighting conditions. However, fast telephoto lenses are heavier and more expensive. Long telephoto lenses also have a shallow depth of field.
Several types of lenses can be used:
- 300 MM A 300 MM lens is the shortest lens suitable for bird photography. Its reach is somewhat limited, so try to get as close to your subject as possible. These lenses can be paired effectively with a teleconverter, especially the fast F2.8 version.
- 400 MM A 400 MM lens gives you slightly more reach. These lenses are also available with different maximum apertures: the extremely expensive F2.8 version, the F4.0 version, and the relatively affordable F5.6 version. A 400 MM lens is a good starting point for bird photography.
- 500 MM A 500 MM lens is generally regarded as the quintessential bird-photography lens. It offers an excellent combination of focal length, maximum aperture, and weight. Many photographers who specialize in birds use this lens.
- 600 MM A 600 MM lens provides maximum reach, but its major disadvantage is its weight. It can easily weigh several kilograms more than a 500 MM lens.
Image stabilization
At the time of publication, many long telephoto lenses featured image stabilization. The system uses two moving lens elements inside the telephoto lens to counteract blur by moving in the opposite direction to the movement caused by vibration. Lenses with image stabilization therefore substantially increase the chance of sharp photographs.
Teleconverter
A teleconverter increases a telephoto lens’s focal length. The most common converters increase the focal length by a factor of 1.4 or 2.0. A 500 MM lens used with a 1.4 teleconverter therefore has a focal length of 700 MM. The disadvantage of using a teleconverter is the loss of light. A 1.4 converter reduces the light by one stop, while a 2.0 teleconverter reduces it by two stops.
Sometimes you use flash outdoors during daylight....
Flash
Sometimes you use flash outdoors during daylight. You can use it to brighten shadows, accentuate colors, or add a catchlight to a bird’s eyes. This makes the image more expressive and is known as fill flash. Set the flash so it can be used at every shutter speed. Avoid letting it emit too much light, as this will make the subject look washed out.

To do this, set flash exposure compensation on the flash itself to between -1 and -2 stops. The correct settings depend on the brand and model of flash, so consult the manual. If the subject is far away, consider purchasing a Better Beamer. It concentrates the light into a narrow beam, giving the flash greater reach.
Tripod
For consistently sharp photographs, use a tripod. Long telephoto lenses are simply too heavy to hold steady enough for a sharp image. Also take poor lighting conditions into account, as these can result in shutter speeds that are too slow for sharp handheld photographs. Tripods come in all kinds, sizes, and price ranges.
The heavier the tripod, the more stable it is. Choose a tripod that can support your heaviest lens, and remember to purchase a good tripod head as well. Many nature photographers use a ball head. Special ‘swinging’ support systems are also available for long, heavy telephoto lenses. The photograph with the 600 MM lens shows one such system made by Wimberley. These systems are convenient and quick to use, but they are also fairly expensive. A beanbag or even your camera backpack can sometimes provide useful support too.
See more photographs by Jan Duker.
At the time of publication, Part 3 was expected to feature a practical bird-photography adventure.



