Most SLR cameras offer spot metering. How can you use it to take better photos?
With spot metering, the camera’s light meter measures only a small area in the center of the viewfinder. This lets you meter a small part of the scene without having to walk over to it (if that is even possible). You can meter more precisely and exclude other elements from the reading. But that does not automatically mean you will take better photos.
Your camera’s light meter is a comparison instrument. It compares every reading with a reference and then indicates how much light must be added to reach that reference, or how much must be subtracted.
That reference is the average brightness of a photographic subject
That reference is the average brightness of a photographic subject: middle gray. It is also known as 18% gray because it reflects 18% of the light that falls on it. That is also the reflectance of the average subject.
Gray
So all we have to do is use spot metering on a part of the subject that is as light or dark as middle gray. You can then be sure that this particular area will have exactly the right brightness in the photo.
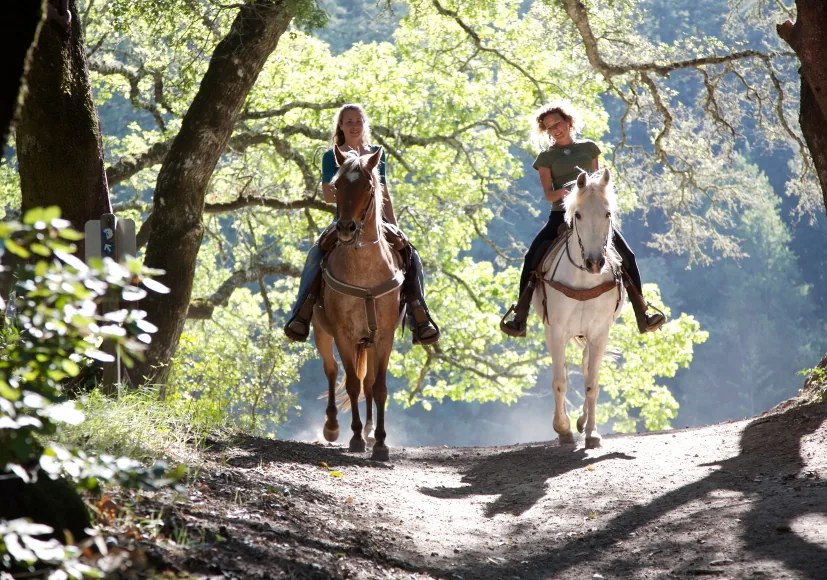
The key, of course, is knowing what to meter. If you spot-meter a white area, the camera will try to render it as middle gray, resulting in an underexposed photo. So choose a part of the subject whose brightness corresponds to middle gray. Hopefully you can find one.
Shadows and Highlights
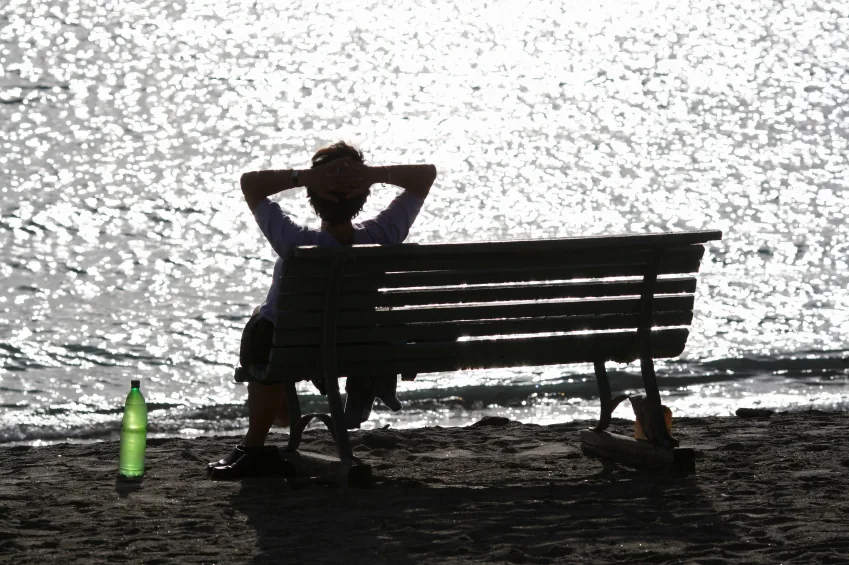
But sometimes that gray reference is not particularly relevant. For example, if it is very important to retain just a little detail in a shadow rather than letting it turn completely black, proceed as follows: meter that area and set exposure compensation to -2.5, or set the exposure 2.5 stops lower in M mode.
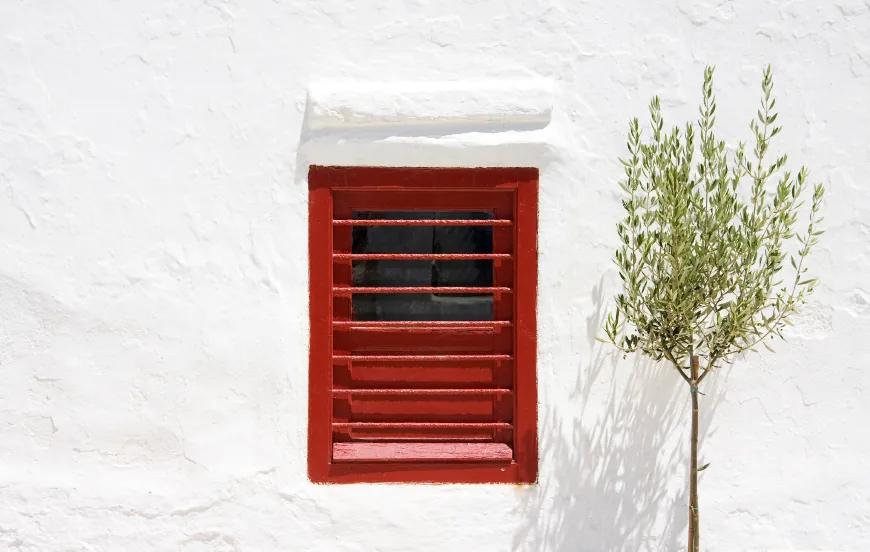
You can use the same approach for highlights. If your subject contains a bright area that you do not want to turn completely white, spot-meter it and set exposure compensation to +2.5, or manually set the exposure 2.5 stops higher.
Previsualization
Spot metering gives you control over the brightness values in your subject. You meter a detail and then decide how much lighter or darker than middle gray it should appear in the photo. The challenge is not to let color mislead you.
The key, of course, is knowing what to meter
For example, how do dark yellow and middle gray compare in brightness? This takes practice. It certainly helps to work in black and white so you can see the brightness values into which the colors are converted.
Or Just Bracket?
Bracketing—taking a series of exposures—is, of course, another way to achieve a good exposure in unusual lighting conditions. That is fine if only the result matters. But if you want photography itself to feel truly rewarding, work deliberately toward a beautiful result—for example, by using spot metering.



