Of course, you need the right equipment to take product photos. But what exactly do you need? What can you do to create the perfect product photo? The following tips provide inspiration and make the process a little easier.
Keep It Simple
“Less is more” is often said when it comes to product photography. Product photos often look best against a white background when the product itself contains a lot of color. Photographing a white product? Choose a solid colored background instead. If the product is for an online store, consider using one of the brand’s colors.

You can easily make a background yourself by hanging up a large sheet of white paper. Let the roll of paper continue onto the table where you place the product. A solid background also makes editing much easier.
A Tripod Provides Stability
A tripod is useful when the room is a little too dark and you need a longer shutter speed. Another advantage is that you can photograph each product from exactly the same angle.
Light Sources
For accurate color reproduction, your light source should have as consistent a color temperature as possible, with white balance adjusted accordingly. Mixing different types of light can cause unwanted color casts.
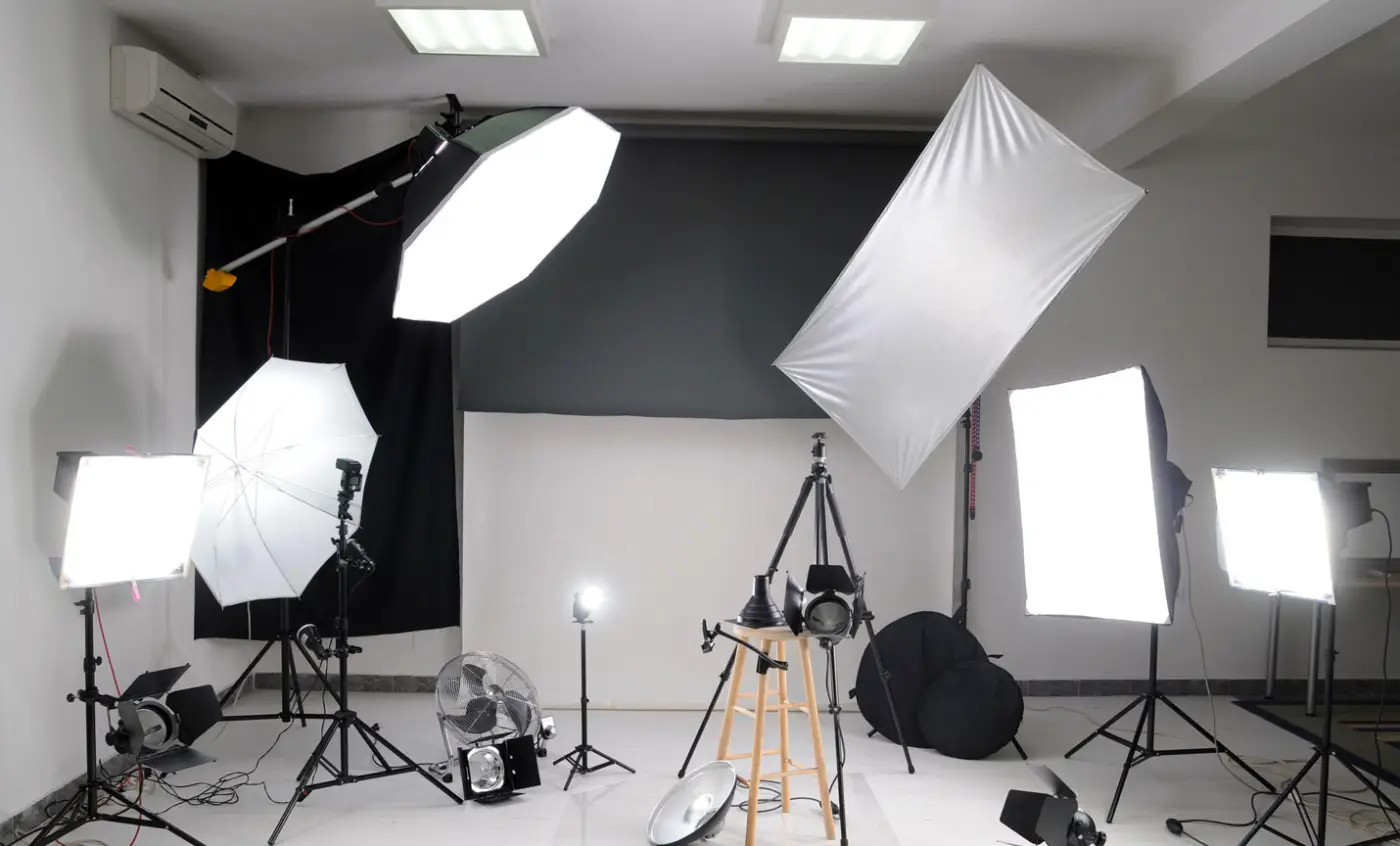
For professional product photos, use a flash kit or continuous lighting. If you do not have a photo studio with lights, look for a space with plenty of light, such as a room with large windows. Daylight naturally creates attractive, natural-looking light.
If you want to create especially good light for product photos, investing in softboxes is a good idea. Softboxes make the light softer and therefore more natural.
Whatever lamp you use, watch for reflections on certain products. You can reduce them by placing a reflector—or simply a piece of black or white cardboard—near the product.
Camera Settings
Camera settings are crucial when taking product photos. Beginners should practice with the different settings. The most important are aperture (F-number), shutter speed, ISO, and white balance.
Aperture controls the amount of light by making the opening smaller or larger. When taking product photos outdoors on a sunny day, you can use a smaller aperture opening so that less light reaches the sensor. Aperture also controls depth of field in your product photo.
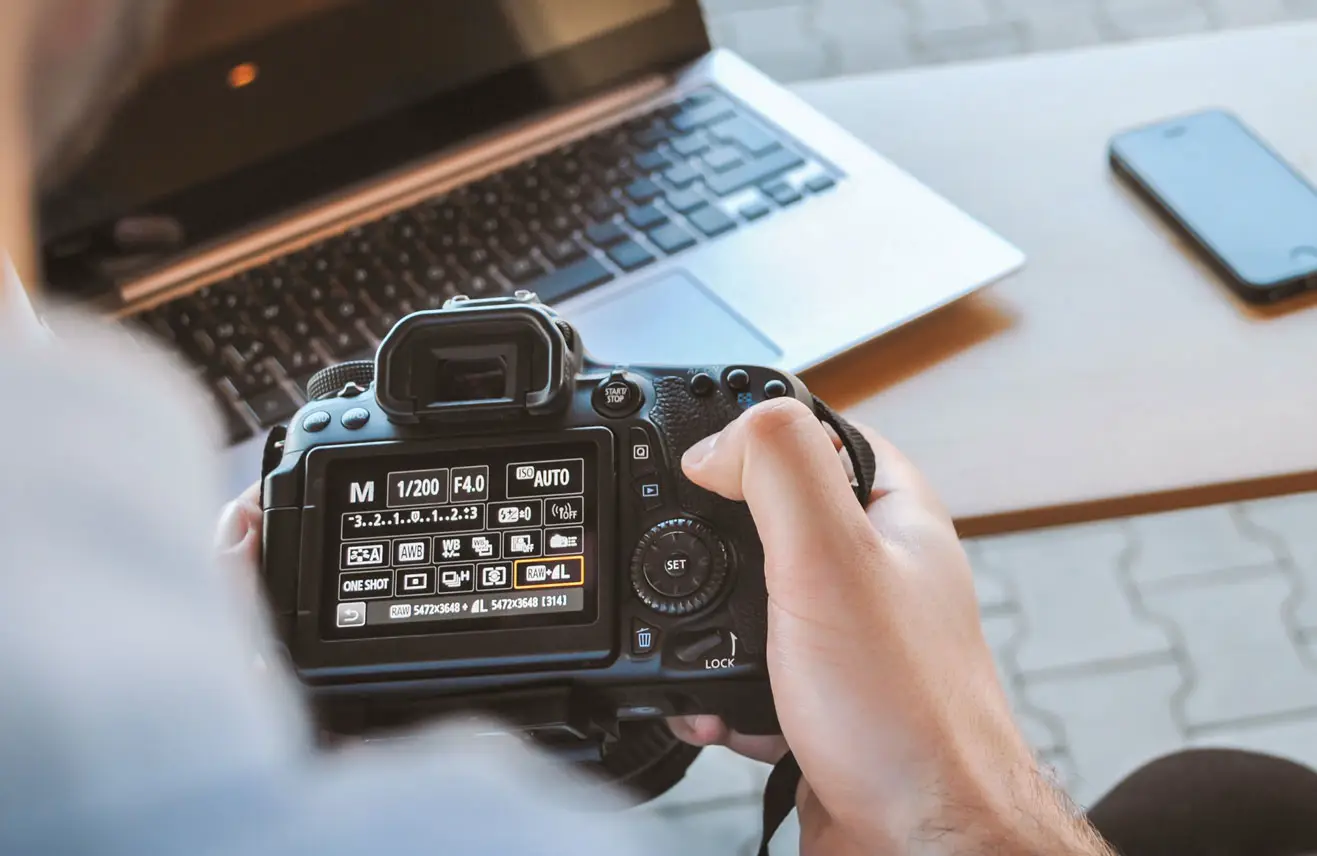
Shutter speed is another useful setting. It determines how long light reaches the sensor and becomes especially important when there is not much available light.
ISO relates to the light sensitivity of your camera sensor—how quickly it responds to incoming light. You can make the sensor more or less sensitive with the ISO control. When shooting a product in bright light, you can therefore use a lower ISO value.
Finally, white balance corrects the different colors of light that may occur when taking a photo. Setting it correctly helps reproduce the product’s true colors.
Experiment with Composition and Perspective
The right perspective matters in product photography. Try photographing the product from above and from the front.
A top-down view presents a product differently from a front or eye-level view. The best angle depends on the product and the features you want to show. Try several viewpoints to discover which one presents the product most effectively.
In product photography, the product is naturally the main subject. Avoid placing lots of other objects around it, as they may be distracting—unless you want to compare the product’s size with another object.
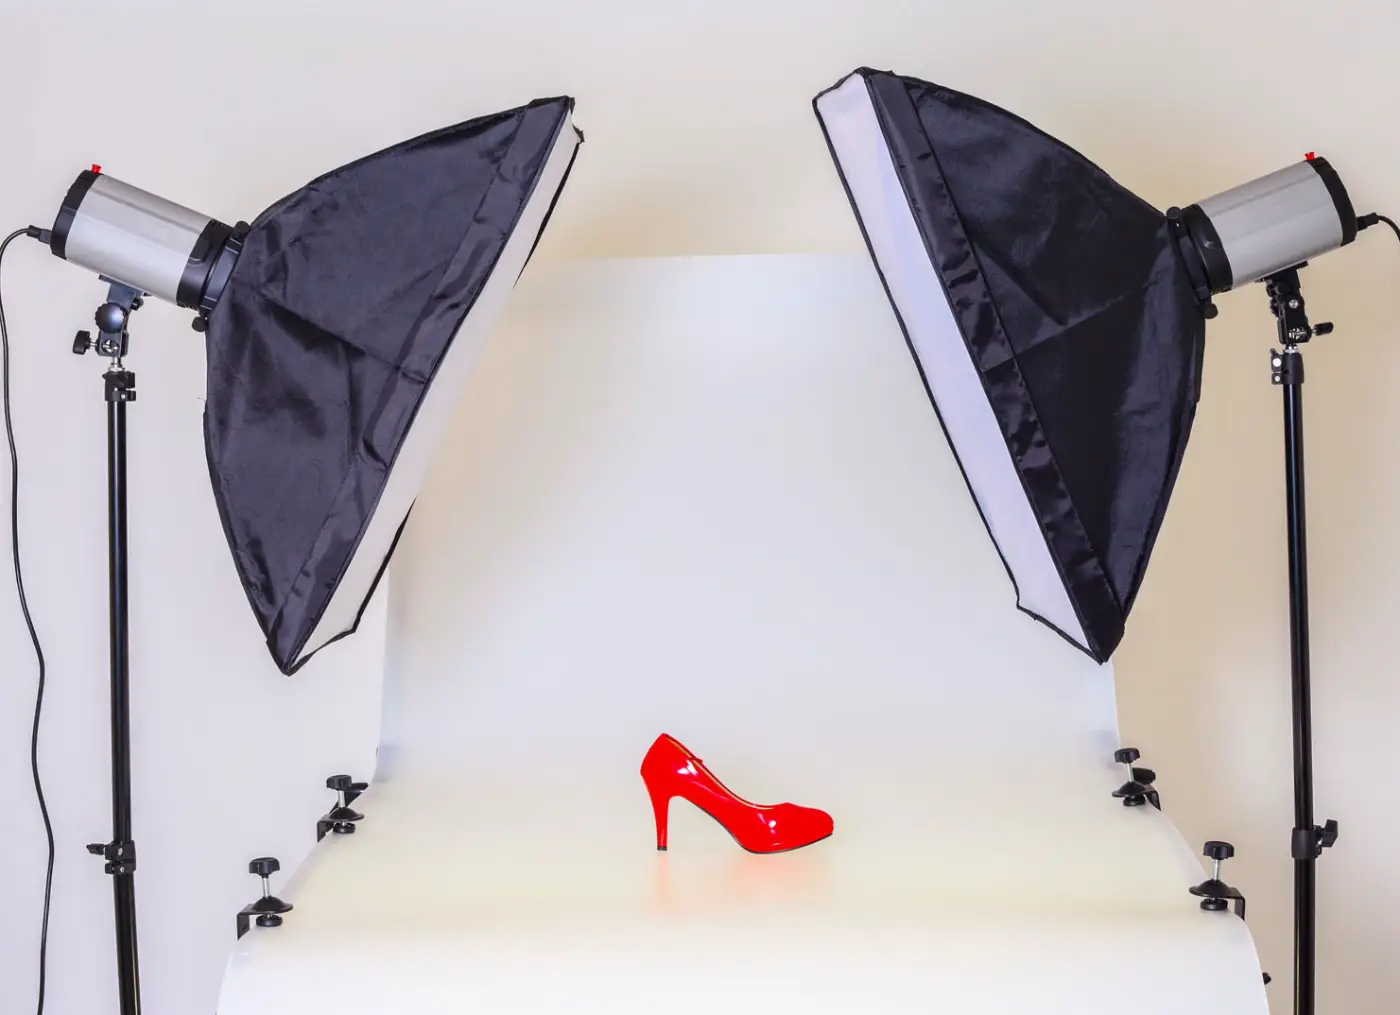
Finally, composition is important because you want to direct attention to the right place. Usually the product should be the focal point, which is why it is often positioned in the center of the frame.
The Finishing Touches
After photographing the product from every angle, select the best photos and begin editing them.
If the photos have a yellow or other unwanted color cast, first check the white balance or color temperature. This lets you neutralize the colors and reproduce the product as accurately as possible. You can then adjust brightness, exposure, and contrast if needed.
You will learn to recognize when the image looks right and when the editing has gone too far. It is also important to remove blemishes or small distracting details that you do not want in the photo.
Want more photography tips? Visit the Fotofabriek.nl inspiration platform.



