Photoshop has become commonplace. Half the Netherlands says without hesitation, ‘We’ll just Photoshop that in.’ It sounds pretty cool—a piece of cake.
The reality is different. Using Photoshop professionally takes years of experience, and even then, we usually use only a fraction of its capabilities. What’s more, everyone uses the program in their own way. Just sit down next to a colleague. Odds are they will do things that have completely escaped your notice.
So when I talk about how I use Photoshop, I do not claim to have all the answers. But I may well do things that have never occurred to you. If so, take advantage of them.
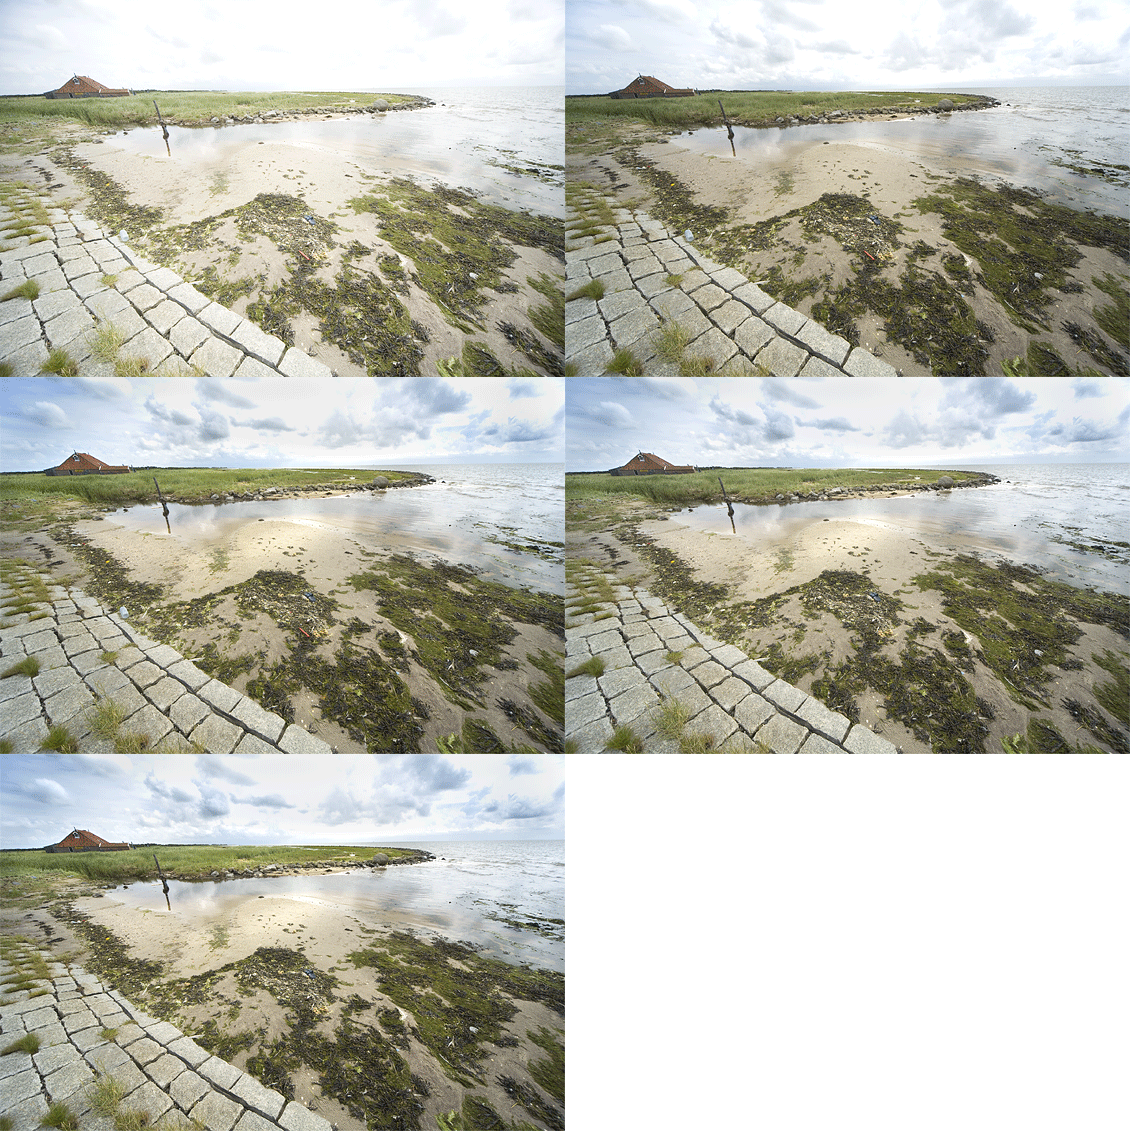
It’s All About Control
Armed with pieces of cardboard mounted on bicycle spokes, I would wave them vigorously above my enlarging easel to block the light in certain areas. Then I would cup my hands into a tube to direct a tunnel of light onto the areas I wanted. If the print floating in the fixer a little later still was not quite to my liking, it went straight into the trash.
Dodge and Burn Tools
You could say that Photoshop’s Dodge and Burn tools do nothing more than my old method, but that would sell these fantastic tools far short. Their major advantage is the level of control they offer. Every action is reversible (just remember to set History States to 1000 in Preferences). There is no need for the trash; you print only when you are satisfied.
I adjust the brush size continuously and choose whether it has hard or soft edges. I set Exposure (opacity) to 1%. If I leave it at 50%, as the program does by default, the tool is unusable because I have no control at all. So I start with 1% Flow and build up the effect slowly. It is essential to make these kinds of edits in 16-bit mode. That way, no tonal values are lost.
Range, the Magic Setting
Now for this tool’s greatest strength: using the Range setting intelligently. On the options bar, I choose Shadows, Midtones, or Highlights. This limits the tool’s effect to that part of the tonal curve. I can easily darken a gray detail against a light background with the Burn Tool set to Shadows.
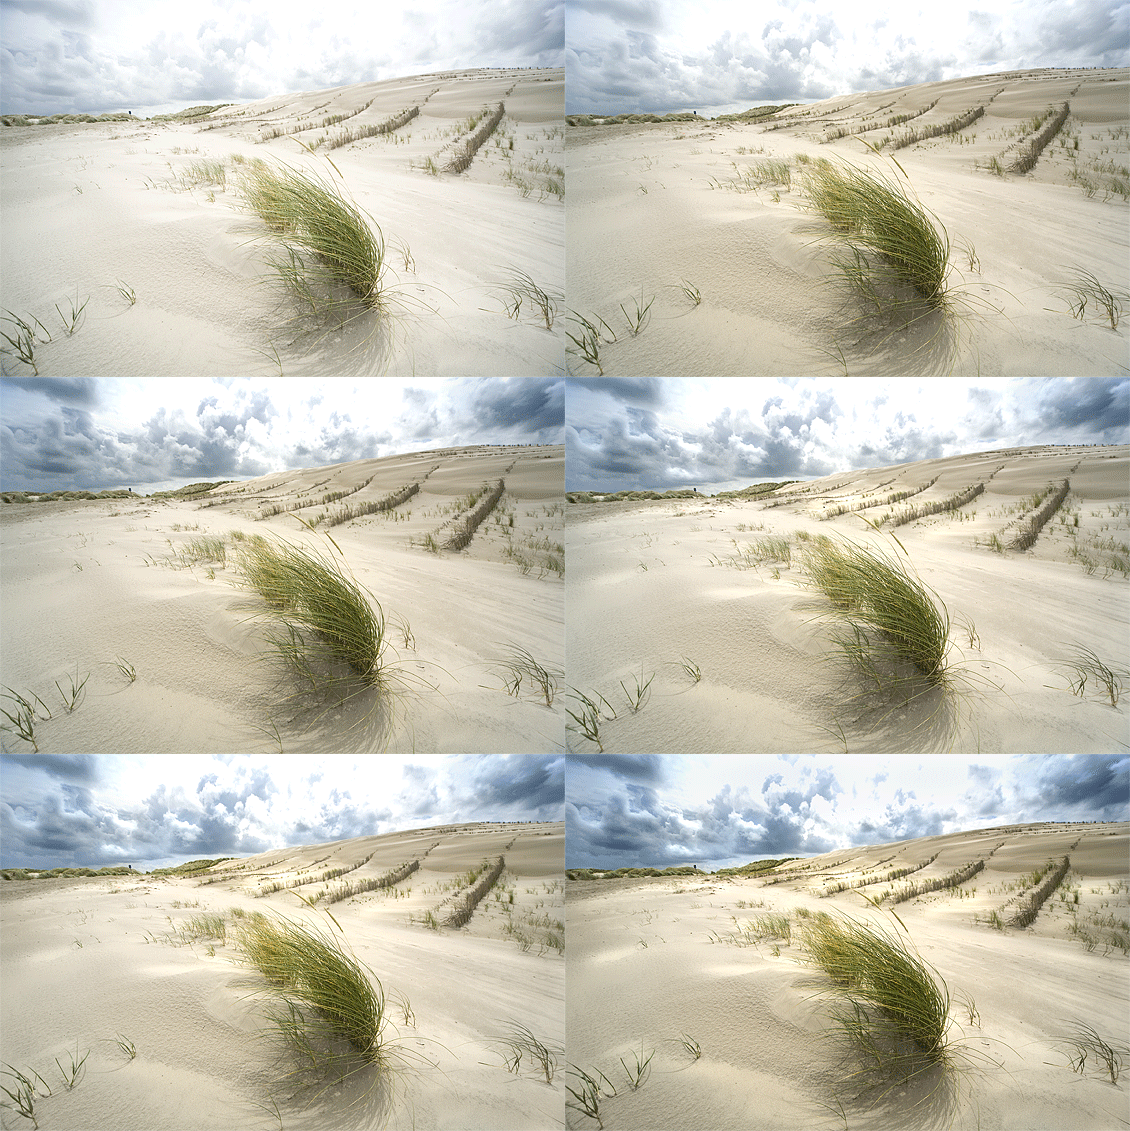
The light surroundings are then left untouched. By successively applying both Dodge and Burn across all their Ranges, I can adjust the photo’s contrast exactly as I want it. One more thing: consider the History Brush too, probably Photoshop’s most overlooked tool.
In the History palette, check the box beside a particular action. You can then use the History Brush to paint the image back to the state of that action. Again, use an Exposure of one or two percent for optimal control. It is an excellent way to touch up small mistakes.
Sponge Tool
The third tool in this series is the Sponge Tool, which lets you adjust color saturation locally. The Saturate setting is very useful for adding a little extra drama to your image. Use a Flow of no more than two or three percent. Keep going until you achieve the desired result.
Set to Desaturate, the Sponge Tool is invaluable for removing unwanted color casts. You can paint away digital artifacts that sometimes appear along edges in highlights or chrome, and red-eye disappears in no time. It is also excellent for removing a color cast from an area that should be neutral.
Clone Tool
The Clone Tool is probably Photoshop’s best-known tool. But that does not mean it is always used to its full potential. High-end cloning demands great precision. Viewed at full size, damaged pixels caused by inexpert cloning (or messing around?) quickly become distractingly visible. It is therefore important to work carefully.
First, the Flow setting. I keep it at 100% when I really need to copy something. Otherwise, the new and old pixels do not blend completely, and you can get away with that only if the adjacent areas are very similar. To create smooth transitions between old and new areas, I do reduce Flow to 10% or 15% and set Hardness to zero.
High-End Cloning Demands Great Precision
I choose the largest possible brush size that will not clone unwanted areas along with it. In many small, overlapping passes, I move details from the surrounding area into the transitions. I always leave Opacity at 100%. If any areas come through too strongly, I can reduce their opacity later with the History Brush.
For truly optimal control, I clone onto a new empty layer placed above the layer I want to edit. I sample the detail I want to clone from the image layer (Alt-click), then click the empty layer and clone the image detail into the right place. The result is immediately visible.
Parts of the lower section cloned at 10% Flow on an extra layer as a reflection.
Back on the otherwise still-empty Clone layer, I can mask and further edit the copied part of the image if necessary. Layer options and the blending mode (see below) give me complete control, and here too, do not forget the History Brush.
Finally, I can freely reposition the element because it is on a separate layer. I use this ‘extra-layer technique,’ for example, when I want to incorporate details from the subject’s structure as a reflection in the shadow.
This Opens Up a World of Possibilities Unknown to Many
The Underrated Blending Mode
Whenever you use the Brush or Clone Tool, the menu lets you choose a blending mode. It is set to Normal by default. This opens up a world of possibilities unknown to many.
By choosing, for example, Mode> Darken in the menu, I paint or clone only the areas that are darker than the background. With Lighten the opposite happens. Multiply is the magic setting for copying a shadow, for example, and adding it to an existing image.
With Color, I paint a color sampled from the subject over my handmade shadow. It now looks as though the subject’s color is reflected in the shadow. Here, I do use an Opacity setting of 50%.
Experimenting with the countless blending-mode options is well worth the effort. It can eliminate the need for hours of masking.



