Flash doesn’t have to look harsh or flat, nor does it need to be complicated. Once you take the flash off the camera, you decide where the light comes from. With one compact flash and a wireless trigger, you can noticeably improve portraits, product shots and even interiors.
This approach is often known as Strobist photography: working with compact speedlights that are controlled remotely, away from the camera. It is based on simple, affordable equipment that lets you control the direction, intensity and shape of the light.
When photographers buy a new camera, lenses are usually the first thing they consider. A bag, tripod and spare batteries may come next. A flash often enters the picture much later. That is understandable, because flash photography has a reputation for being technical and expensive.
Yet a simple off-camera flash can make a greater difference than the next lens. Not necessarily because it produces more light, but because you can position that light yourself. A flash placed to the left of your subject creates a different image from one fired straight on. Bounce the flash off a white wall and the result becomes much softer.
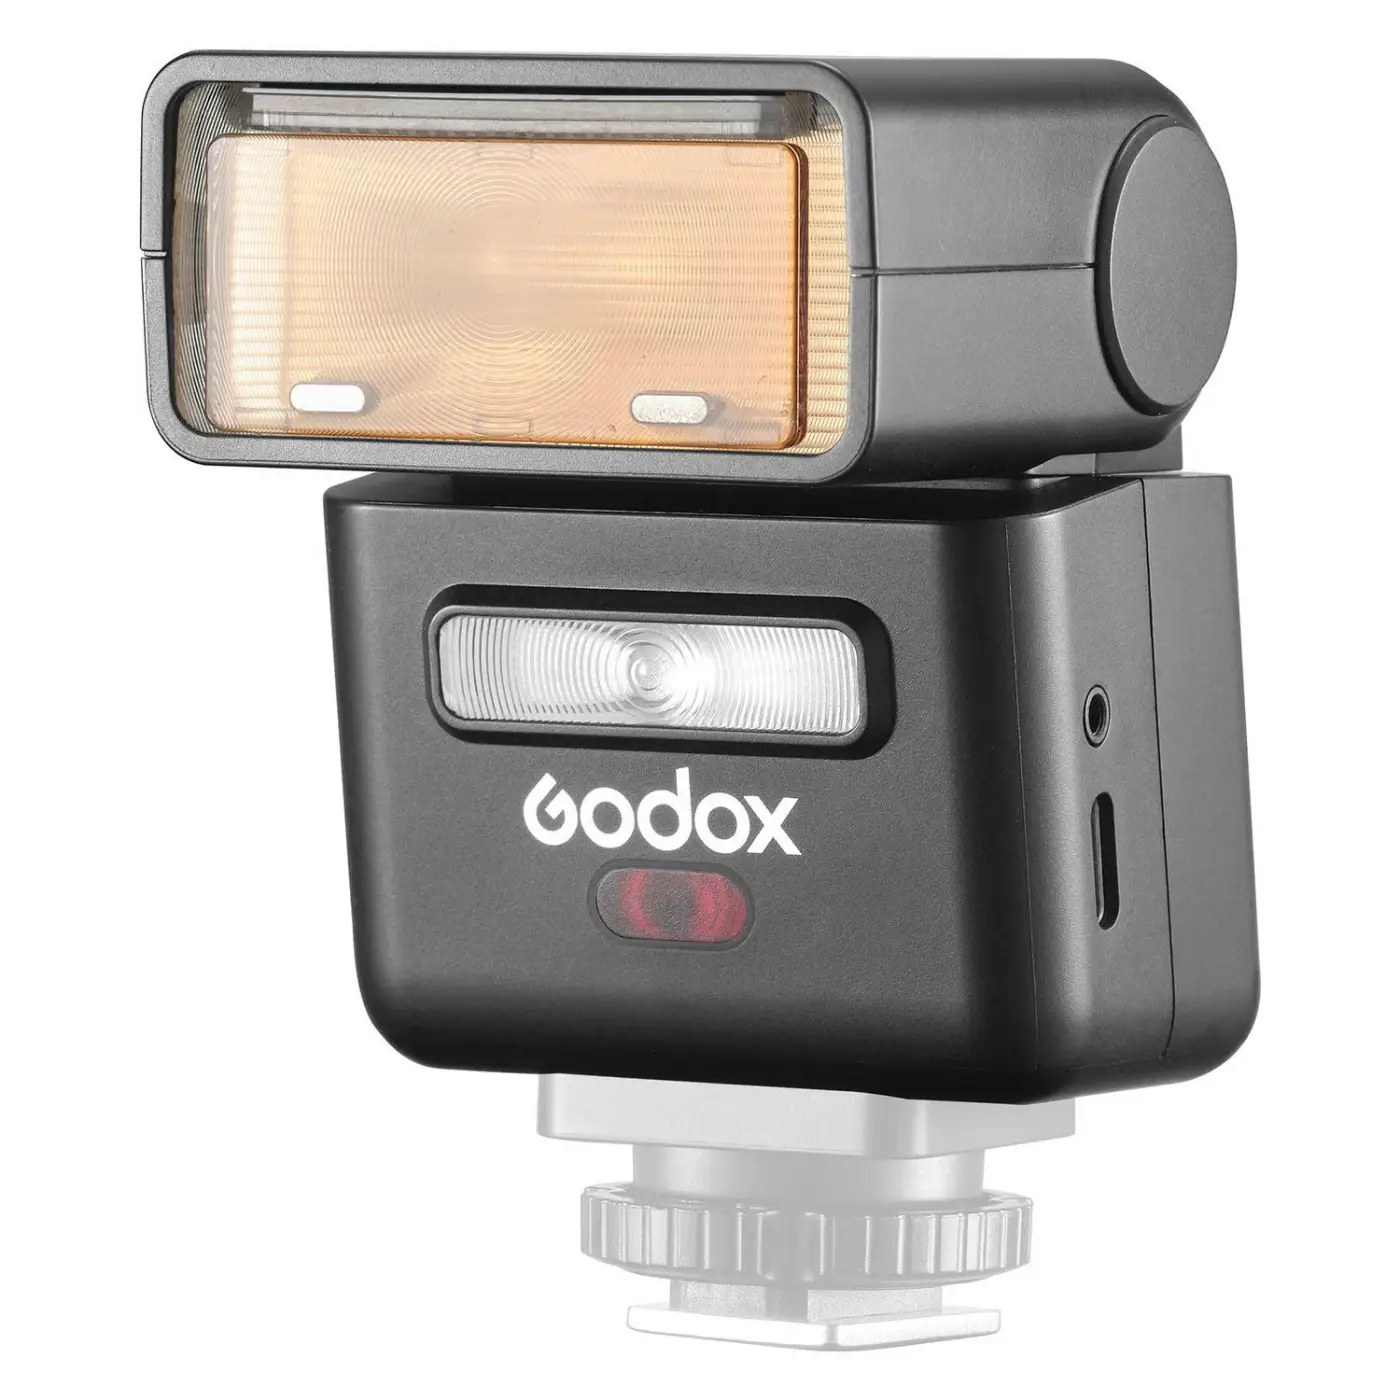
Compact wireless systems have made that first step much easier. A set such as the Godox iT32 with an X5 trigger slips easily into a camera bag and can be used both on and off the camera. You do not need to invest in a complete studio setup straight away to learn how to shape light.
Off-camera flash: the basics of Strobist photography
A flash mounted on the camera sits almost on the same axis as the lens. Its light therefore falls directly onto the subject. That can be practical at an event, for example, but it often produces little depth. Shadows fall mostly behind the subject, while faces can look flat or shiny.
Move the same flash one metre to the side and the image changes immediately. The shadows around the nose, cheekbones and clothing reveal shape. Materials and textures become clearer in product shots, while the light in an interior gains more direction.
That is the main benefit of off-camera flash: not the amount of light, but control over its direction.
The flash does not need to be far away. For a portrait at a table or a still life on a windowsill, half a metre may be enough. A small light stand is useful, but while practising you can also place the flash on a sturdy chair, table or cabinet. Just make sure it is stable.
What do you need?
The minimum setup consists of a flash, a wireless trigger and something to support the flash. Before buying, always check that the trigger is compatible with your camera brand and model.
If you prefer to see immediately how light and shadow fall across your subject, continuous lighting is another option. See our guide to LED lights for photography and video.
The Godox iT32/X5 is a good example of a compact starter set. The X5 mounts on the camera’s hot shoe and controls the separate iT32 wirelessly. The flash supports both automatic TTL metering and manual power control.
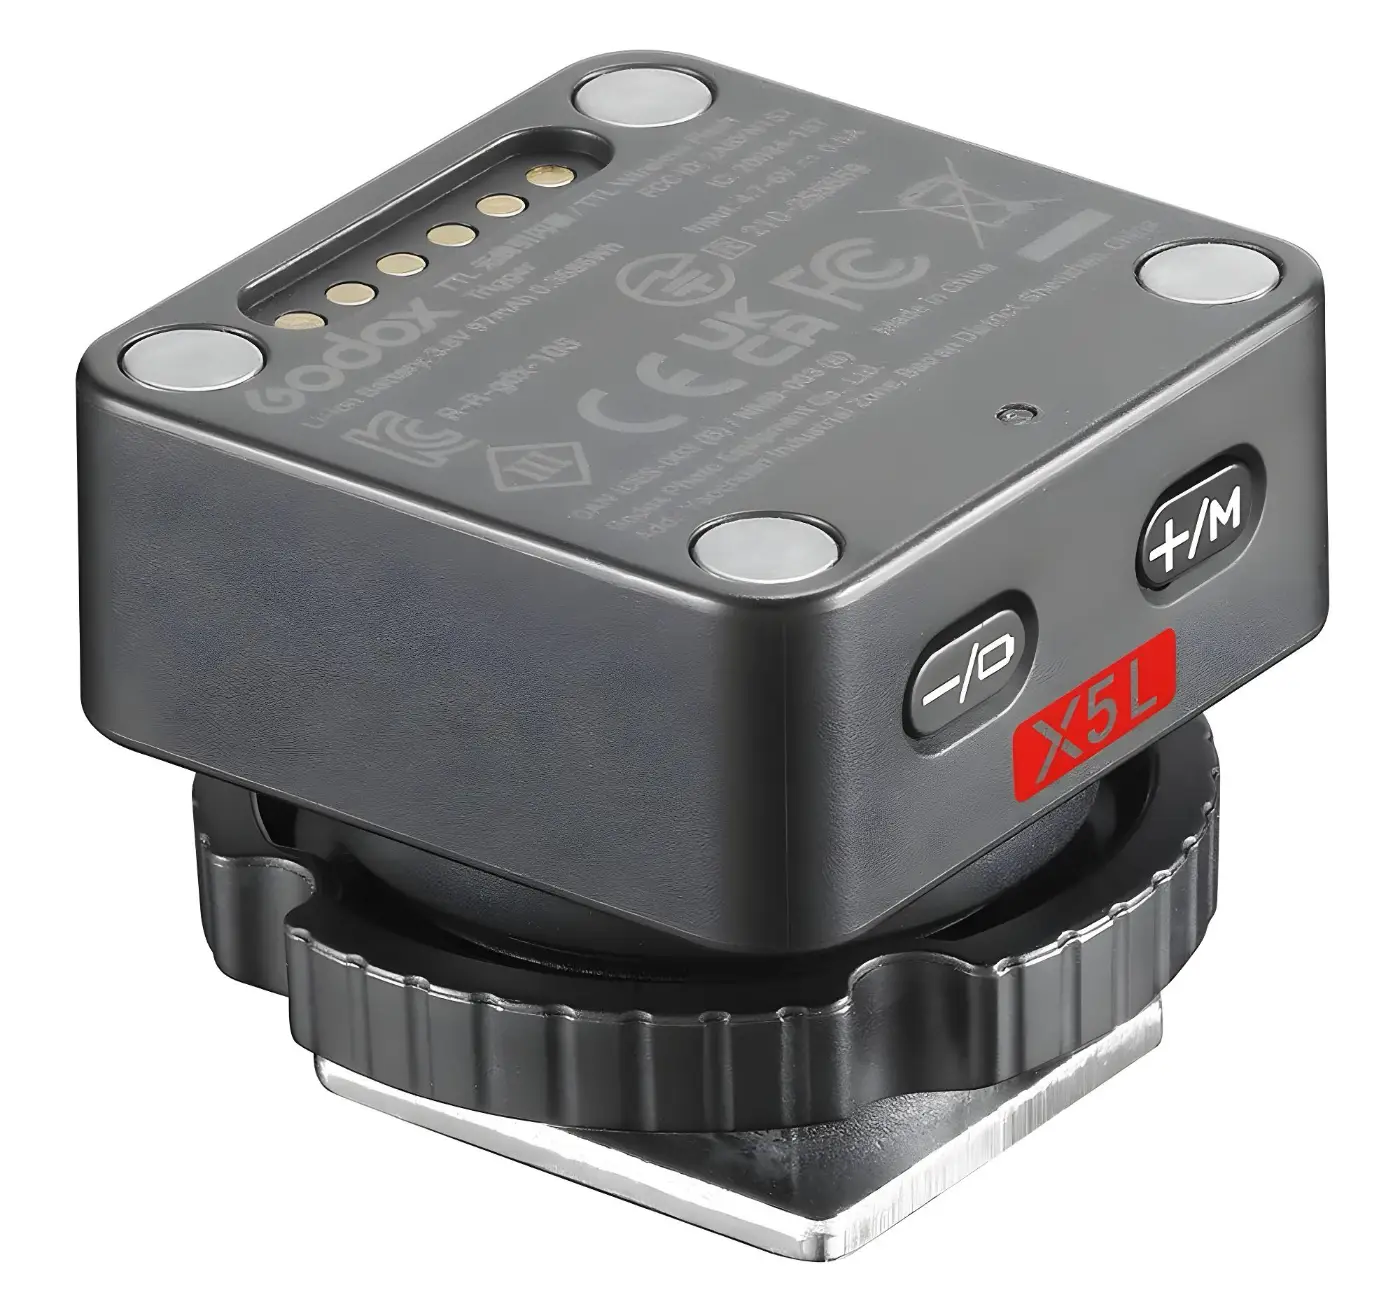
TTL means that the camera uses a brief pre-flash to determine how much flash light is needed. This is useful when the distance to your subject changes regularly. In manual mode, you choose the output yourself. That takes a little more practice at first, but produces highly consistent results in a fixed setup.
With a guide number of approximately 18 at ISO 100, the iT32 is not exceptionally powerful. Its output is nevertheless useful for nearby subjects, small product setups and many indoor photography situations. You will reach its limits sooner if you want to light a group of people or a large interior in bright midday sun.
Start with one light
The biggest mistake when first exploring flash is trying to change too many things at once. Camera settings, flash power, distance, direction and ambient light all affect the result. If you adjust everything simultaneously, you cannot tell what made an image better or worse.
A simple starting setup
• Set the camera to manual exposure mode.
• Choose ISO 100 or 200.
• Preferably use the mechanical shutter and set the shutter speed to around 1/125 second.
• Start with an aperture of f/4 or f/5.6.
• Position the flash about 45 degrees to the side and slightly above the subject.
• In manual flash mode, start at around 1/16 power.
• Take a test shot and adjust one setting at a time.
If the subject is too dark, increase the flash power or move the flash closer. If it is too bright, reduce the power or increase the distance. Distance has a major effect: double the distance between the flash and the subject and, under similar conditions, only about a quarter as much light reaches the subject. Moving the flash is therefore often quicker than endlessly searching through menus.
TTL or manual flash?
TTL is convenient when you need to work quickly. The camera recalculates the required flash output for every shot. This can be useful at events, with moving subjects or during portraits where the photographer and model regularly change position.
The automatic system is not infallible, however. A bright background may cause the subject to be underexposed, while a very dark setting can result in too much flash. Flash exposure compensation lets you make the automatic result brighter or darker.
Manual flash is usually preferable for product photography and other fixed setups. As long as the flash, camera and subject remain in the same positions, the exposure will be identical every time. Once you have set the light correctly, you can concentrate on composition and timing.
Portraits: look at the shadows
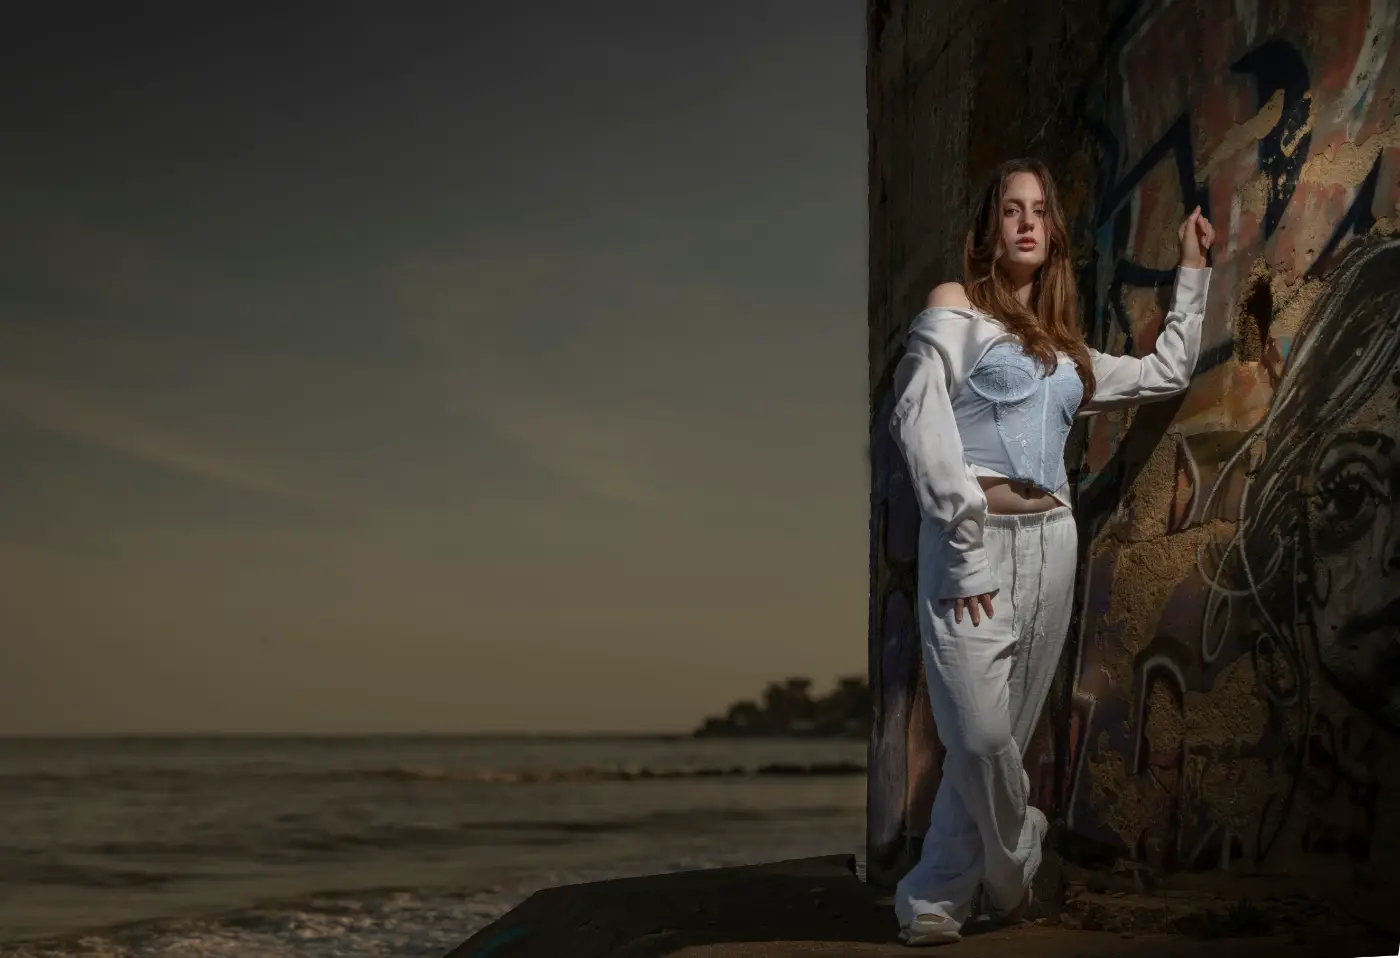
For a simple portrait, position the flash about 45 degrees to the left or right of the model. Place it slightly above eye level and angle it downwards. Then look not only at the lit side of the face, but especially at the shadow side.
If the transition between light and shadow is too harsh, make the light source larger. You can use a flash umbrella or softbox, or bounce the flash off a large white wall or a low ceiling. The reflected light comes from a larger surface and therefore appears softer.
A small plastic cap on the flash head spreads the light, but it does not automatically make the light source soft. For that, the dispersed light needs to hit a larger surface or pass through a larger diffuser.
For a natural result, the flash does not need to replace all the existing light. First adjust the background to taste, then add just enough flash to brighten the face. This preserves the atmosphere of the space and makes the result look less obviously flashed.
Product photography: plenty of control in a small space
One flash is often enough for small products. Place the object on an uncluttered surface and position a piece of white card on the opposite side from the flash. The card reflects some of the light back onto the subject and makes the shadow less dark.
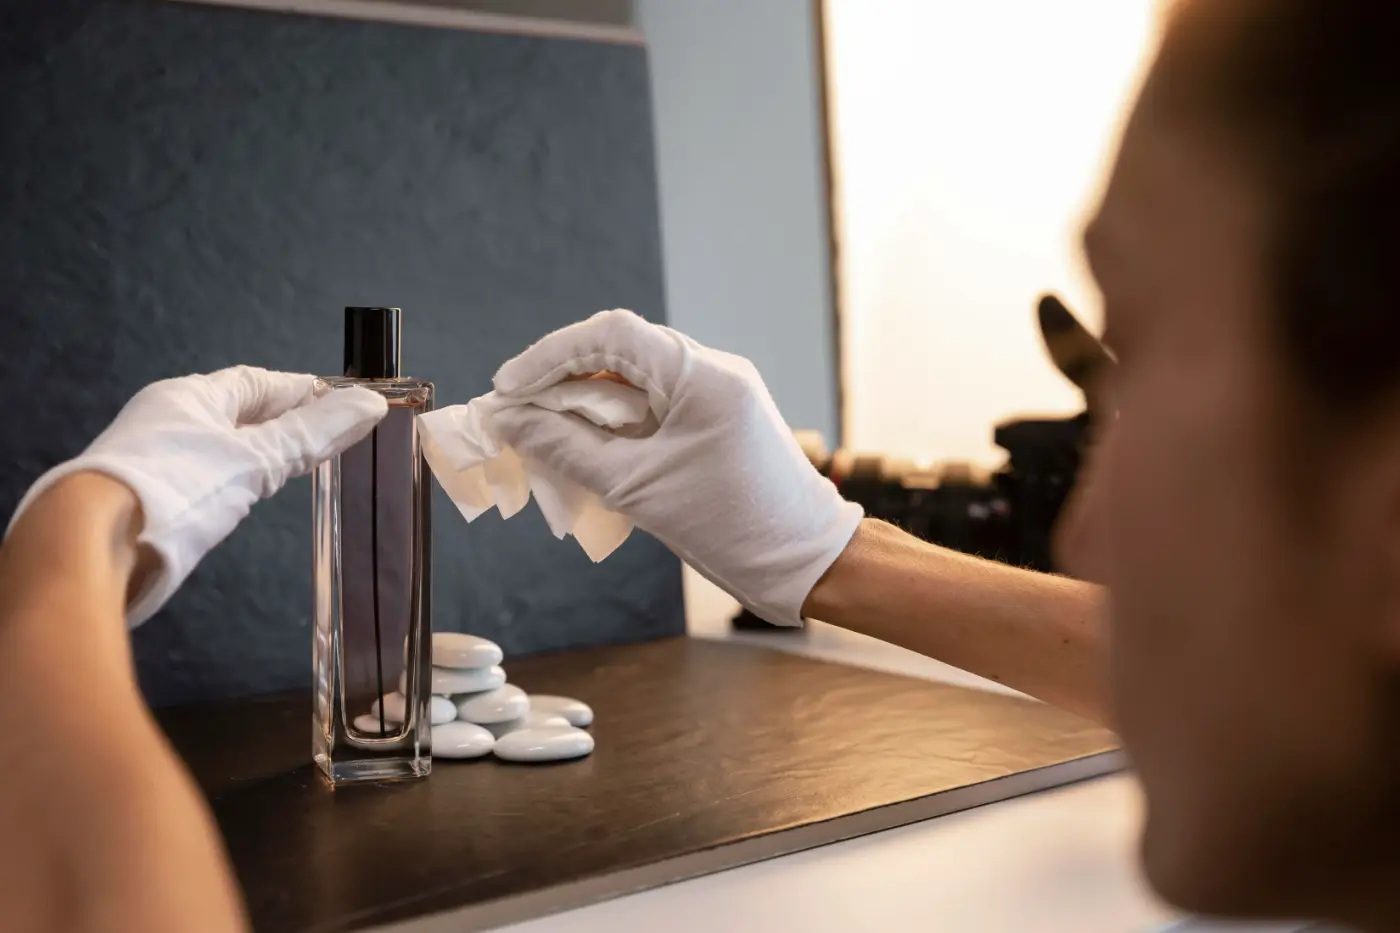
The position of the light determines which qualities become visible. Side lighting emphasises relief and texture. Backlighting can make glassware, liquids and translucent materials glow. A flash angled down from above usually produces a natural-looking sense of depth.
Shiny products require extra care. Metal, glass and lacquered surfaces reflect the light source itself. A small flash head produces a small, bright highlight. A softbox or sheet of diffusion material makes that reflection larger and calmer.
In product photography, the quality of the result is therefore often influenced more by the shape and placement of the light than by the power or brand of the flash.
Interiors: supplement the existing light
In interior photography, an off-camera flash can brighten dark corners or reduce the difference between windows and the room itself. Do not expect a compact flash to illuminate a large room evenly on its own.
First take a shot using the available light. Then position the flash outside the frame and aim it at a neutral white wall or the ceiling. The reflected light spreads through the room and appears softer than direct flash.
Pay close attention to the colour of the surface. Bouncing flash off a wooden ceiling creates a warm colour cast, while a green wall gives the light a green tint. This is not always easy to correct afterwards, because different parts of the image are then illuminated by light of different colours.

For more control, you can make several tripod-mounted exposures while moving the flash to a different position for each shot, then blend the images later. This takes more time, but can produce a more even result in difficult interiors.
When is a compact flash not enough?
A compact speedlight with a wireless trigger is convenient when travelling, but it has limitations. Its output is lower than that of larger speedlights and battery-powered strobes. Placing a softbox in front of the flash also reduces the amount of light that reaches the subject.
You will notice this especially with larger subjects, high levels of ambient light or when the flash needs to be far from the subject. Shooting repeatedly at full power also puts considerable strain on a compact flash. Recycle times may increase, and eventually its thermal protection may intervene.
If you regularly encounter these limitations, a more powerful speedlight such as the Godox V100 Speedlite may be a logical next step. For larger subjects and light modifiers, a battery-powered strobe such as the Godox AD300 Pro II offers even more possibilities.
The X5 can also control multiple Godox flashes and separate groups. Its compact size does mean it offers less at-a-glance information and fewer direct controls than larger triggers with more physical buttons and a bigger screen. If you regularly work with multiple lights, you may prefer one of those more extensive triggers.
A built-in battery also has two sides. USB-C charging is convenient and means you do not need to carry a collection of AA batteries. But an empty built-in battery cannot be replaced in a matter of seconds. Charging in advance therefore remains important for a long photo session.
Learn to see first, then expand
An off-camera flash does not change what is in front of the camera, but it does change how we see it. With one light, you can give faces more shape, reveal materials more clearly and supplement existing light where it falls short.
You do not immediately need several flashes, light meters and large softboxes. Start with one flash, one subject and one fixed setup. Move the light and observe what happens to the shadows. Compare direct light with light bounced off a wall. Photograph the same subject with and without flash.
Compact sets such as the Godox iT32/X5 do not eliminate every limitation of flash photography. Their main benefit is making the first step easier. Once you see how much difference the direction of a single light source can make, that little flash will probably earn a more permanent place in your camera bag than you initially expected.



