Preview Photographing and filming with your smartphone: Chapter 6 Take better photos, Part 2
SUBJECTS TO PHOTOGRAPH
You are free to use your camera only to capture family gatherings or vacations and the like, but if you intend to get serious about smartphone photography, then the photography subjects are yours for the taking. We list some of them.

PORTRAIT PHOTOGRAPHY
Young, old, handsome or ugly: people are always an interesting subject. Photographing in portrait mode is obvious, but not mandatory. A portrait in landscape orientation can sometimes also work well.
Use Portrait mode to make the subject stand out and preferably use a telephoto lens. When shooting with the standard wide-angle lens, keep some distance to avoid facial distortions, but don't stand too far away from the subject.
Make sure children feel comfortable when you photograph them. For example, a toy rabbit can work as a distraction.
Many people think that it is always best to photograph with the sun in the back. This usually works with a building or a landscape, but if you... portrays people with the sun in their faces, this can result in ugly shadows on the face and there is a good chance that your subject will later appear in the photo with his eyes closed.
To control the sunlight, it is best to use indirect light, for example reflected by a white wall. Place the subject some distance from the wall, facing the wall, or parallel if you want side light, but make sure the wall is not in the photo.

You can also use a window with light on the north. This trick was already used by painters such as Rembrandt, Vermeer and other Dutch masters. The property of this type of light is that it is soft and diffuse. Clear window glass doesn't have much effect on the light until you move your subject further away from the window. At a distance of two meters the light becomes beautiful and soft.
NATURE PHOTOGRAPHY
If you head out into nature, you are bound to come across all kinds of interesting flora and fauna and photogenic subjects. If possible, use different types of lenses. For example, an extra wide wide angle to beautifully capture the entire landscape, or a telephoto lens to photograph animals without disturbing or chasing them away.
MACROPHOTOGRAPHY
If your smartphone offers the possibility of taking macro pictures, be sure to pay attention to 'the little ones' that you can encounter on every square meter.
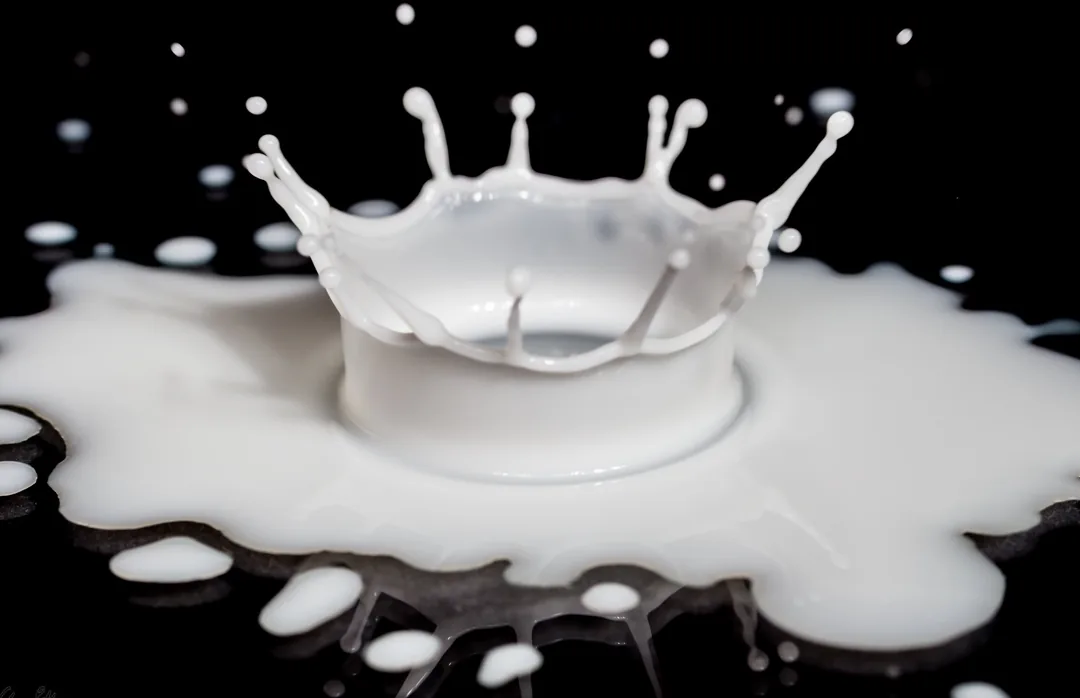
Bij macrofotografie denkt u al snel aan bloemen of insecten of andere dingen in de natuur, maar ook thuis zijn er talloze macro-onderwerpen te vinden. Details of household appliances, food such as a cauliflower, a paintbrush, or other utensils you have in your home.
TRAVEL AND LANDSCAPE PHOTOGRAPHY
When you travel you probably see everything for the first time. That can be overwhelming and impressive. It is not always easy to capture that atmosphere properly. It is often a matter of using the right lens. The extra wide angle of course works well with vast landscapes, but then the viewer does not always know what to look at. Therefore, provide a surface division that automatically draws the viewer's eye to it piece de resistance in the photo leads. The telephoto lens is also very suitable landscape photography, because this type of lens slightly compresses the foreground and background. Mountains or other objects in the background come closer and appear more imposing.
Light is also an important ingredient for impressive landscape photos. Preferably photograph during the so-called blue hour and golden hour. These are the short periods (that don't last an hour...) after sunrise and before sunset.
There are numerous free apps available at Google Play and the App Store that tell you exactly when the blue or golden hour starts and ends in your location.
ARCHITECTURE PHOTOGRAPHY
Cathedrals, palaces, skyscrapers and other buildings are sometimes as impressive as nature. The regular wide-angle lens, but especially the ultra-wide-angle lens, is ideal for photographing buildings.
Although we usually photograph buildings from below, a building, or part of it, sometimes looks better if you take the photo from a higher point of view. If it is possible to gain access to a high floor in an opposite building, do not miss the opportunity.
The same applies to architectural photography as to almost all other types of photography: light can make or break the photo. Photograph early in the morning or late in the day and look for beautiful light between buildings or through the cathedral's stained glass windows.
NIGHT PHOTOGRAPHY
When night falls and everything is illuminated by artificial light, the atmosphere changes completely. Things suddenly look fairytale-like and take on a tranquil character. Preferably photograph in night mode or with HDR. Usually the camera app sets this itself when necessary. Make sure that the lights are not overexposed in the shot.

A tripod provides better shots and allows longer shutter speeds. The ISO value is then immediately lowered, thereby reducing noise.
ABSTRACT PHOTOGRAPHY
Photography is ideal for capturing abstract shapes. The trick is to learn to look at things differently. Sometimes the light falls on a wall in a strange way, or you see patterns that repeat themselves in a beautiful way. Textures, shadows, silhouettes, and the like can also produce interesting results. You will see some examples on the next page.
TIPS & TRICKS
Now that you know more about composition, division of the plane and which subjects you can photograph, we give a number of tips that may be useful.
USE A GRID
You already knew that, but we want to emphasize this again: turn it on. If only to check whether you are keeping the horizon straight, but especially when applying the rule of thirds, a grid with guide lines is indispensable.
KEEP THE CAMERA STILL
To take a photo or video, simply tap the camera button. However, it is possible that the smartphone camera moves (slightly). Depending on the settings in the camera software, this may cause motion blur in the recording.
If you look at the everyday things around you in a different way, shadows, lines, patterns and structures suddenly become extremely photogenic.
If you take photos or film during the day, things won't go as smoothly. The camera software then selects a fast shutter speed and you will not be bothered by motion blur. However, it becomes a problem when lighting conditions are less favorable. The camera app will use a longer shutter speed (and a higher ISO value) and that increases the chance of motion blur.
Fortunately, it is possible to take a shot without tapping the camera button. For example with:
• Voice commands that take photos by saying “Smile,” “Cheese,” “Capture,” or “Shoot.” To start a video recording, say “Record video”. By the way: your smartphone can handle coal angels just fine. The voice commands only work in the camera app. If you want a recording without the camera app being active, activate the voice commands with Google Assistant (Android) or Siri (iOS).

• Volume buttons on your smartphone can also be used as a camera button. You don't have to set anything for this at all. It doesn't matter whether you use the Volume Up or Volume Down button. Although you can use this alternative in both portrait and landscape orientations, it works ideally when using landscape orientation.
• The floating shutter button in Android is an additional button that you can drag to a spot on the screen where you can most comfortably reach it with your finger. To use the extra button, open Camera settings, Recording methods and switch Floating shutter button in.
• Timer – also called the self-timer or camera timer – takes the shot with a delay. This is useful if you want to take a photo yourself, but especially if you want to prevent the camera from shaking when taking the photo.
TURN OFF THE FLASH
The camera software is set to automatic flash by default. If the camera software says it is too dark to take photos, the flash will activate. There are certainly situations where flash is necessary, but in general it never improves a photo. It gives frontal, harsh and usually very unflattering light. Suppose you want to take a photo of you and your friends in a charming restaurant, then the flash will take away all the atmosphere.
Don't use a flash at concerts either, because that makes no sense: the stage light is many times stronger than the tiny flash on your smartphone and you wouldn't like it if you were constantly flashed in the face.
Tip: However, it can be useful to use the flash during the day when you photograph with sunlight. That sounds a bit strange, but you can make the subject stand out more and reduce distracting shadows. This is called a fill flash.
FIND SUPPORT
Especially when photographing in landscape mode, it is important that you provide the smartphone with as much support as possible. Most people hold the phone between their thumb and middle fingers and tap (convulsively) on the camera button with the right index finger. Fortunately, you now know that you can also use the volume buttons for this.
There is a way that gives you better control of the camera and more flexible camera movements. You do this as follows:
1 Hold the smartphone – if you are right-handed – in your left hand and place it in your palm.
2 Hold your hand at a right angle and rest your fingers against the device. Be careful not to place the fingers of your left hand in front of the lens.

3 Hold your right index finger against the top of the device and support your left palm with your right little finger.
4 For even more support, hold your arms as close to your body as possible. When determining the composition, rotate your body and not too much with your arms.
5 Use your thumb to tap the camera button.
SEEK HELP
If you use your smartphone a lot for photography or filming, it may be useful to take some fittings to purchase. For example a selfie stick, to make it easier to photograph and film yourself. Or a so-called grip, which allows you to hold the smartphone better.
Also useful is a so-called pop socket. This is a button that you stick to the back of your camera, tablet or phone. Pulling out the button provides support while filming and also prevents your expensive phone from falling out of your hands. The tool is often supplied with a holder, a clip, so that you can also attach the button to the wall or to a dashboard, for example.

Another essential tool is a tripod, especially the versatile Gorilla tripod. This is a light tripod whose flexible legs can also be attached to a fence, a (lamp) post or something else if desired. Such stands are ideal for uneven surfaces. This type of tripod is lighter than a traditional tripod and takes up less space in your backpack, camera bag or suitcase due to its compact size.
Also extremely useful is the Benro Smart Mini Tripod and Selfie Stick. As the name suggests, it combines a tabletop tripod and selfie stick. It comes with a Bluetooth remote control for triggering the shutter and pairs easily with your smartphone.
FIND YOUR LENS
For all kinds of smartphones, but especially for the iPhone, there are attachment lenses that you can attach to the lens of your smartphone camera so that you can photograph with a macro, super wide-angle or telephoto lens. They come in all shapes, sizes and prices. Cheap turns out to be expensive in most cases, so check out what's on offer before you purchase anything.
SEIZE THE MOMENT
A good photo often tells a story, however small. It is therefore important to take it at the right moment. There are two convenient ways to avoid missing that moment: Continuous Shooting (Burst mode on iOS) and Motion Photos (Live Photos on iOS). Use one of these options. If you no longer remember how, see Chapter 4.



