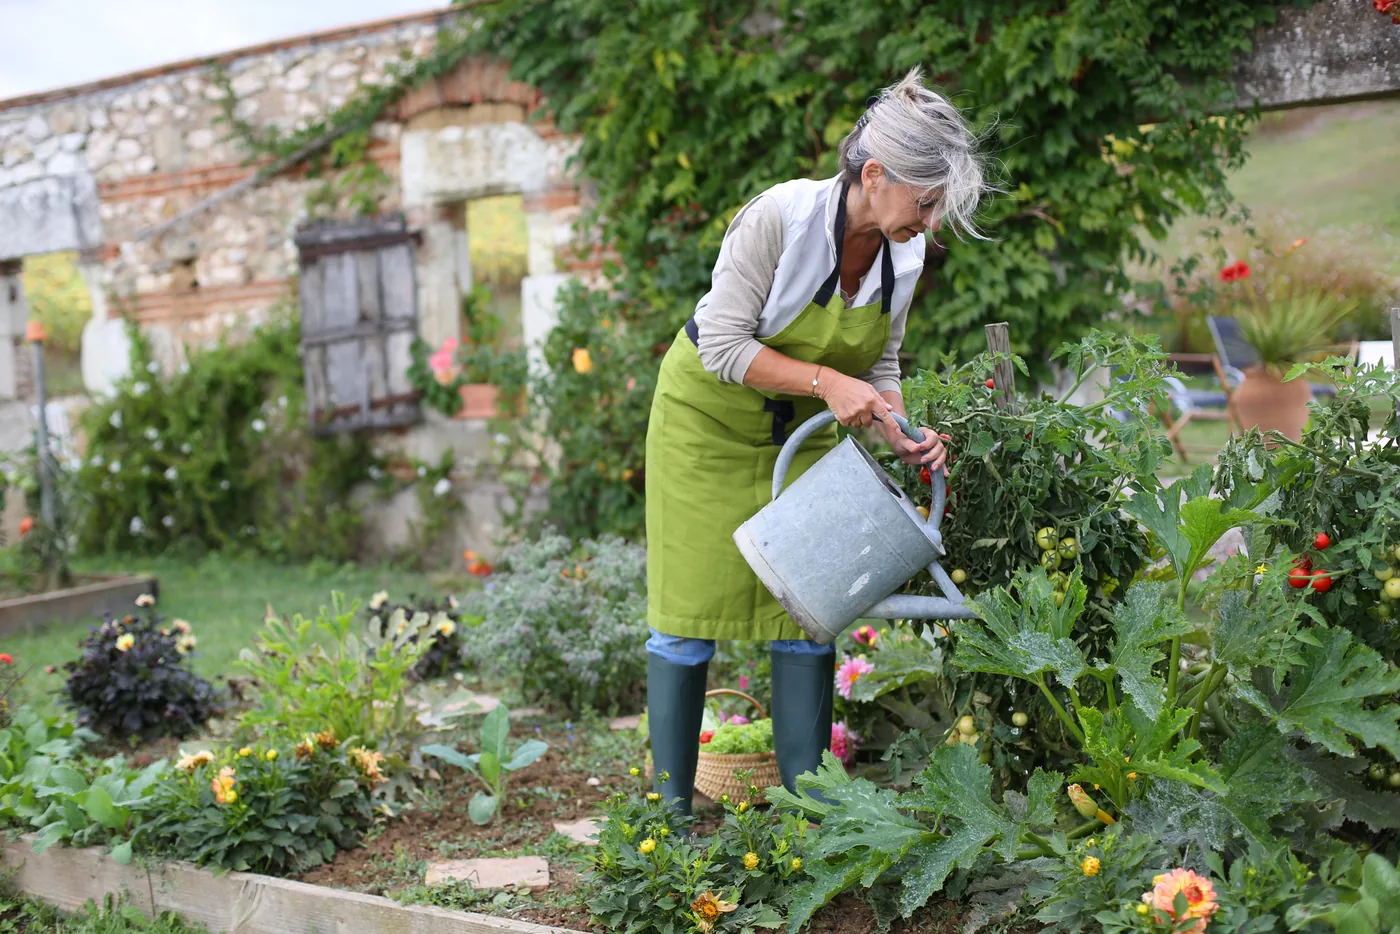
Not everyone has a green thumb. If you are one of the lucky people who is as comfortable with flowers and vegetables as with a camera, your own backyard can provide a constant source of photographic inspiration. Read on to learn how to make fantastic photographs of your garden.
Photograph from Your Garden’s Perspective
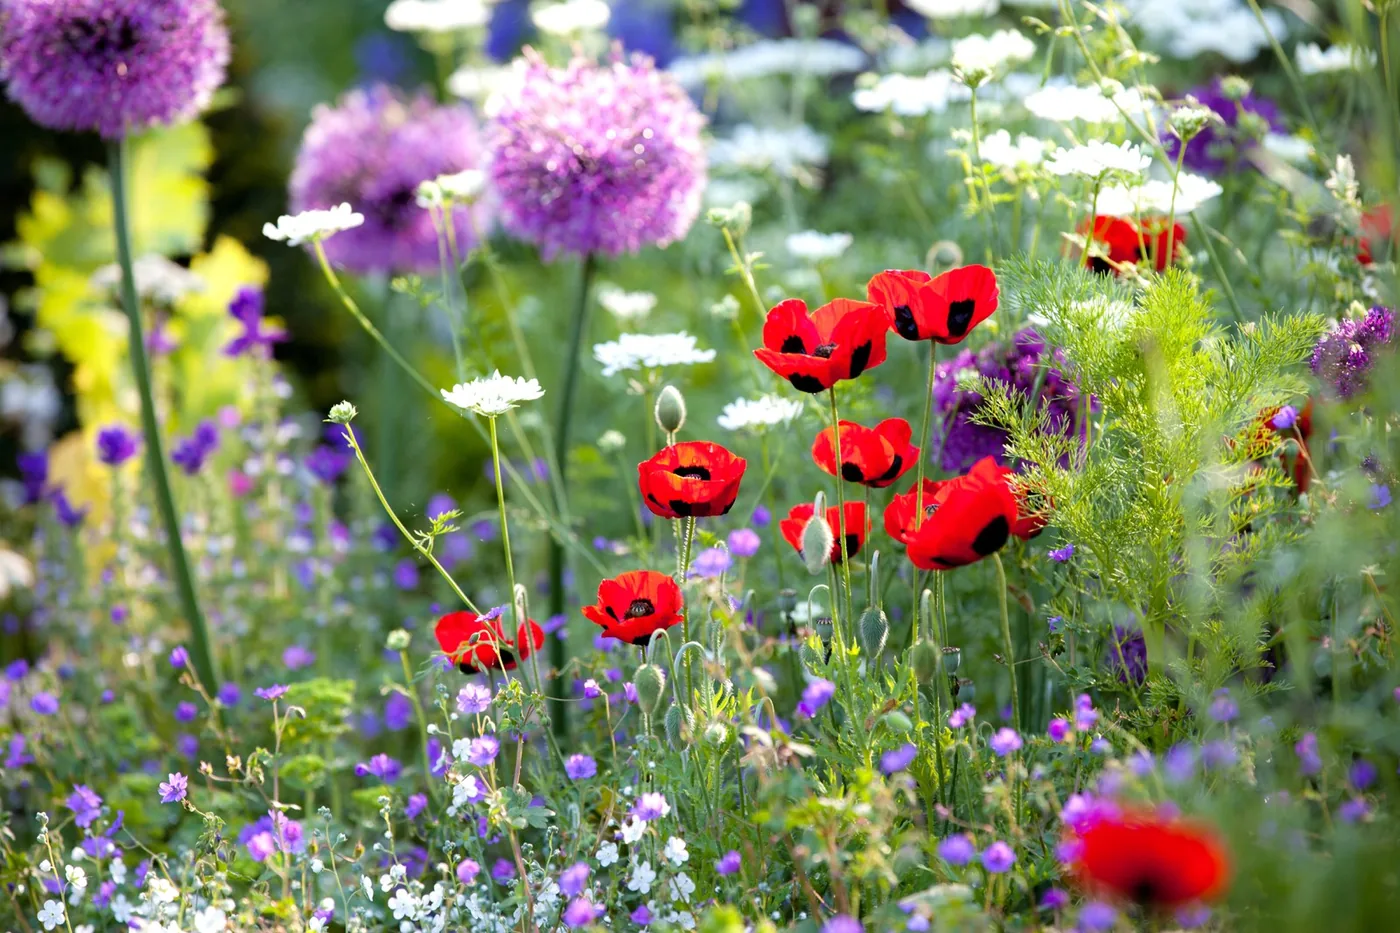
Photograph your garden from its own perspective. You are probably used to shooting it from a standing position, which—unless your flowers are unusually tall—means looking down from above. As with a child, dog or other pet, a photograph of flowers taken from above is usually less engaging. Instead, get down to the flower’s level and photograph it from the perspective of another flower.
What You Need
You can photograph a garden with almost any camera, but getting close to your subject requires a camera with a macro setting or a DSLR with a macro lens. You will also need a tripod. It keeps the camera steady, especially during macro work, where even a slight hand movement can cause camera shake or shift the point of focus. A remote shutter release is useful too: a tripod cannot prevent movement if pressing the shutter button moves the camera.
The Light
Whatever you grow, your garden is almost certainly colorful. Whether you are photographing tomatoes against green foliage or multicolored flowers in a bed, color is one of the main attractions of garden photography. There are certainly fine examples of black-and-white garden photographs, but red tomatoes generally look less plump and appetizing in gray.
Try photographing on a cloudy day to bring out the colors in your garden. For the bright, bold colors found there, overcast conditions can be ideal. The light can make those colors look richer, while its soft, even quality prevents shadows or bright white highlights from hiding details in the shapes of flowers and vegetables.
On a cloudy day there is usually less dynamic range, meaning the difference between the lightest and darkest areas of the image is smaller. The result can look somewhat flat, without true blacks or whites.
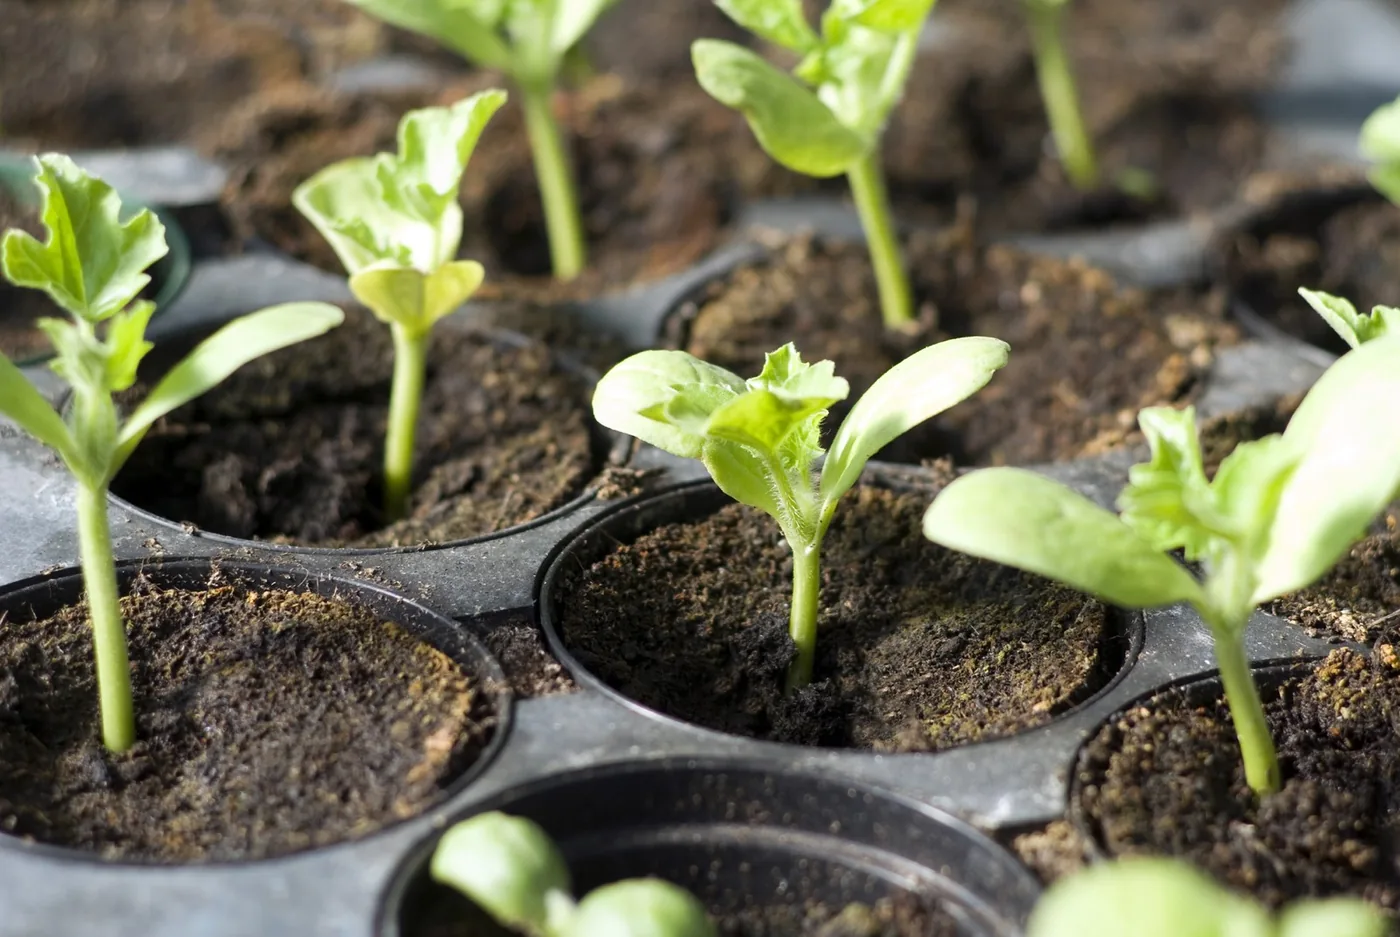
Fortunately, this is fairly easy to correct in post-processing: open the Levels tool and move the highlight and shadow sliders toward the center of the histogram until they reach the points where image pixels begin. This adds true blacks and whites, improving contrast and the overall three-dimensional appearance. If you do not use advanced photo-editing tools, simply increase the image contrast.
Most plants look their best in mid-spring, while the harvest comes toward the end of summer. Those seasons may not provide many cloudy days, but you can still make beautiful photographs during the morning golden hour, just after sunrise.
Light from the left or right of the subject creates shadows even in the smallest details
The morning golden hour is usually better for photographing plants because there is often less wind. With less wind, motion blur is less likely when you work close to the subject. Remember that close-up photographs of vegetables or flowers have a very shallow depth of field, so even a small movement can shift the point of focus. A light breeze may therefore be enough to produce a blurred image.
Whether you photograph during the golden hour or on a cloudy day, remember that light can make or break your vegetable and flower photographs . Vegetables and flowers contain many fine details and, more importantly, have form. Reproducing a three-dimensional object on a two-dimensional sheet of paper or computer screen can be difficult, so you need the right light to define the subject’s shape.
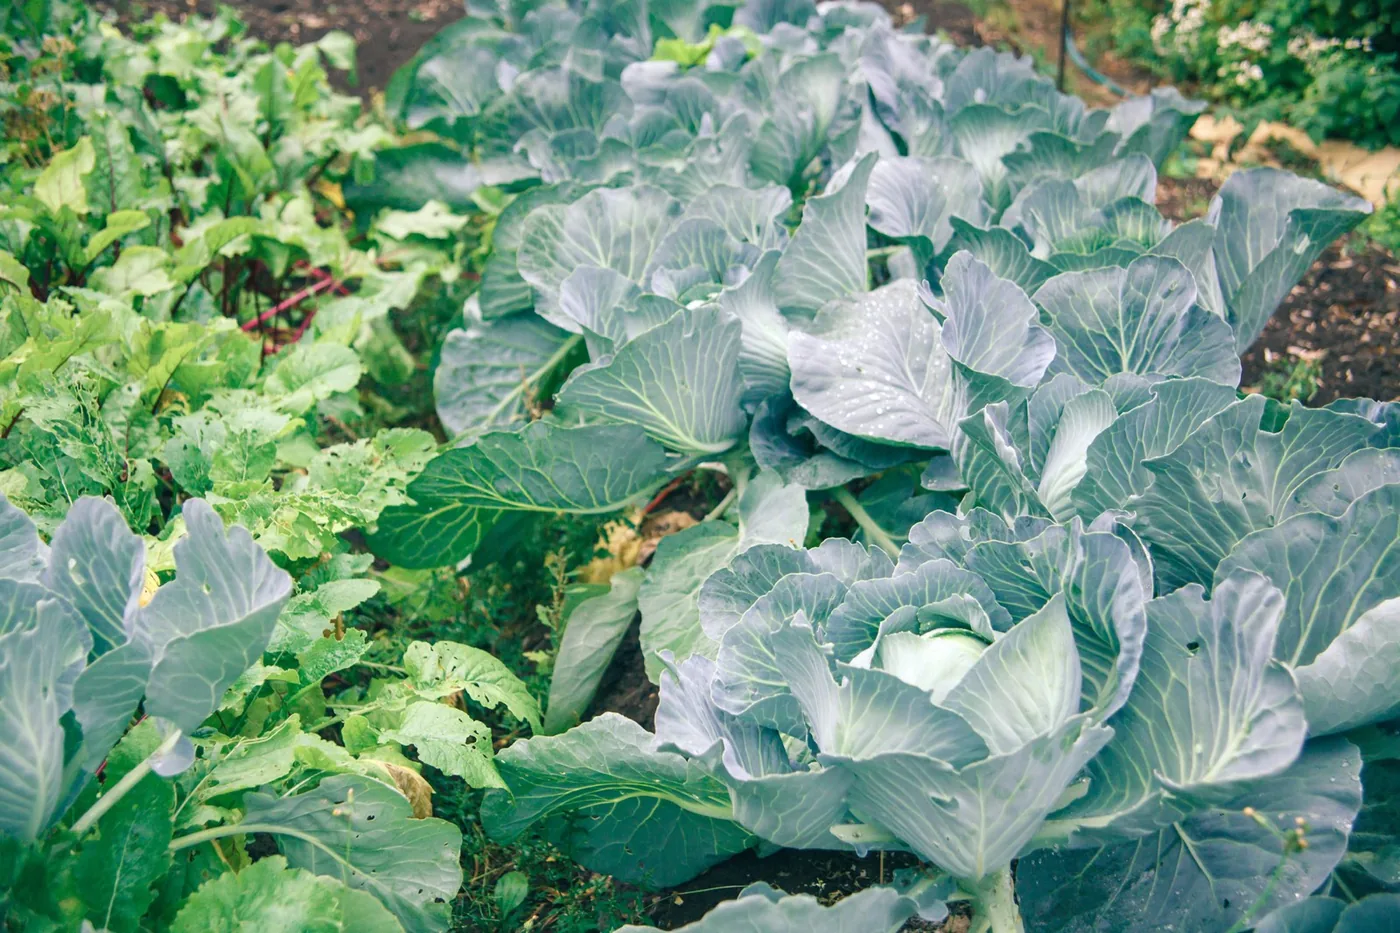
Golden-hour light is soft and diffused, but more importantly it comes from a specific direction. Lighting the front of the subject does not define its form well, because the shadows fall behind the object and remain hidden. Those shadows cannot reveal detail or make texture and shape stand out.
Backlighting does not always define form clearly either, although it can produce interesting compositions for other reasons. If you photograph toward the sun, you may capture silhouettes of leaves, vegetables and fruit, or create what photographers call flare—a reduction in contrast that can give an image a vintage or dreamy feel.
To show what is really present in the garden, use side light. Light from the left or right of the subject creates shadows even in the smallest details, making the image appear more three-dimensional.
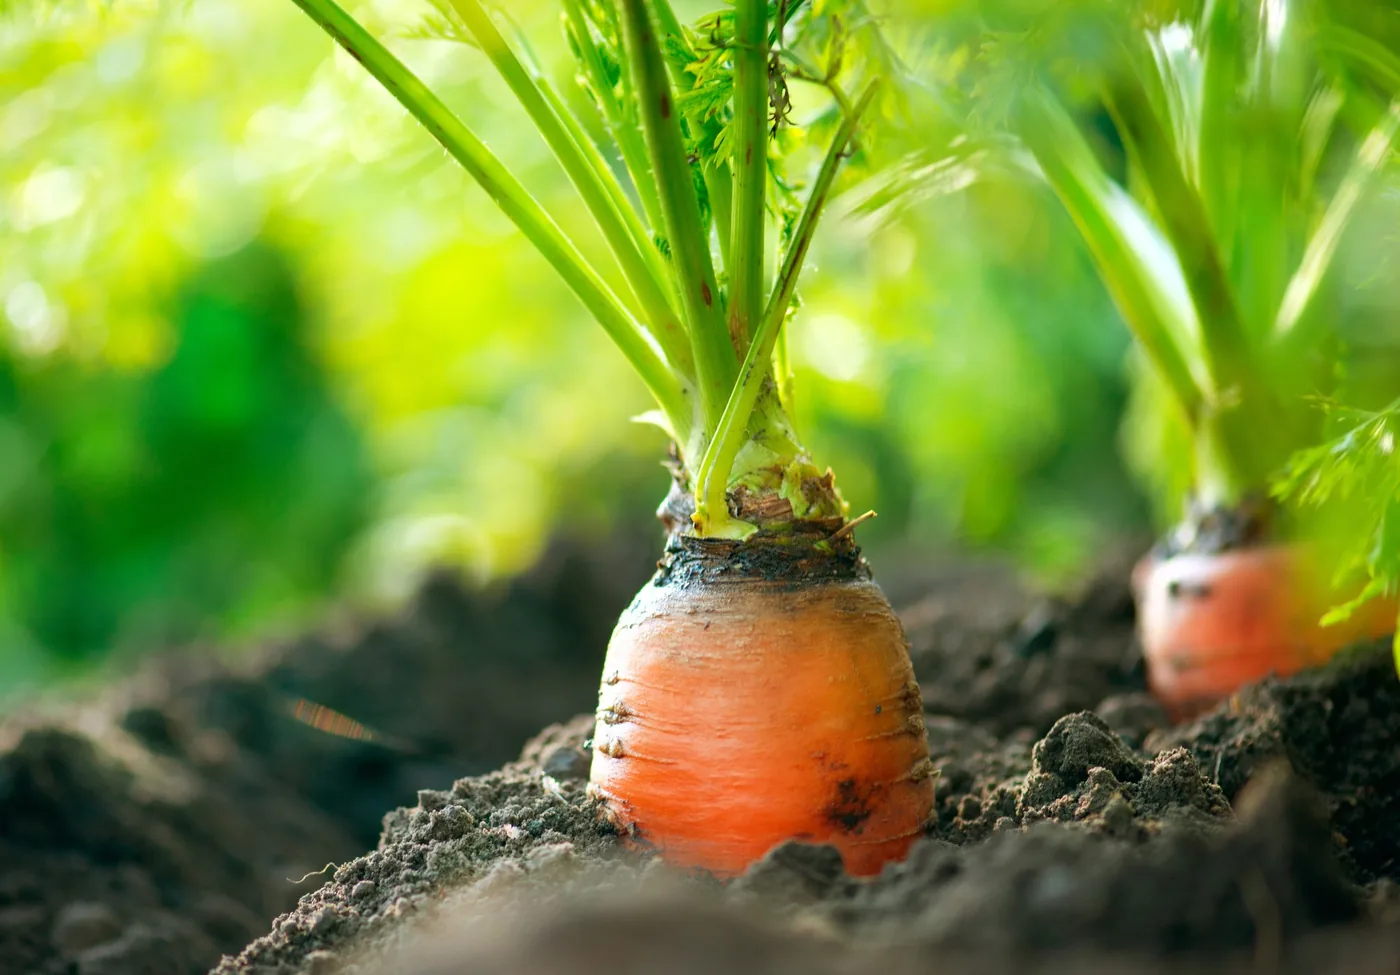
When you photograph under heavy cloud, the light has little direction because the clouds scatter it so that it seems to come from everywhere. In those conditions, try adding light with a reflector or using a black flag to create shadow. This can bring out an object’s form even when the ambient light is rather flat.
Perfect Specimens
If your aim is to showcase the beauty of your garden, look for the most perfect tomato, pea or pepper. Avoid vegetables with cracks or blemishes, and remove or trim leaves with insect damage or brown spots. The same applies to flowers: photograph the finest examples in the garden. After all, this is about aesthetics.
Personality
Try to capture some of your garden’s personality as well. Every garden is different because everyone has different preferences for the flowers and vegetables they grow. The location of the house and garden also affects what can be planted: certain plants thrive in warm climates, while others prefer cooler conditions. It is worth capturing the character of that particular combination in your own garden.
Your own personality is probably visible somewhere in the garden too. Include some quirky planters, a favorite antique garden tool or part of your backyard décor. That personality matters just as much as the vegetables and helps viewers imagine what it feels like to stand in your garden.
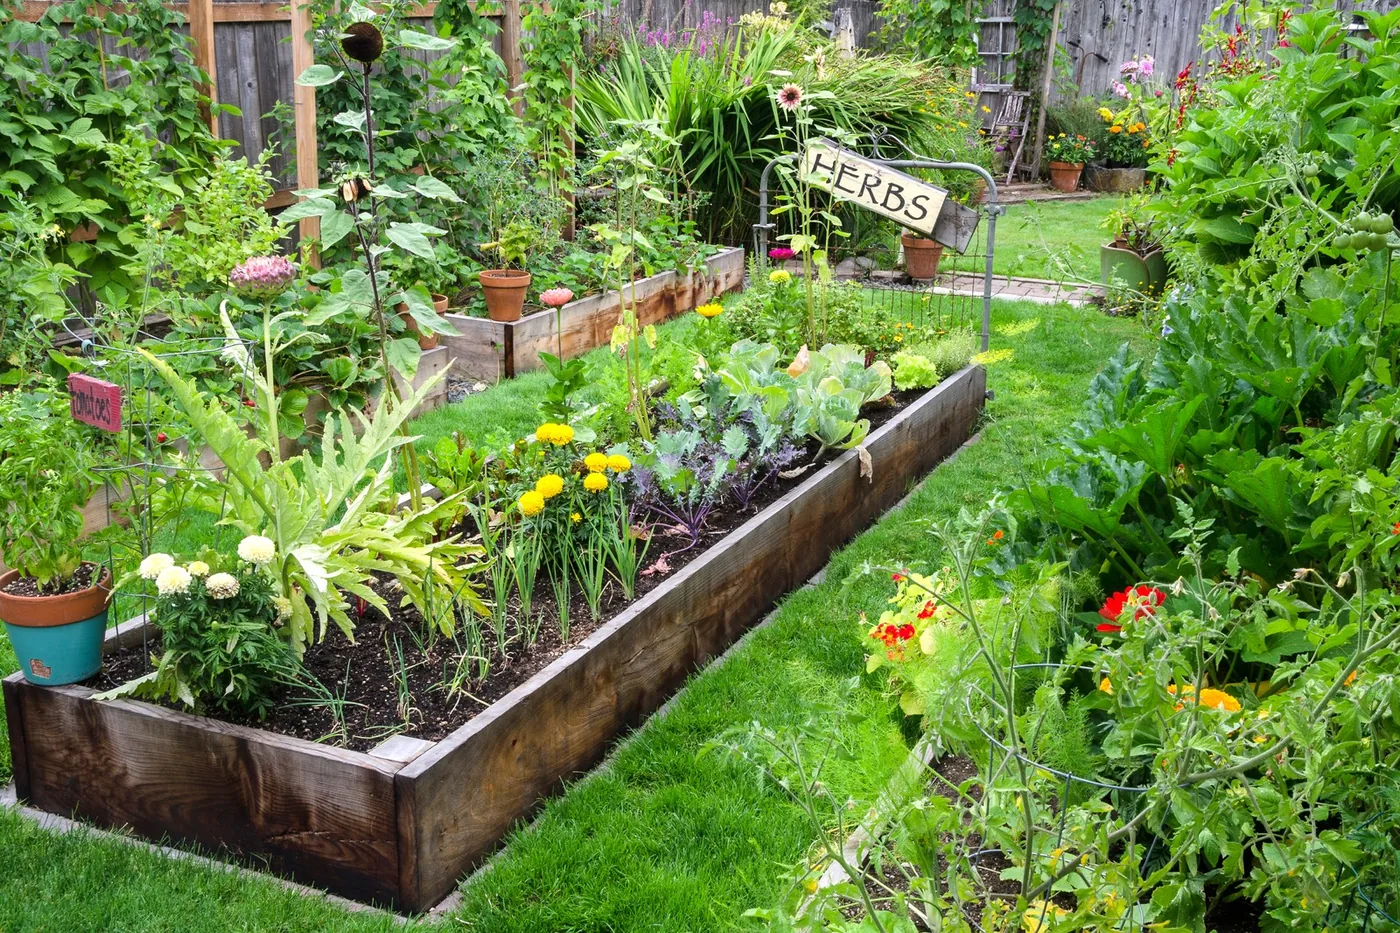
Do not make only macro images. You probably designed your garden not just as a place for plants to grow, but also as a beautiful place to spend time. Zoom out and use a wide-angle lens to capture rows of vegetables, flower beds or the beautiful pagoda that serves as a focal point amid all that floral beauty. Again, photograph during the golden hour or on a cloudy day, when the light is soft and even.
Finally
Is your garden as important to you as your camera? Then there is no reason not to document its growth and progress every day. Daily garden photography combines two favorite activities and can produce a wonderful series showing how your garden develops and what it means to you personally.



