Paying closer attention to white balance can improve the color reproduction in your photos. In this review, we use an ExpoDisc to find the optimal white balance.
Many photos are taken with the camera set to automatic white balance. Determining white balance more accurately, however, can greatly improve the color reproduction in your images.
Color Temperature
White balance and color temperature are closely related concepts. Color temperature describes the color of light and is measured in kelvins (K).
We all recognize the difference between the harsh light around midday (6000K) and the warm morning and evening light that often produces such beautiful images (2500-3500K). Color temperature therefore varies considerably throughout the day.
White Balance
For realistic color reproduction, the color temperature set in the camera should match the color temperature of the light under which you are photographing as closely as possible.
When it does, white areas in the subject will actually appear white. The other colors then fall into place, indicating that the correct white balance has been set.
Setting white balance manually is more accurate, and you will see that it produces better results
Color Cast
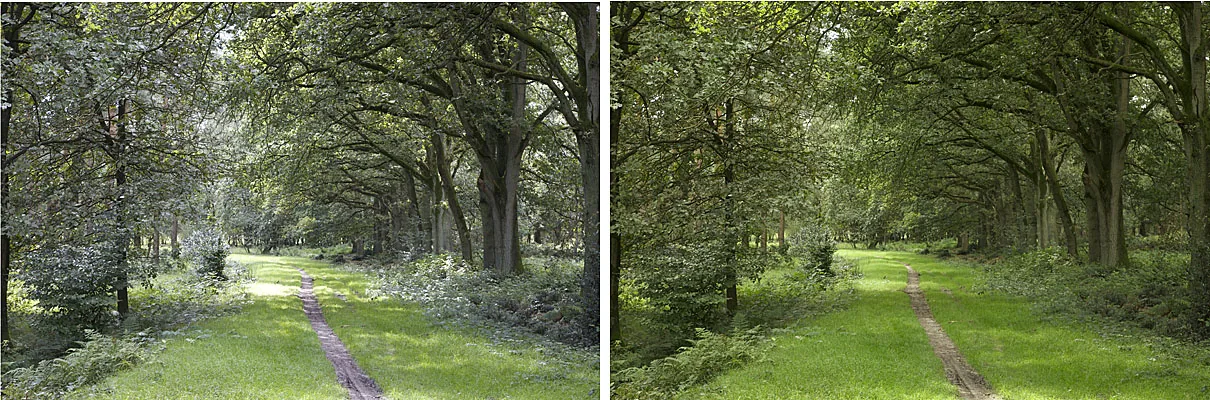
If the selected and actual color temperatures differ greatly, the colors in the image will not look very realistic. This is known as a color cast.
To prevent this, cameras have an 'automatic white balance' setting. Using the image sensor, the camera determines the color temperature for the image internally. This method is not equally accurate in every situation. Setting white balance manually is more accurate, and you will see that it produces better results.
If you are not yet familiar with color temperature and white balance, read the article Paying Attention to White Balance Produces Better Photos.
Setting White Balance with the ExpoDisc
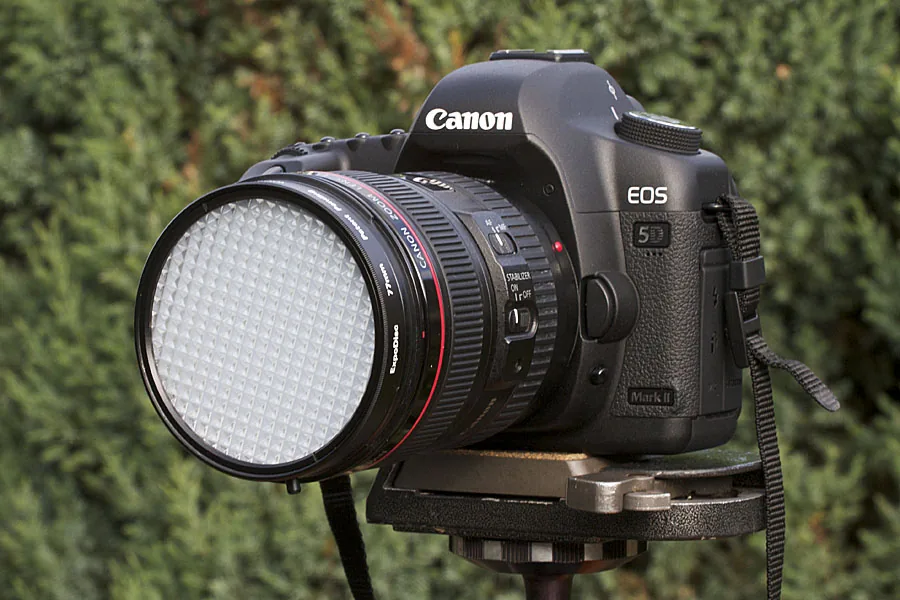
With the correct filter size, the ExpoDisc clicks into the lens’s filter mount; it does not need to be screwed on.
Determine the white balance in the following steps:
- Place the ExpoDisc on the lens
- Point the camera toward the light illuminating the subject. Before determining white balance, set the exposure correctly to avoid overexposure or underexposure
- Set the white balance manually; consult the camera manual for instructions
- Set the camera to manual white balance so that it uses the value you just measured
- Take the photo
Tip: If your lenses have different filter sizes, buy an ExpoDisc for the lens with the largest filter size. You can also hold this filter in front of lenses with smaller filter sizes.
Also for Indoor Use
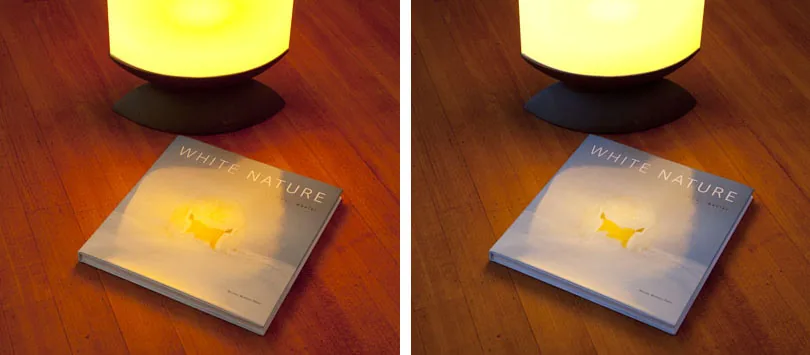
You can also use the ExpoDisc when photographing indoors, whether at home or in the studio. If you use several light sources with different color temperatures, determine the white balance using the main light.
In Practice
The ExpoDisc makes it easy to determine the correct white balance. The first few times, you may need to get used to the steps involved in measuring and setting white balance, but they soon become routine. Keep the following in mind:
- When photographing in changing weather, alternating between sunshine and cloud cover, determine the white balance separately for each situation
- Point the camera toward the light falling on the subject when setting white balance. This is the light whose color temperature you need to measure
- Leave the ExpoDisc in your bag when photographing a sunrise, sunset, or another scene with a strong atmosphere. In these images, you want to preserve the color cast rather than correct it with the ExpoDisc
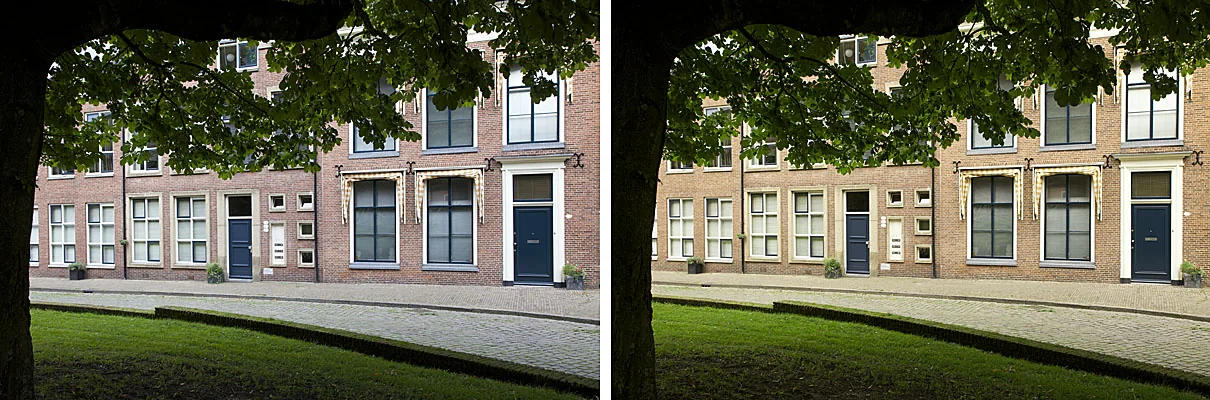
For a reliable way to determine white balance, the ExpoDisc is highly recommended. It also saves considerable work when editing the images later, because you will no longer need to correct unwanted color casts.



