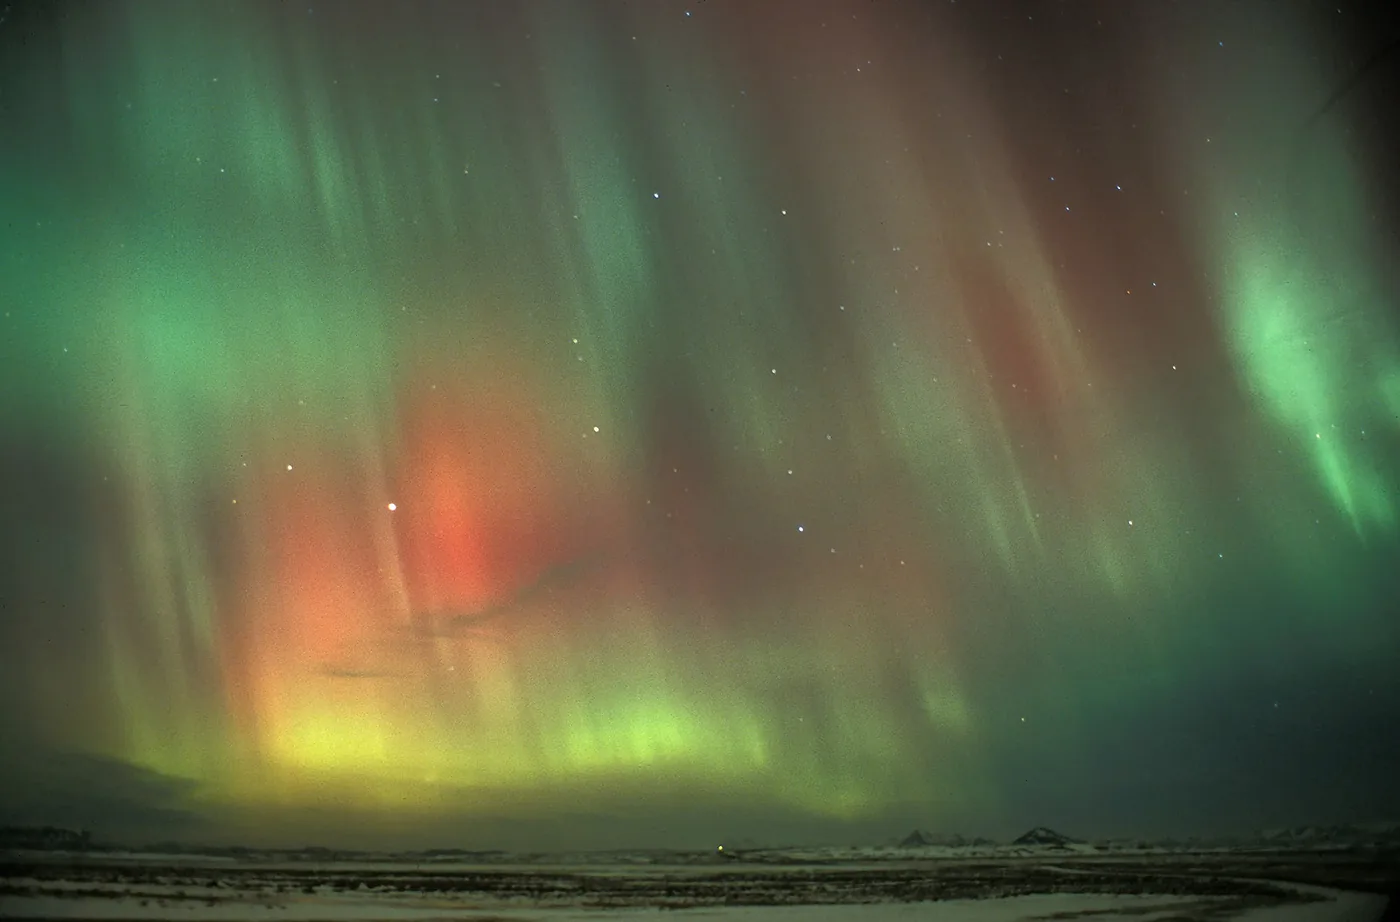
photo: Jan Duker | Northern Lights in Iceland around midnight. 24 mm, aperture f/2.8, shutter speed 40 seconds, ISO 200, tripod (analog photograph)
Photographing in the dark may seem impossible, but it can produce wonderful results. Some experience helps, and this article will get you started.
Getting Started
When you first photograph at dusk or after dark, judging the correct exposure can be difficult. On your first outing, begin shortly before sunset.
Set the exposure mode to an automatic setting, such as aperture priority, and take several photographs at the same aperture. As the light fades, the shutter speed will become progressively longer.
Once it is completely dark, the exposure meter may be unable to select a shutter speed long enough for a correct exposure. The shutter-speed display will then start blinking in the viewfinder. The maximum shutter speed varies by camera and can reach 30 seconds on some models. To set the correct exposure, you will now need to switch to timed exposures.
Long Exposures
Every camera has a mode for making timed exposures. Alongside M (manual), F or A (aperture priority), and S or T (shutter priority), you will find a B (bulb) setting. In this mode, the shutter remains open for as long as you hold down the shutter-release button.
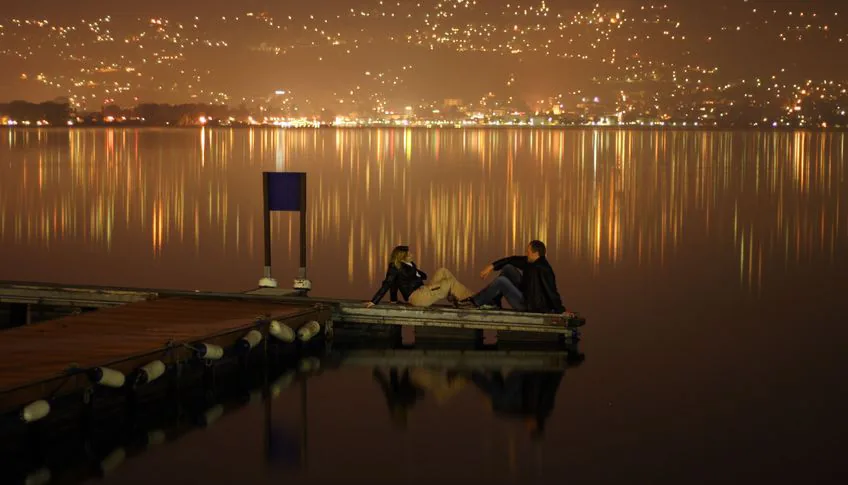
For long exposures, however, it is better to use a cable release; this prevents camera shake. You can count the seconds yourself, but that is fairly inaccurate. Many brands offer electronic cable releases that let you set the desired exposure time. This ensures that the shutter stays open for exactly the intended duration.
After the last photograph that the exposure meter can still measure, the amount of available light falls quickly. If your final aperture-priority exposure used a 30-second shutter speed, double the first timed exposure to 1 minute.
Then double the time again—to 2 minutes, 4 minutes, and so on. If it is extremely dark and there are no stars in the sky, for example, the exposure may reach 30 minutes or longer. Experiment extensively to find the correct exposure time.
Aperture
Choose a wide aperture when you do not need much depth of field. This keeps the exposure time as short as possible. That is especially helpful when taking several photographs in succession and each exposure may last several minutes.
Autofocus
Once it becomes truly dark, autofocus may no longer work. Switch your camera or lens to manual focus beforehand. Focus before darkness falls, or use a flashlight if your main subject is in the foreground.
Safety
You will often photograph in places that are difficult to reach. Keep in mind that when you arrive in daylight , you may have to find your way back in complete darkness. Bring a flashlight—or, better yet, a headlamp, which leaves your hands free to carry your equipment. Warm, suitable clothing is also very important as the night grows colder.
Tip: Put your own safety first. A mobile phone, headlamp, GPS device, and warm clothing are more important than you may think.
Bring spare batteries as well, because long exposures consume more power than usual and you will need to replace the battery sooner. If you want to be certain you can find your way back, take a GPS device. Most GPS units can also tell you when the sun will set, which is useful when planning your trip.
Surroundings
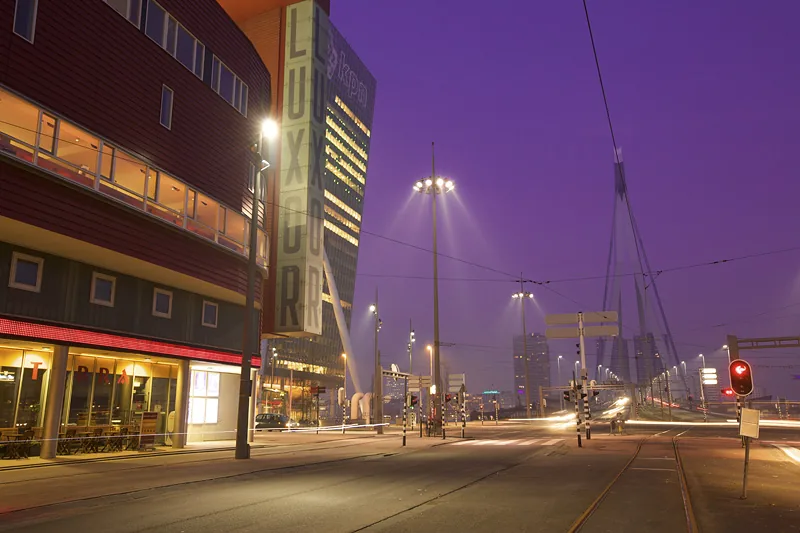
Watch for unwanted light sources nearby, such as buildings, streetlights, or moving lights from cars, airplanes, or boats. However small they may be, during an exposure lasting several minutes they can create large, distracting bright areas in the image. If you see a car approaching, for example, briefly shield the lens with your hands or a dark cloth to keep its light out.
Stability
Long shutter speeds make a firmly positioned tripod essential. Avoid bumping it during an exposure, or you will have to start again. After composing the shot, it is also wise to lock up the camera mirror to prevent blur caused by vibration.



