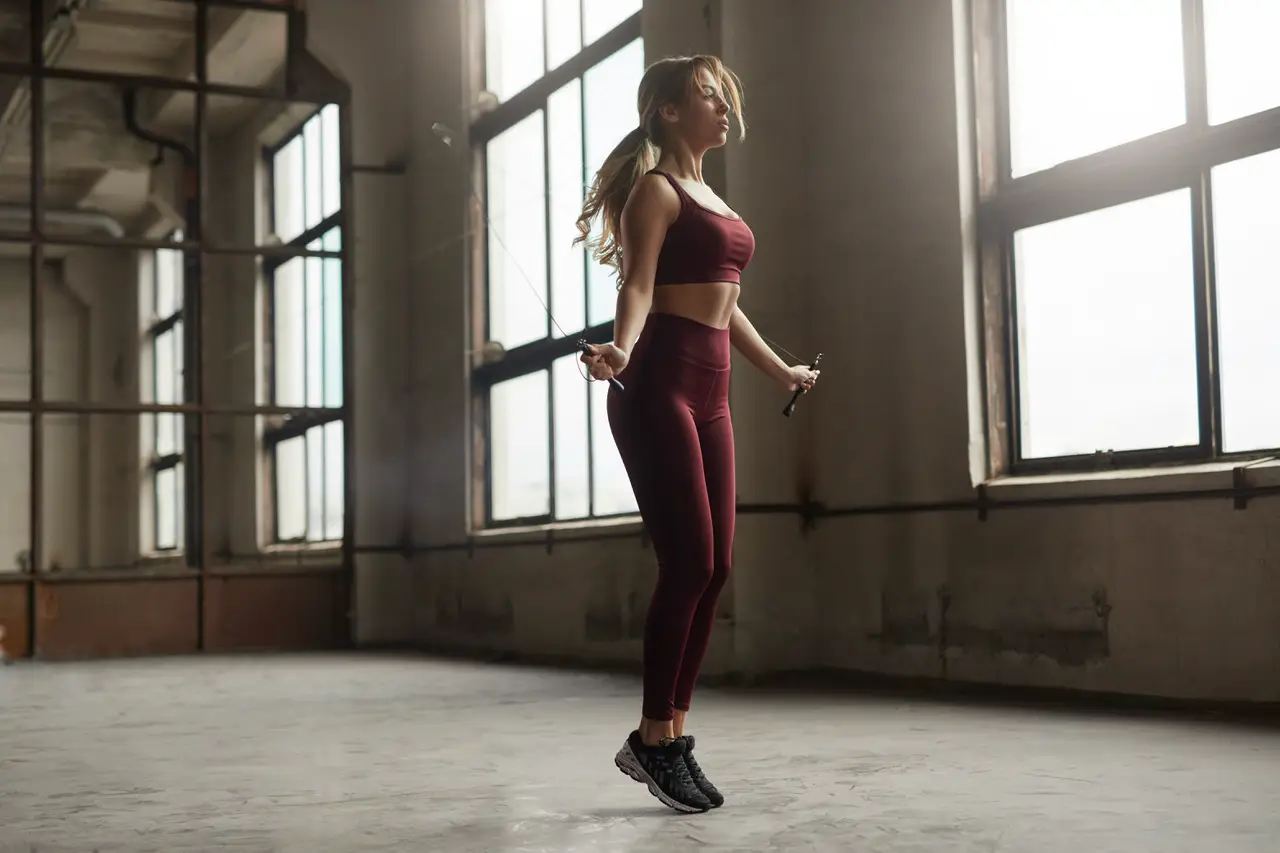
Photographing someone with a window in the background can cause the person to appear too dark, while the window is very bright or even overexposed. In a situation like this, there is a large difference between the bright and dark areas of the scene. That brightness range can exceed what the camera can capture properly in a single exposure.
Although you can never avoid this problem entirely, you can take several steps while shooting and in post-processing to bring the overly bright and dark areas closer together and minimize the issue as much as possible. Read these six useful tips.
1. Post-processing
In post-processing, you can often make substantial corrections to bright and dark areas. Programs such as Lightroom, Camera Raw, and Photoshop let you recover highlights and lift shadows. Bear in mind, however, that details that were completely blown out or crushed when the photo was taken cannot always be recovered.
Shooting in RAW gives you the greatest latitude because a RAW file retains considerably more image information for post-processing than a JPEG file.
However, it is essential to shoot the image in RAW. Read more here about why shooting in RAW is so important.
Photoshop is no longer reserved for professional designers. As an enthusiast photographer, you can also take a Photoshop course and use what you learn to get the best from your own photos. You can improve colors, remove imperfections, and even create complete photo collages. But if you start using Photoshop without any background knowledge, you will struggle to understand its advanced features and will not be able to make optimal use of everything the application offers.
2. Change the composition
Before taking the photo, this is probably the simplest solution: when a scene contains both blown-out and blocked-up areas, you can move the camera to eliminate one of the two extremes.

For a photograph taken near a window, for example, you could close the curtains slightly before shooting, or move to a completely different position and photograph more from the window side.
3. Exposure compensation or spot metering
If you cannot change the composition, adjust the exposure for the most important part of the photo. Exposure compensation lets you deliberately make the image lighter or darker.
You can also use spot metering . This makes the camera measure the light in a small part of the frame, such as the face of the person you are photographing. Bear in mind that other parts of the photo may then become too bright or too dark. On some cameras, you can lock the measured exposure with AE lock before recomposing.
4. Use fill flash
If your shot has a sunny background but your subject is in the shade—or is wearing a hat—turn on a flash for fill light. Fill flash can brighten the subject and reduce the difference in brightness between the subject and the background.
5. Apply HDR
For scenes with a very large difference between bright and dark areas, you can use HDR. Take several photos of exactly the same composition at different exposures. Three exposures are often enough: one normally exposed image, one underexposed image, and one overexposed image. More exposures may be needed for extremely high contrast.

Ideally, use exposure bracketing and keep the aperture and ISO unchanged, so that mainly the shutter speed varies between shots. A tripod is useful, but automatic alignment in modern software means it is not always essential. Programs such as Lightroom can then merge the different exposures into a single HDR file containing more detail in both bright and dark areas.
Then import the images into your photo-editing program and merge them into a single HDR file. This combines information from the different exposures, preserving more detail in both the bright and dark parts of the photo.
6. Use a filter
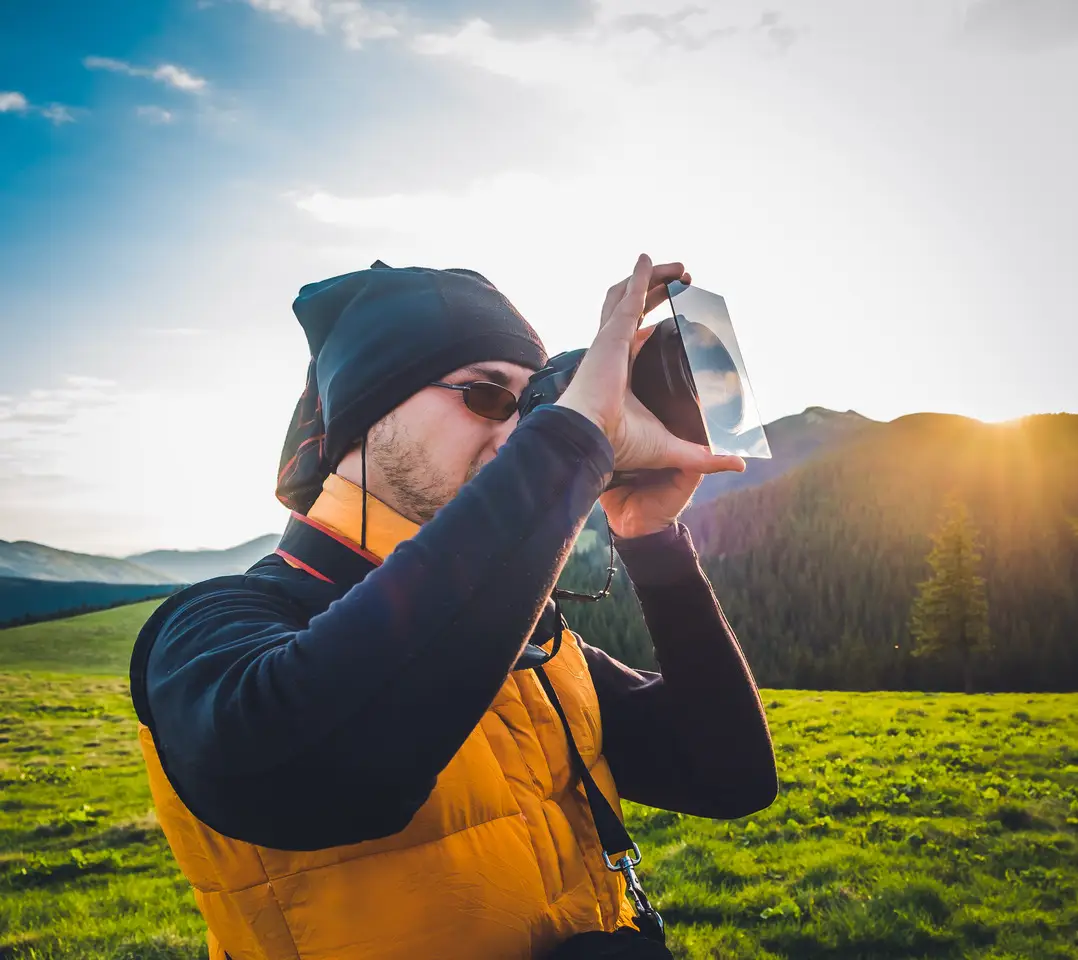
If the photo has a bright sky and dark ground—for example, at sunset or on an overcast day—you can use a neutral graduated filter. The dark part of the filter blocks some of the light from areas such as the sky, while the clear part leaves the foreground almost unaffected. This allows the ground and sky to be exposed correctly without using HDR: a tried-and-tested method.
These six simple tips will help you handle high-contrast situations in photography and avoid losing potentially important image information.



